FreeCAD 1.0 Mastery
Your Comprehensive Guide to 3D Modeling and Parametric Design
Elevate your 3D modeling skills to new heights with "FreeCAD 1.0 Mastery: Your Comprehensive Guide to 3D Modeling and Parametric Design." This book is your ultimate companion in conquering the powerful world of FreeCAD 1.0, tailored specifically for developers and draftsmen looking to expand their technical repertoire.
284 pages15 chaptersJan 17, 2025CAD
About this book
Dive deep into the intricacies of FreeCAD's user interface, mastering navigation techniques that will streamline your workflow. You'll explore the robust Part Design Workbench, unlocking its full potential to create intricate 3D models with ease and precision. From basic concepts to advanced techniques, this guide takes you on a structured journey through parametric design principles. You'll learn to harness the power of constraints, sketches, and features to build complex, adaptable models. By the end of this book, you'll be crafting sophisticated technical drawings and 3D designs that stand out in the industry. Packed with practical exercises, insider tips, and real-world examples, "FreeCAD 1.0 Mastery" is your key to becoming a FreeCAD virtuoso. Whether you're looking to enhance your professional skills or bring your creative visions to life, this book will empower you to push the boundaries of what's possible in 3D modeling and design.
Table of contents
- IntroductionOverview of FreeCAD 1.0, How to Use This Book, Getting Started with FreeCAD 1.0Read below
- Chapter 1: FreeCAD User Interface BasicsThe Main Window Layout, Toolbars and Their Functions, Understanding Workbenches, 3D View Navigation Techniques
- Chapter 2: Sketching FundamentalsSketch Tools and Operations, Introduction to Constraints, Geometric Constraints in Detail, Dimensional Constraints in Detail
- Chapter 3: Part Design Workbench EssentialsOverview of Part Design Workbench, Creating Basic 3D Features, Advanced Feature Creation, Editing and Modifying Features
- Chapter 4: Parametric Modeling TechniquesPrinciples of Parametric Design, Working with the Model Tree, Managing Feature Dependencies, Using Expressions and Equations
- Chapter 5: Creating Complex 3D ModelsMulti-Body Part Design, Boolean Operations, Patterns and Mirrors, Lofts and Sweeps
- Chapter 6: Working with AssembliesAssembly Basics, Assembly Constraints, Kinematic Analysis, Creating and Managing Subassemblies
- Chapter 7: Creating Technical DrawingsIntroduction to the Drawing Workbench, Creating Views and Projections, Dimensioning and Annotations, Working with Drawing Templates
- Chapter 8: Surface Modeling TechniquesIntroduction to the Surface Workbench, Creating Basic Surfaces, Designing Complex Surfaces, Converting Surfaces to Solids
- Chapter 9: Exploring the Part WorkbenchPart Workbench vs. Part Design Workbench, Creating Primitive Shapes, Boolean Operations in Part Workbench, Analysis Tools in Part Workbench
- Chapter 10: Introduction to Mesh WorkbenchMesh Modeling Basics, Importing and Exporting Meshes, Mesh Analysis and Repair, Converting Meshes to Solid Parts
- Chapter 11: Rendering and VisualizationWorking with Materials and Colors, Introduction to Raytracing Workbench, Creating Animations, Using External Rendering Tools
- Chapter 12: Customizing FreeCADConfiguring FreeCAD Preferences, Creating and Using Macros, Customizing Workbenches and Toolbars, Using the Python Console
- Chapter 13: Advanced FreeCAD TechniquesIntroduction to FreeCAD Scripting, Topological Naming, Working with External References, Version Control for FreeCAD Projects
- Chapter 14: Best Practices and OptimizationEfficient Modeling Strategies, Optimizing Performance, Handling Large Assemblies, Collaboration and File Sharing
- Chapter 15: Real-World FreeCAD ProjectsArchitectural Modeling Project, Mechanical Part Design Project, Product Design and Prototyping, Preparing Models for 3D Printing
- ConclusionThe Future of FreeCAD, Continuing Your FreeCAD Education
- AppendixKeyboard Shortcuts, Additional Resources and Communities
Introduction
Welcome to the world of FreeCAD 1.0, a powerful and versatile open-source 3D modeling software that has revolutionized the field of computer-aided design (CAD). As you embark on this journey to master FreeCAD, you're taking a significant step towards enhancing your skills in creating complex 3D models and technical drawings. This introduction will provide you with a comprehensive overview of FreeCAD 1.0, guide you on how to effectively use this book, and help you get started with the software.
FreeCAD 1.0 represents a milestone in the evolution of open-source CAD software, offering a robust set of tools and features that rival many commercial alternatives. Whether you're an experienced CAD user transitioning from other software or a newcomer to the world of 3D modeling, FreeCAD 1.0 provides a flexible and powerful platform for bringing your design ideas to life. Throughout this book, you'll discover how to leverage FreeCAD's capabilities to create everything from simple parts to complex assemblies, all while adhering to the principles of parametric design that make your models easily modifiable and adaptable.
As a developer with an electric draftsman background, you're uniquely positioned to take advantage of FreeCAD's strengths. Your existing knowledge of technical drawing principles will serve as a solid foundation as you explore the software's advanced features. At the same time, your programming background will allow you to delve into FreeCAD's scripting capabilities, enabling you to automate tasks and extend the software's functionality to suit your specific needs.
Throughout this book, you'll find that each chapter builds upon the previous ones, gradually introducing more complex concepts and techniques. By the time you reach the end, you'll have gained a comprehensive understanding of FreeCAD 1.0 and be well-equipped to tackle a wide range of 3D modeling challenges. So, let's begin our exploration of FreeCAD 1.0 and unlock the full potential of this remarkable software.
Overview of FreeCAD 1.0
FreeCAD 1.0 is a feature-rich, open-source parametric 3D modeler designed to cater to a wide range of industries and applications. At its core, FreeCAD embodies the principles of parametric modeling, allowing you to create designs that are easily modifiable and adaptable to changing requirements. This approach sets FreeCAD apart from many traditional CAD systems and provides a powerful framework for creating complex, interdependent 3D models.
One of the key strengths of FreeCAD 1.0 is its modular architecture, which is organized around the concept of workbenches. Each workbench is a specialized set of tools tailored for specific tasks or domains. For instance, the Part Design workbench focuses on creating solid 3D parts, while the Drawing workbench is dedicated to producing technical drawings. This modular approach allows you to focus on the tools relevant to your current task without being overwhelmed by unnecessary options.
FreeCAD 1.0 supports a wide array of file formats, making it easy to integrate with other software in your workflow. You can import and export various CAD formats, including STEP, IGES, STL, and many others. This interoperability ensures that FreeCAD can seamlessly fit into existing design processes and collaborate with team members who might be using different software.
The software's parametric nature is one of its most powerful features. In FreeCAD, you don't just create static 3D shapes; you build a history of operations that define your model. This means you can easily go back and modify earlier steps in your design process, and the changes will automatically propagate through the entire model. This approach, often referred to as "parametric modeling" or "feature-based modeling," allows for incredibly flexible and efficient design workflows.
FreeCAD 1.0 also boasts a robust sketching system, which forms the foundation of many 3D modeling operations. The sketcher workbench allows you to create 2D sketches with geometric and dimensional constraints, ensuring that your designs are precise and behave predictably when modified. These constrained sketches can then be used to create 3D features through operations like extrusion, revolution, or lofting.
Another significant aspect of FreeCAD 1.0 is its Python scripting capabilities. While you can accomplish a great deal using the graphical interface, the ability to write Python scripts opens up a whole new level of customization and automation. You can create macros to automate repetitive tasks, develop custom tools and workbenches, or even generate complex geometries programmatically. This feature is particularly valuable for users with programming experience, as it allows you to extend FreeCAD's functionality to meet your specific needs.
FreeCAD 1.0 also includes tools for working with assemblies, allowing you to bring multiple parts together into a cohesive whole. You can define constraints between parts, analyze kinematic relationships, and even perform simple simulations. While the assembly capabilities are still evolving, they provide a solid foundation for working on complex, multi-part projects.
The software's rendering capabilities have also seen improvements in version 1.0. While FreeCAD is primarily focused on the technical aspects of 3D modeling rather than photorealistic rendering, it does offer basic materials and lighting options. For more advanced visualization needs, FreeCAD can integrate with external rendering engines, allowing you to create high-quality images and animations of your designs.
FreeCAD 1.0's user interface, while initially appearing complex, is designed to be customizable and adaptable to different workflows. You can rearrange toolbars, create custom keyboard shortcuts, and even design your own workbenches. This flexibility allows you to tailor the software to your specific needs and preferences, potentially boosting your productivity.
Lastly, it's worth noting that FreeCAD is more than just a software application; it's a vibrant community of users and developers. Being open-source, FreeCAD benefits from contributions from around the world, constantly evolving and improving. The community also provides a wealth of resources, including forums, tutorials, and add-ons, which can greatly enhance your FreeCAD experience.
As you progress through this book, you'll explore each of these aspects of FreeCAD 1.0 in detail, gaining a deep understanding of how to leverage the software's capabilities to create sophisticated 3D models and technical drawings. The journey ahead is exciting, and by the end, you'll be well-equipped to tackle complex design challenges with confidence and efficiency.
How to Use This Book
This book is designed to be your comprehensive guide to mastering FreeCAD 1.0, taking you from the basics of the software's interface to advanced modeling techniques and best practices. To get the most out of this resource, it's important to understand its structure and how to effectively use the information presented. This section will outline the book's organization and provide strategies for maximizing your learning experience.
The book is structured in a progressive manner, with each chapter building upon the knowledge and skills introduced in previous sections. It begins with foundational concepts and gradually moves towards more complex topics. This approach allows you to develop a solid understanding of FreeCAD's core principles before tackling advanced features. While you may be tempted to jump directly to specific topics of interest, it's recommended to work through the chapters in order, especially if you're new to FreeCAD or parametric modeling in general.
Each chapter is divided into several subsections, focusing on specific aspects of the topic at hand. These subsections typically include theoretical explanations, step-by-step tutorials, practical tips, and real-world examples. This multi-faceted approach ensures that you not only understand the "how" of using FreeCAD but also the "why" behind various techniques and best practices. As you progress through each chapter, take the time to thoroughly understand each concept before moving on to the next.
One of the most effective ways to learn FreeCAD is through hands-on practice. Throughout the book, you'll find numerous exercises and projects designed to reinforce the concepts discussed. It's crucial that you actively engage with these practical elements. Set up FreeCAD on your computer and follow along with the tutorials, replicating the steps described. Don't be afraid to experiment and explore variations on the given examples – this experimentation is key to deepening your understanding and developing your skills.
The book also includes various tips, notes, and warnings highlighted throughout the text. These callouts provide valuable insights, shortcuts, and potential pitfalls to be aware of. Pay close attention to these as they often contain information that can significantly improve your efficiency and help you avoid common mistakes. Additionally, you'll find "Deep Dive" sections that explore certain topics in greater detail. These are excellent resources for when you want to gain a more comprehensive understanding of specific features or techniques.
As you work through the book, it's important to pace yourself and allow time for the information to sink in. 3D modeling and parametric design can be complex subjects, and it's normal to need time to fully grasp certain concepts. Don't hesitate to revisit earlier chapters or re-read sections that you find challenging. Learning FreeCAD is a journey, and it's more important to develop a solid understanding than to rush through the material.
To reinforce your learning, consider working on personal projects alongside the book's exercises. Try to apply the techniques you learn to design objects or solve problems relevant to your own interests or work. This practical application will help cement your understanding and give you valuable experience in using FreeCAD for real-world tasks.
The book also includes references to external resources, such as the official FreeCAD documentation, community forums, and additional tutorials. Take advantage of these resources to expand your knowledge beyond what's covered in the book. The FreeCAD community is vibrant and supportive, and engaging with it can provide valuable insights and solutions to specific problems you might encounter.
Remember that mastering FreeCAD is an ongoing process. Even after completing this book, continue to explore new features, stay updated with the latest developments, and challenge yourself with increasingly complex projects. The skills you develop will serve as a strong foundation for your future work in 3D modeling and design.
Lastly, don't forget to enjoy the learning process. 3D modeling can be incredibly rewarding, allowing you to bring your ideas to life in a tangible way. As you progress through the book, take moments to appreciate your growing skills and the exciting possibilities that FreeCAD opens up for your design work. With dedication and practice, you'll soon find yourself creating complex models and drawings with ease and confidence.
Getting Started with FreeCAD 1.0
Before diving into the intricacies of 3D modeling with FreeCAD 1.0, it's essential to set up your working environment and familiarize yourself with the basic steps to launch and configure the software. This section will guide you through the process of installing FreeCAD, setting up your workspace, and making initial configurations to ensure a smooth start to your learning journey.
The first step in getting started with FreeCAD 1.0 is to download and install the software. FreeCAD is available for Windows, macOS, and Linux operating systems. To begin, navigate to the official FreeCAD website (https://www.freecadweb.org) and locate the download section. Choose the appropriate version for your operating system and download the installer. For Windows users, you'll typically download an .exe file, while macOS users will find a .dmg file. Linux users may have different options depending on their distribution, including package managers or AppImage formats.
Once you've downloaded the installer, run it and follow the on-screen instructions to complete the installation process. The installer will guide you through selecting an installation directory and creating shortcuts. It's generally recommended to accept the default settings unless you have specific reasons to change them. After the installation is complete, you can launch FreeCAD by double-clicking the desktop icon or searching for it in your applications menu.
Upon first launching FreeCAD, you'll be greeted with the start page. This page provides quick access to recent documents, examples, and helpful resources. Take a moment to explore this page, as it can be a valuable reference point as you begin your FreeCAD journey. From here, you can create a new document or open an existing one to start working.
Before diving into your first project, it's worth taking some time to configure FreeCAD to suit your preferences. Navigate to Edit > Preferences (or FreeCAD > Preferences on macOS) to open the preferences dialog. Here, you can customize various aspects of the software, including units of measurement, default save locations, and interface appearance. Pay particular attention to the "General" and "Display" sections, where you can set your preferred unit system and adjust the 3D view settings to match your working style.
One crucial aspect of setting up FreeCAD is understanding the concept of workbenches. Workbenches are specialized working environments within FreeCAD, each containing a set of tools tailored for specific tasks. For example, the Part Design workbench is focused on creating solid 3D parts, while the Sketcher workbench is used for 2D sketching. You can switch between workbenches using the dropdown menu in the top toolbar or the workbench selector in the combo view. As you're getting started, spend some time exploring the different workbenches to familiarize yourself with their layouts and available tools.
To begin creating your first 3D model, you'll typically start by selecting the Part Design workbench. This workbench provides a comprehensive set of tools for creating solid 3D objects. Once in the Part Design workbench, you can create a new body by clicking on the "Create a new body" button in the toolbar. This action sets up the foundation for your 3D model and allows you to start adding features.
As you start working with FreeCAD, it's important to understand the basic navigation controls in the 3D view. You can rotate the view by clicking and dragging with the middle mouse button, pan by holding Shift and middle-clicking, and zoom using the scroll wheel. Alternatively, you can use the navigation cube in the top-right corner of the 3D view for quick orientation changes. Mastering these navigation techniques will greatly enhance your efficiency when working on complex models.
FreeCAD uses a parametric modeling approach, which means that your design is based on a series of features and operations rather than direct manipulation of geometry. This approach allows for great flexibility but requires a different mindset compared to traditional CAD software. As you begin creating models, pay attention to the structure of your design in the Model tree, which shows the hierarchy of features and operations that define your object.
To help you get accustomed to FreeCAD's interface and basic operations, it's recommended to start with simple projects. Try creating basic shapes like cubes, cylinders, or spheres using the Part Design workbench. Experiment with operations like extrusions, revolutions, and boolean operations to modify these shapes. As you become more comfortable with these basic operations, you can gradually move on to more complex modeling techniques.
Remember that learning FreeCAD, like any complex software, takes time and practice. Don't be discouraged if you encounter challenges or if certain concepts seem unclear at first. The FreeCAD community offers extensive resources, including forums, tutorials, and documentation, which can be invaluable as you progress in your learning journey. Make use of these resources whenever you need additional guidance or clarification on specific topics.
As you embark on your FreeCAD journey, keep in mind that regular practice is key to mastering the software. Try to set aside dedicated time for working with FreeCAD, even if it's just for short periods each day. Consistent practice will help reinforce your skills and make you more comfortable with the software's workflow. Additionally, don't hesitate to experiment and explore different features and tools – often, the best way to learn is by doing and discovering new possibilities on your own.
This is the end of the free sample. The full book has 15 chapters.
Want this book written for you?
Tell us your goals and background, and get your own version of this book, tailored by AI to you.


Benefits of AI-tailored books
- Read one book, not ten:
- all the CAD knowledge you need, gathered into a single book.
- Save days of learning:
- tell us your goals, choose your topics, and the whole book is built around them.
- Learn effortlessly:
- CAD book written for your specific background and expertise.
- Understand at a glance:
- includes charts, tables, timelines, checklists, decision trees, and more.
- Stay current:
- written the day you order it, not years ago.
- Trust what you read:
- every book is checked for accuracy, with real research when your subject needs it.
Create your unique book in 3 steps
- 1. Select your focus
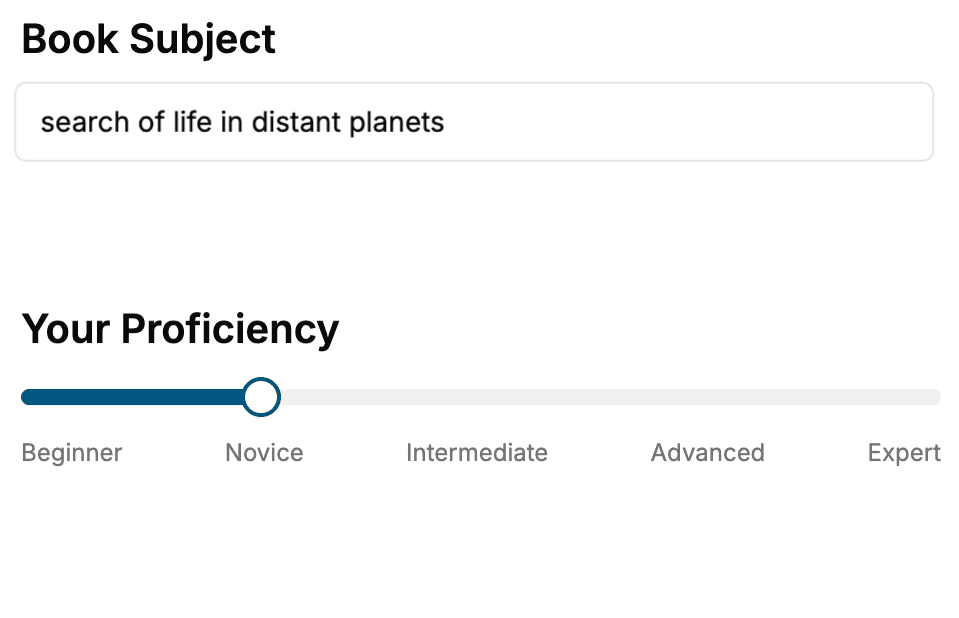
Select the focus of your CAD book and share your background
- 2. Personalize your book
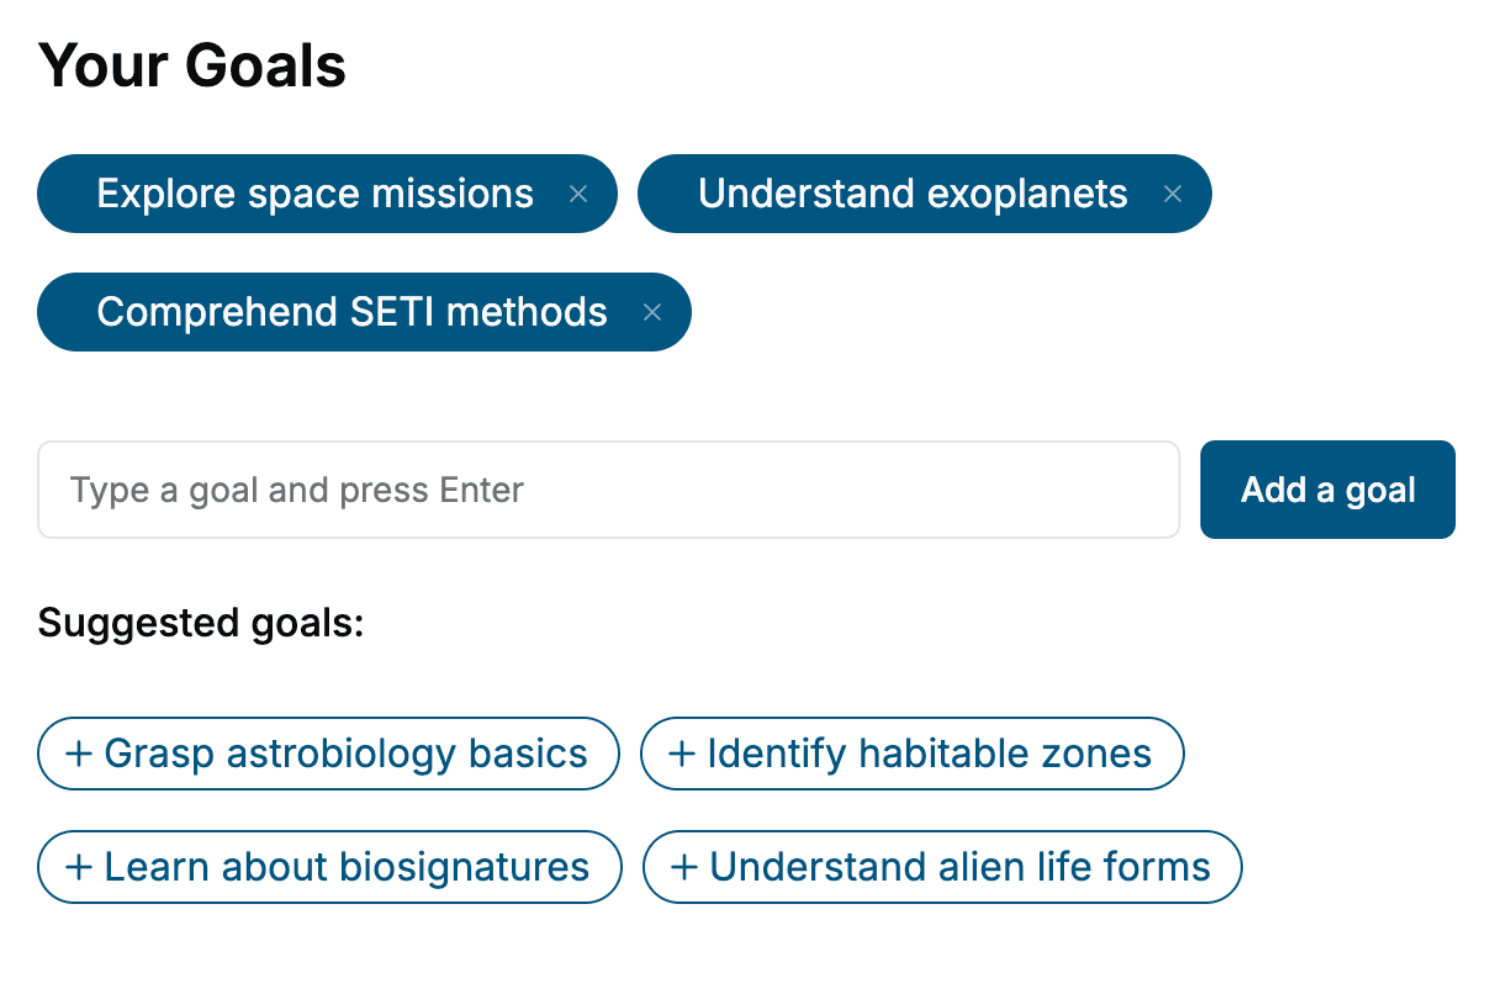
Specify your goals and choose sub-topics to include
- 3. Get your tailored book
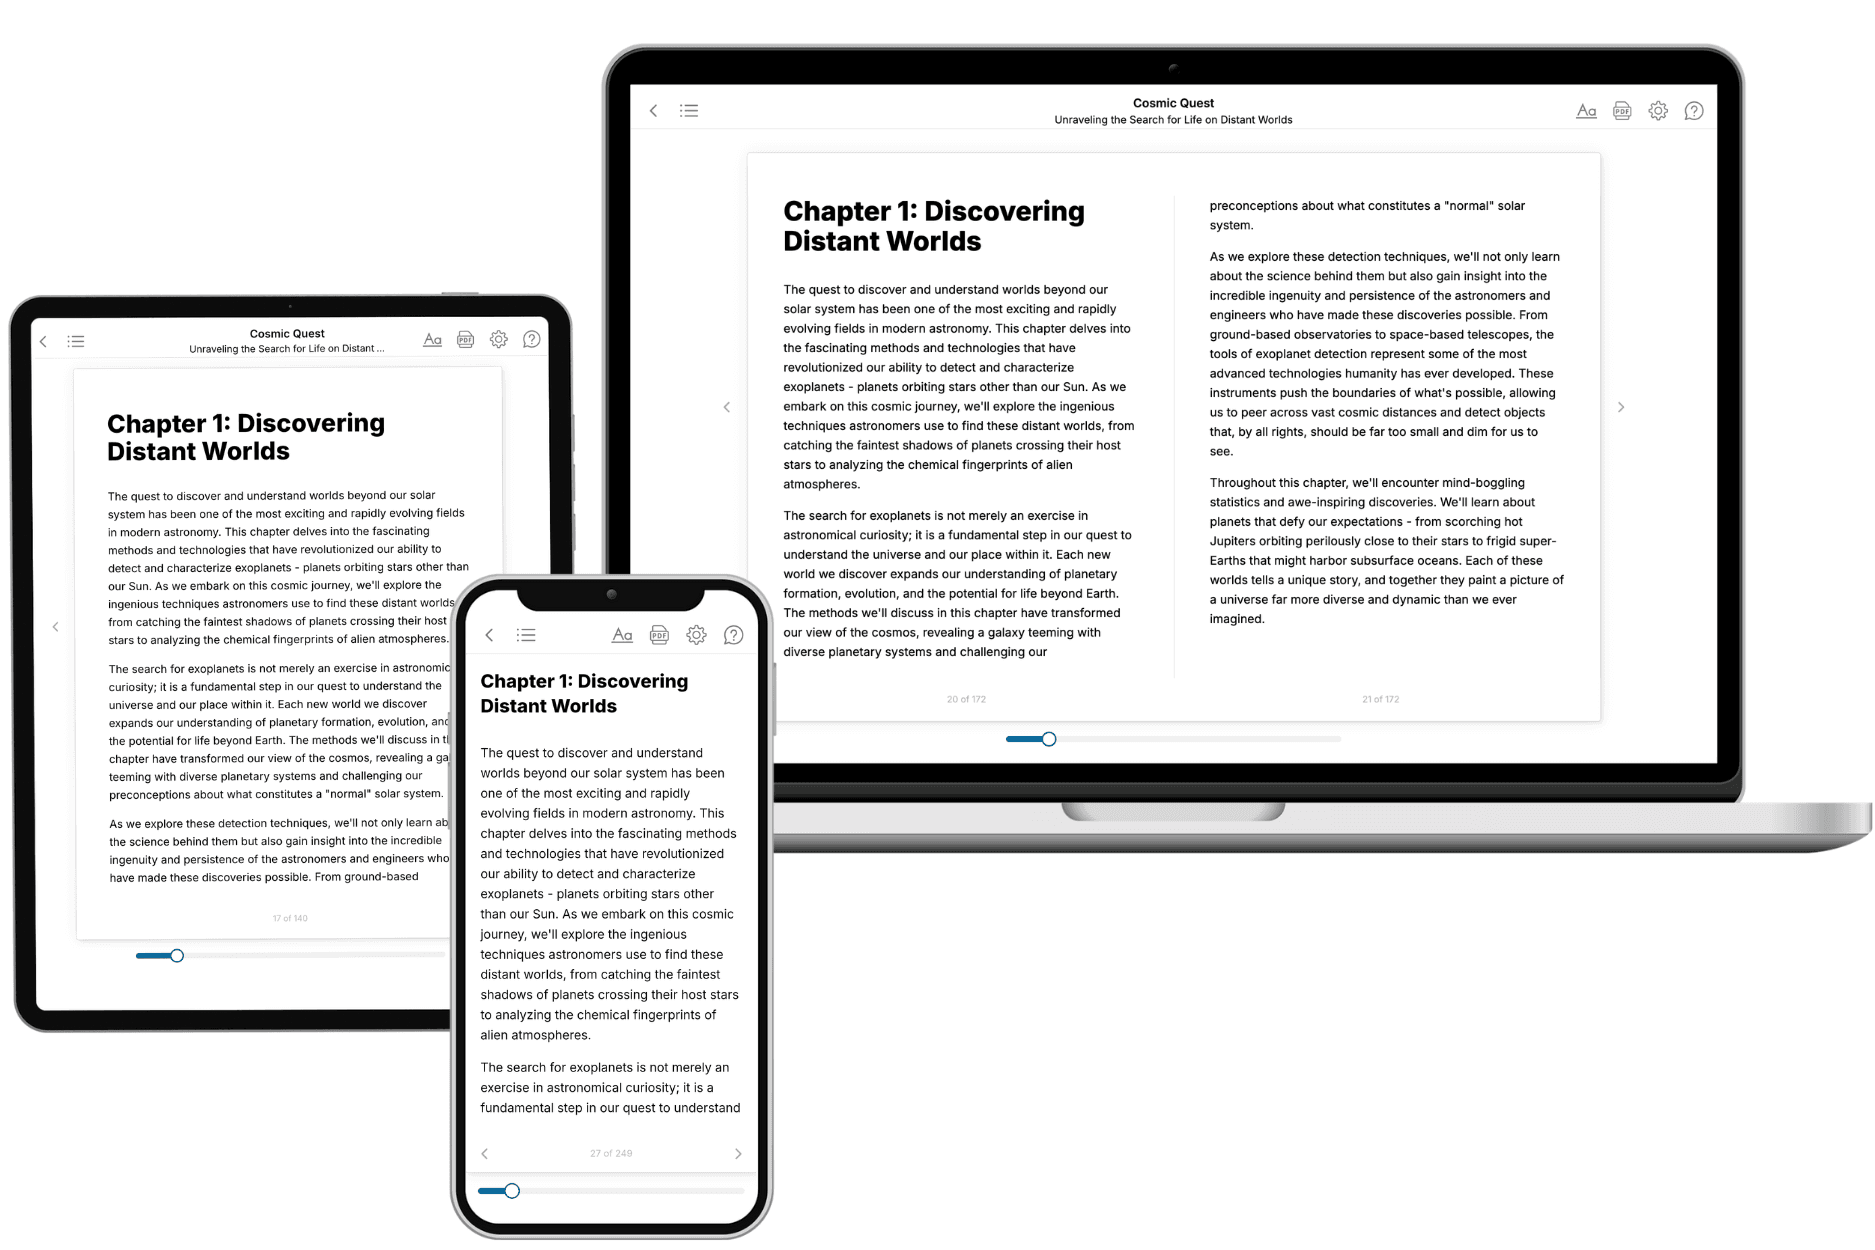
Your book is ready in 10 minutes. Read it online, download as EPUB or PDF, or send to Kindle.
Frequently asked questions
- What is TailoredRead?
TailoredRead creates complete, full-length nonfiction ebooks, written specifically for you. Tell us what you want to learn and why, and TailoredRead writes you a complete ebook on it, with charts, tables, and diagrams throughout. Read it online, on Kindle, or on any e-reader, or download it as a PDF or EPUB. Every book is written fresh the day you order it.
- How is the book tailored to me?
Before anything is written, you answer a few short questions about your goals, your background, and the topics you care about. Your book is then planned around your answers: written at your level, focused on your goals, and covering the topics you chose, instead of the one-size-fits-all book a store sells everyone.
- Will it read like generic AI content?
No. Your book isn't a chat transcript: it's planned chapter by chapter before a single word is written, told in a clear book voice, and explains ideas visually with charts, tables, and diagrams. After writing, every book goes through an editorial pass that polishes chapters so the book reads consistent from start to finish. Judge for yourself: browse thousands of sample books on our Explore Books page.
- How accurate is the content?
Our AI first checks whether your subject needs live research. Niche and fast-moving subjects are researched before writing, and the book plan and chapters are grounded in what it finds. After writing, every book goes through a quality pass that checks its facts and consistency, and researched books list their sources in a Notes section at the back.
- How long is the book?
You choose the length: Comprehensive (250-300 pages), Detailed (150-200 pages), Essential (70-100 pages), or Short (30-50 pages).
- Does the book include visuals?
Yes. Every book includes charts, tables, and diagrams: timelines, checklists, step-by-step guides, decision trees, comparison tables, matrices, and bar charts. A typical book includes dozens of these visual elements.
- Can I read it on Kindle? What formats can I download?
Yes. Every book can be read in our online reader or downloaded as a PDF or EPUB. The EPUB can be opened with Kindle, Apple Books, Kobo, and any e-reader. The Commercial and Author licenses also include an editable Word (DOCX) and Markdown download.
- How much does it cost?
About the price of a regular ebook. The exact price depends on your book's length and complexity, from $2 for the shortest books to $35 for the most comprehensive, and it's shown when you review your book, before you commit to anything. Each book is a one-time purchase, yours to keep, no subscription. Licenses that let you share, teach, or publish your book range from $35.99 to $49.99.
- Can I preview the book before purchasing?
Before you pay, you'll see what your book will cover: the title, a detailed description, the estimated length, and the complete chapter-by-chapter table of contents, so you know what you're getting before you decide. The full text itself is written after you purchase.
- How long does it take to create a book?
About 10 minutes. You can start reading the opening chapters while the rest is still being written.