Stirling's Stand
The Battle That Shaped Scotland's Destiny
Step onto the battlefield of 1297 and witness the turning point of Scottish history.
269 pages13 chaptersFeb 14, 2025Scottish History
About this book
In "Stirling's Stand: The Battle That Shaped Scotland's Destiny," you'll be transported to the banks of the River Forth, where a small force of Scots outmaneuvered and defeated a larger English army. This pivotal moment in the Wars of Scottish Independence comes alive through vivid storytelling and meticulous historical analysis. You'll uncover the strategic brilliance of William Wallace and Andrew Moray as they exploited the terrain and English overconfidence to secure a stunning victory. Delve into the political landscape that led to this confrontation, the military tactics employed by both sides, and the far-reaching consequences that rippled through Scotland and beyond. From the clang of swords to the roar of triumph, "Stirling's Stand" offers an immersive experience that will deepen your appreciation for this crucial chapter in Scottish history. Whether you're a history buff or simply curious about the events that shaped nations, this book will leave you with a rich understanding of how a single battle can alter the course of history.
Table of contents
- IntroductionThe Importance of Stirling Bridge in Scottish History, Setting the Stage: Scotland in the Late 13th Century, Overview of the Book's JourneyRead below
- Chapter 1: The Context of Scottish IndependenceScotland-England Relations Before 1297, The Scottish Succession Crisis, Edward I's Claim of Overlordship, Initial Scottish Resistance
- Chapter 2: Key Figures in the ConflictWilliam Wallace: Rise of a Guardian, Andrew Moray: The Forgotten Hero, John de Warenne: The English Commander, Hugh Cressingham: Edward's Treasurer
- Chapter 3: Prelude to the BattleThe Scottish Uprising of 1297, The English Response and Advance, Stirling's Strategic Importance, The Gathering of Forces
- Chapter 4: The Battlefield: Geography and TacticsDescription of Stirling Bridge and Surroundings, The Role of the River Forth, The Advantage of the High Ground, Scottish Tactical Planning
- Chapter 5: The Armies ComparedComposition of the English Army, The Scottish Forces: Numbers and Equipment, Cavalry vs. Infantry: Strengths and Weaknesses, Morale and Motivation on Both Sides
- Chapter 6: The Battle BeginsThe English Begin to Cross, Scottish Patience and Timing, The Bridge as a Bottleneck, Initial Clashes and Skirmishes
- Chapter 7: The Turning PointThe Scottish Charge, The Collapse of the Bridge, Panic in the English Ranks, The Ineffectiveness of English Cavalry
- Chapter 8: The Conclusion of the BattleThe English Retreat, Pursuit and Immediate Aftermath, Casualties and Notable Captures, The Siege of Stirling Castle
- Chapter 9: Military Analysis of the BattleWhy the Scottish Strategy Succeeded, English Tactical Mistakes, Utilization of Terrain and Natural Barriers, A Comparison of Leadership Styles
- Chapter 10: Immediate Consequences of the BattleBoost to Scottish Morale and Recruitment, Wallace's Rise to Guardianship, Shock and Response in England, International Reactions to the Scottish Victory
- Chapter 11: The Wider Impact on the War of IndependenceContinuation of the Scottish Campaign, Edward I's Response and Future Campaigns, Changes in Scottish Governance and Unity, Evolution of Military Tactics in the War
- Chapter 12: The Legacy of Stirling BridgeImpact on Scottish National Identity, The Growth of the Wallace Legend, Preservation and Commemoration of the Battlefield, Historical Debates and Interpretations
- Chapter 13: Stirling Bridge in Comparative PerspectiveComparison with Other Medieval Battles, Stirling Bridge vs. Other Scottish Victories, Famous 'Underdog' Triumphs in Military History, Representations in Art and Literature
- ConclusionRecapitulating the Significance of the Battle, Lessons Learned from Stirling Bridge, The Relevance of Stirling Bridge Today
- Glossary
- Further Reading
Introduction
The Battle of Stirling Bridge stands as a defining moment in Scottish history, a pivotal event that not only shaped the course of the Wars of Scottish Independence but also left an indelible mark on the national identity of Scotland. As you embark on this journey through the pages of "Stirling's Stand: The Battle That Shaped Scotland's Destiny," you will be transported back to the late 13th century, to a time when the fate of a nation hung in the balance. This introduction serves as your gateway to understanding the significance of this battle, the context in which it occurred, and the path we will tread together through this book.
The story of Stirling Bridge is one of courage, strategy, and the indomitable spirit of a people fighting for their freedom. It is a tale that has been passed down through generations, inspiring countless Scots and captivating the imagination of history enthusiasts worldwide. As we delve into the details of this momentous clash, you will discover how a smaller Scottish force, led by the legendary William Wallace and the often-overlooked Andrew Moray, managed to outmaneuver and decisively defeat a larger, better-equipped English army. This victory not only boosted Scottish morale but also demonstrated the effectiveness of infantry against cavalry under specific conditions, challenging the prevailing military doctrines of the time.
Throughout this book, you will gain insights into the political landscape that led to this confrontation, the military tactics employed by both sides, and the far-reaching consequences that rippled through Scotland and beyond. From the clang of swords to the roar of triumph, "Stirling's Stand" offers an immersive experience that will deepen your appreciation for this crucial chapter in Scottish history. Whether you are a seasoned history buff or simply curious about the events that shaped nations, this exploration of the Battle of Stirling Bridge promises to enrich your understanding of how a single battle can alter the course of history.
The Importance of Stirling Bridge in Scottish History
The Battle of Stirling Bridge, fought on September 11, 1297, stands as a watershed moment in Scottish history, its significance reverberating through the centuries to the present day. This engagement was not merely a military confrontation; it was a catalyst that ignited the Scottish spirit of independence and reshaped the political landscape of the British Isles. To truly grasp the importance of Stirling Bridge, one must consider its multifaceted impact on Scotland's journey towards nationhood and its enduring legacy in the collective memory of the Scottish people.
At its core, the Battle of Stirling Bridge represented a turning point in the Wars of Scottish Independence. Prior to this conflict, the English, under the rule of Edward I, had maintained a firm grip on Scotland, exploiting internal divisions and asserting their claim of overlordship. The Scottish victory at Stirling Bridge shattered the illusion of English invincibility and demonstrated that resistance was not only possible but could be successful. This triumph galvanized Scottish resistance, inspiring a nation to rally behind the cause of independence and setting the stage for a protracted struggle that would ultimately lead to the recognition of Scottish sovereignty[1].
The battle's strategic significance cannot be overstated. Stirling, with its commanding position over the River Forth, was a key location controlling the routes between the north and south of Scotland. By securing this vital crossing point, the Scots gained a strategic advantage that would prove crucial in subsequent campaigns. The victory at Stirling Bridge effectively split the English-controlled territories, isolating their garrisons in the north and providing the Scots with greater freedom of movement and the ability to consolidate their control over significant portions of the country.
Moreover, the Battle of Stirling Bridge had profound implications for military tactics and strategy. The Scottish victory demonstrated the potential of well-disciplined infantry to defeat heavily armored cavalry, challenging the prevailing military orthodoxy of the time. This lesson would be reinforced in later battles, such as Bannockburn in 1314, and would influence military thinking throughout Europe. The battle showcased the importance of terrain, timing, and tactical acumen in warfare, proving that a smaller force, when led skillfully and fighting on favorable ground, could overcome a numerically superior enemy.
The psychological impact of the victory at Stirling Bridge cannot be underestimated. It instilled a sense of national pride and self-belief among the Scots, who had long suffered under English domination. The battle became a symbol of Scottish resilience and ingenuity, a testament to the nation's ability to stand up against a powerful adversary. This boost to morale was crucial in sustaining the Scottish war effort in the face of continued English aggression and would serve as a rallying point for generations to come.
In the realm of leadership and national heroes, the Battle of Stirling Bridge catapulted William Wallace to prominence. His role in the victory, along with that of Andrew Moray, established him as a Guardian of Scotland and a symbol of resistance against English rule. Wallace's subsequent exploits and his ultimate fate at the hands of the English further cemented his status as a national hero, inspiring countless works of art, literature, and popular culture. The battle thus played a crucial role in shaping the pantheon of Scottish national heroes and contributing to the formation of a distinct Scottish identity[2].
The political ramifications of Stirling Bridge extended far beyond the immediate aftermath of the battle. It forced Edward I to take the Scottish threat seriously, leading to larger and more costly English campaigns in Scotland. This, in turn, strained England's resources and affected its ability to pursue other foreign policy objectives. The battle also had diplomatic consequences, as news of the Scottish victory spread across Europe, garnering support and recognition for the Scottish cause in various royal courts.
In the broader context of Scottish history, the Battle of Stirling Bridge represents a pivotal moment in the nation's long struggle for independence and self-determination. It stands as a testament to the power of unity and resolve in the face of adversity, qualities that would be called upon repeatedly throughout Scotland's turbulent history. The battle's legacy can be traced through subsequent conflicts, political developments, and cultural expressions, forming a thread that connects medieval Scotland to the modern nation.
Today, the Battle of Stirling Bridge continues to hold a special place in Scottish cultural memory. It is commemorated through monuments, reenactments, and educational programs, serving as a touchstone for discussions about national identity, independence, and Scotland's place in the world. The battle's enduring significance is reflected in its continued presence in Scottish literature, art, and popular culture, where it often serves as a powerful symbol of Scottish resilience and the struggle for freedom.
As we delve deeper into the events surrounding the Battle of Stirling Bridge, it is essential to keep in mind its far-reaching importance. This was not just a military engagement won by tactical brilliance; it was a defining moment that shaped the course of Scottish history, influenced military strategy, and contributed significantly to the formation of Scottish national identity. Understanding the Battle of Stirling Bridge is key to comprehending the broader narrative of Scotland's past and its ongoing journey as a nation.
Setting the Stage: Scotland in the Late 13th Century
To fully appreciate the significance of the Battle of Stirling Bridge, it is crucial to understand the complex political and social landscape of Scotland in the late 13th century. This period was marked by turmoil, uncertainty, and a series of events that would set the stage for one of the most pivotal battles in Scottish history. The Scotland of this era was a nation at a crossroads, grappling with issues of succession, external threats, and internal divisions that would ultimately lead to a fierce struggle for independence.
The roots of the conflict that culminated at Stirling Bridge can be traced back to 1286, with the unexpected death of King Alexander III of Scotland. Alexander's untimely demise, the result of a fall from his horse on a stormy night, left the Scottish throne without a clear adult heir. His only surviving descendant was his granddaughter, Margaret, known as the "Maid of Norway," who was still a child and living abroad. This succession crisis opened the door to competing claims and external interference, setting in motion a chain of events that would profoundly shape Scotland's future[3].
The period following Alexander's death saw the establishment of a group of guardians to rule Scotland in the interim. These guardians, representing various factions of the Scottish nobility, were tasked with maintaining order and preparing for Margaret's eventual ascension to the throne. However, fate had other plans. In 1290, while en route to Scotland, the young Margaret died, plunging the nation into a full-blown succession crisis. With no clear heir, multiple claimants to the Scottish throne emerged, the most prominent being John Balliol and Robert Bruce (grandfather of the future King Robert the Bruce).
It was in this context of uncertainty and competing claims that Edward I of England saw an opportunity to assert his influence over Scotland. Edward, known as "Longshanks" due to his tall stature, was a formidable and ambitious monarch who harbored dreams of uniting the entire island of Britain under English rule. He positioned himself as an arbiter in the Scottish succession dispute, agreeing to oversee the process of selecting a new king. This intervention, while initially welcomed by some Scottish nobles seeking a resolution to the crisis, would prove to be a pivotal moment in Scottish-English relations.
The selection process, known as the "Great Cause," took place in 1291-92 at Berwick-upon-Tweed. Edward I presided over the proceedings, which involved hearing arguments from the various claimants. Ultimately, John Balliol was chosen as the rightful king of Scotland. However, this decision came at a price. Before agreeing to arbitrate, Edward had extracted promises of fealty from the Scottish nobles and claimants, effectively asserting his position as overlord of Scotland. This claim of overlordship would become a source of significant tension in the years to come.
John Balliol's reign, which began in 1292, was marked by increasing pressure from Edward I. The English king treated Balliol as a vassal, demanding military service and intervening in Scottish affairs. This treatment gradually eroded Balliol's authority and credibility among the Scottish nobility. The situation came to a head in 1295 when Scotland entered into an alliance with France, known as the Auld Alliance, in an attempt to counter English influence. Edward I viewed this as an act of defiance and used it as a pretext to invade Scotland in 1296.
The invasion of 1296, sometimes referred to as Edward's "First Scottish Campaign," was swift and brutal. The English forces quickly overwhelmed Scottish resistance, culminating in the capture of Berwick and a decisive victory at the Battle of Dunbar. John Balliol was forced to abdicate, and Edward I embarked on a tour of Scotland, accepting submissions from Scottish nobles and removing symbols of Scottish sovereignty, including the Stone of Destiny from Scone Abbey. This period of English occupation and control, known as the "First Interregnum," saw the implementation of English administrative systems and the appointment of English officials to key positions in Scotland.
The harsh nature of Edward's rule and the humiliation of Scottish nobles sparked resentment and resistance. Many Scots viewed the English presence as an occupation rather than legitimate rule. It was in this atmosphere of discontent and nascent rebellion that figures like William Wallace and Andrew Moray emerged as leaders of the resistance. Their actions would culminate in the events leading to the Battle of Stirling Bridge in 1297.
The social and economic conditions in Scotland during this period also played a crucial role in setting the stage for the battle. The majority of the population consisted of peasants and small landholders who bore the brunt of the economic hardships caused by war and occupation. English demands for resources and the disruption of trade networks added to the existing burdens of feudal obligations. This widespread discontent provided a fertile ground for recruiting supporters to the cause of resistance against English rule.
Moreover, the Scottish nobility found themselves in a precarious position. Many had sworn fealty to Edward I, either willingly or under duress, but were increasingly uncomfortable with the extent of English control. The conflict between their oaths to the English crown and their responsibilities to their own people and traditions created tensions that would play out in the coming struggle. Some nobles chose to actively resist English rule, while others adopted a more cautious approach, waiting to see how events would unfold before committing themselves.
The Scottish church, traditionally a powerful and independent institution, also faced challenges during this period. Edward I's attempts to exert control over ecclesiastical appointments and the use of church resources for his campaigns strained relations with the clergy. The church's role as a repository of Scottish culture and identity made it a natural ally for those resisting English domination, although individual clerics varied in their responses to the political situation.
As we approach the events of 1297, it's important to recognize that the Scotland facing the prospect of battle at Stirling Bridge was a nation divided and under immense pressure. The traditional structures of governance had been disrupted, the economy was strained, and the population was grappling with the realities of foreign occupation. Yet, it was also a nation with a strong sense of identity and a growing determination to resist English control.
The stage was thus set for a confrontation that would not only determine the immediate fate of Scotland but would also have far-reaching consequences for the future of both nations. The Battle of Stirling Bridge would emerge as a critical moment in this struggle, a test of Scottish resolve against English might, and a turning point in the Wars of Scottish Independence. As we delve deeper into the events leading up to and surrounding the battle, we will see how the complex tapestry of late 13th-century Scotland provided the backdrop for one of the most significant military engagements in Scottish history.
Overview of the Book's Journey
"Stirling's Stand: The Battle That Shaped Scotland's Destiny" is designed to take you on a comprehensive journey through one of the most pivotal moments in Scottish history. This book aims to provide a detailed and engaging account of the Battle of Stirling Bridge, its context within the Wars of Scottish Independence, and its lasting impact on Scottish history. As you progress through the chapters, you will gain a deep understanding of the events, personalities, and forces that converged to create this defining moment in Scotland's past.
The book begins by setting the stage for the conflict, delving into the complex political landscape of late 13th-century Scotland. You will explore the succession crisis that followed the death of Alexander III, the intervention of Edward I of England, and the events that led to the English occupation of Scotland. This background is crucial for understanding the motivations and stakes involved in the battle that would unfold at Stirling Bridge.
As you progress, you will be introduced to the key figures who played pivotal roles in the conflict. The rise of William Wallace and Andrew Moray as leaders of the Scottish resistance will be examined in detail, providing insight into their backgrounds, motivations, and the circumstances that thrust them into prominence. Equally important, you will learn about the English commanders, John de Warenne and Hugh Cressingham, whose decisions would have profound consequences on the battlefield.
The book then focuses on the immediate prelude to the battle, describing the Scottish uprising of 1297 and the English response. You will gain an understanding of the strategic importance of Stirling and why both sides saw control of this location as crucial. The gathering of forces and the tension building up to the confrontation are vividly portrayed, setting the scene for the dramatic events to come.
A significant portion of the book is dedicated to a detailed analysis of the battlefield itself. You will explore the geography of Stirling Bridge and its surroundings, understanding how the terrain played a crucial role in shaping the battle's outcome. The tactical considerations of both sides are examined, with particular attention given to how the Scots planned to use the landscape to their advantage.
The composition and capabilities of both armies are thoroughly compared, providing insight into the strengths and weaknesses of each force. This section will help you appreciate the odds faced by the Scots and the tactical challenges confronting both sides. The morale and motivation of the troops are also discussed, offering a glimpse into the human element of this historic confrontation.
The battle itself is recounted in vivid detail, from the initial crossing of the English forces to the decisive Scottish charge. You will experience the ebb and flow of the conflict, understanding how the bridge became a deadly bottleneck for the English and how the Scots exploited this vulnerability. The collapse of the bridge, the panic in the English ranks, and the ineffectiveness of their vaunted cavalry are all described, bringing the chaos and drama of the battle to life.
Following the account of the battle, the book provides a thorough military analysis, examining why the Scottish strategy succeeded and where the English went wrong. This section offers valuable insights into medieval warfare and the importance of factors such as terrain, leadership, and adaptability in determining the outcome of battles.
The immediate aftermath of the battle is explored in depth, including the boost to Scottish morale, Wallace's rise to guardianship, and the shock felt in England. The international reactions to the Scottish victory are also discussed, placing the battle in a broader European context.
The book then widens its scope to examine the longer-term impacts of Stirling Bridge on the War of Independence and Scottish history as a whole. You will learn how the battle influenced subsequent campaigns, changed the nature of Scottish governance, and contributed to the evolution of military tactics in the ongoing conflict.
A significant portion of the book is dedicated to exploring the legacy of Stirling Bridge. This includes its impact on Scottish national identity, the growth of the Wallace legend, and how the battle has been remembered and commemorated through the centuries. The preservation of the battlefield and ongoing historical debates about the battle are also discussed, providing a link between past events and present-day understanding.
To provide additional context, the book offers a comparative analysis, placing Stirling Bridge alongside other significant medieval battles and examining how it fits into the broader tapestry of military history. This section also explores how the battle has been represented in art and literature, demonstrating its enduring cultural significance.
The conclusion of the book brings together the various threads explored throughout, recapitulating the significance of the Battle of Stirling Bridge and reflecting on the lessons it offers. The relevance of these historical events to contemporary Scotland is discussed, encouraging you to consider how the past continues to shape the present.
Throughout this journey, you will encounter detailed maps, illustrations, and quotes from primary sources that bring the events and personalities to life. The book is designed to be accessible to general readers while also offering depth and insight that will satisfy history enthusiasts. By the end of "Stirling's Stand," you will have gained a comprehensive understanding of this crucial battle and its place in the broader sweep of Scottish history.
As you embark on this exploration of the Battle of Stirling Bridge, prepare to be transported to a pivotal moment in Scotland's past. Through the pages of this book, you will witness the courage, strategy, and determination that shaped a nation's destiny, gaining insights that resonate far beyond the events of 1297. The journey through "Stirling's Stand" promises to be an enlightening and engaging experience, offering a window into a defining chapter of Scottish history and its enduring legacy.
This is the end of the free sample. The full book has 13 chapters.
Want this book written for you?
Tell us your goals and background, and get your own version of this book, tailored by AI to you.


Benefits of AI-tailored books
- Read one book, not ten:
- all the Scottish History knowledge you need, gathered into a single book.
- Save days of learning:
- tell us your goals, choose your topics, and the whole book is built around them.
- Learn effortlessly:
- Scottish History book written for your specific background and expertise.
- Understand at a glance:
- includes charts, tables, timelines, checklists, decision trees, and more.
- Stay current:
- written the day you order it, not years ago.
- Trust what you read:
- every book is checked for accuracy, with real research when your subject needs it.
Create your unique book in 3 steps
- 1. Select your focus
Select the focus of your Scottish History book and share your background
- 2. Personalize your book
Specify your goals and choose sub-topics to include
- 3. Get your tailored book
Your book is ready in 10 minutes. Read it online, download as EPUB or PDF, or send to Kindle.


Frequently asked questions
- What is TailoredRead?
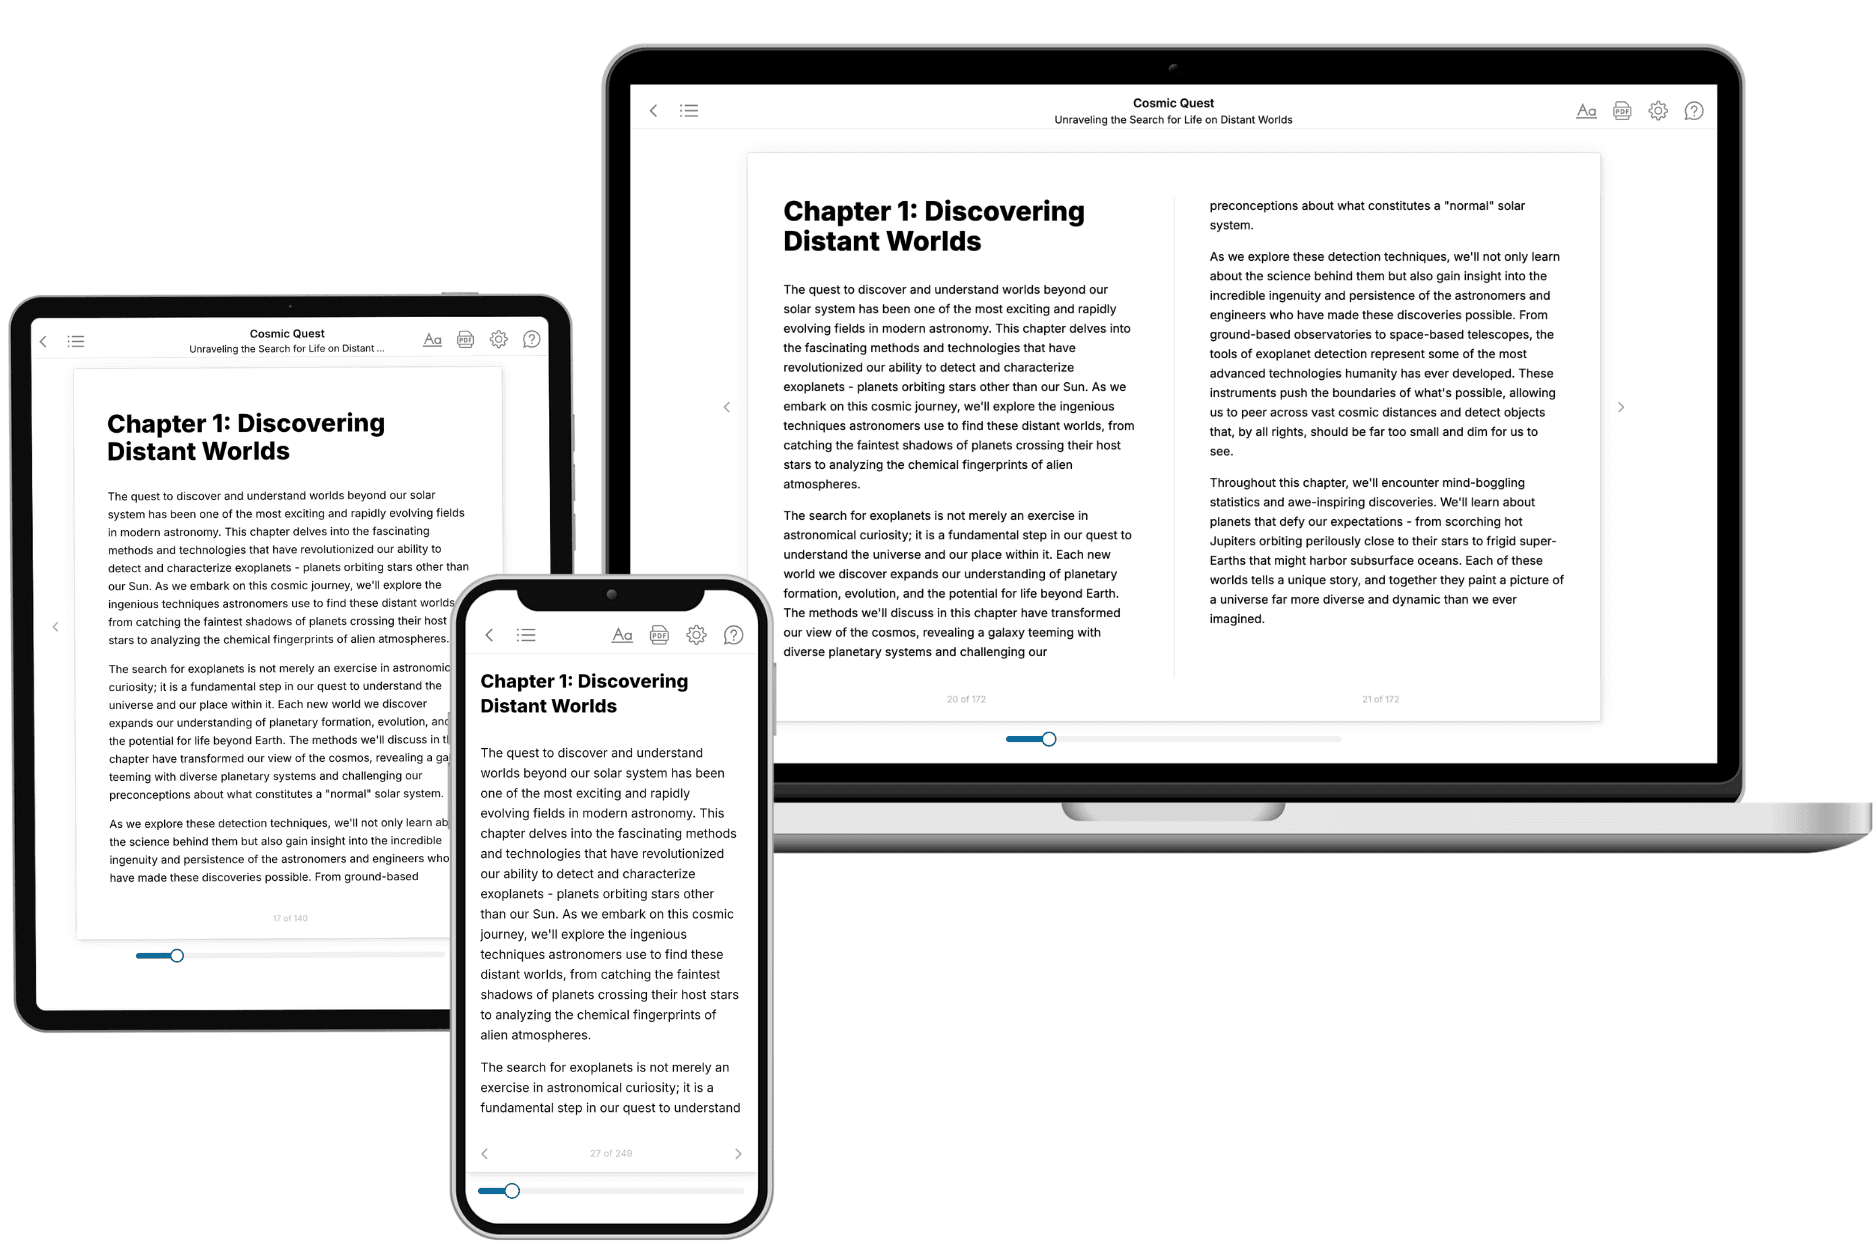
TailoredRead creates complete, full-length nonfiction ebooks, written specifically for you. Tell us what you want to learn and why, and TailoredRead writes you a complete ebook on it, with charts, tables, and diagrams throughout. Read it online, on Kindle, or on any e-reader, or download it as a PDF or EPUB. Every book is written fresh the day you order it.
- How is the book tailored to me?
Before anything is written, you answer a few short questions about your goals, your background, and the topics you care about. Your book is then planned around your answers: written at your level, focused on your goals, and covering the topics you chose, instead of the one-size-fits-all book a store sells everyone.
- Will it read like generic AI content?
No. Your book isn't a chat transcript: it's planned chapter by chapter before a single word is written, told in a clear book voice, and explains ideas visually with charts, tables, and diagrams. After writing, every book goes through an editorial pass that polishes chapters so the book reads consistent from start to finish. Judge for yourself: browse thousands of sample books on our Explore Books page.
- How accurate is the content?
Our AI first checks whether your subject needs live research. Niche and fast-moving subjects are researched before writing, and the book plan and chapters are grounded in what it finds. After writing, every book goes through a quality pass that checks its facts and consistency, and researched books list their sources in a Notes section at the back.
- How long is the book?
You choose the length: Comprehensive (250-300 pages), Detailed (150-200 pages), Essential (70-100 pages), or Short (30-50 pages).
- Does the book include visuals?
Yes. Every book includes charts, tables, and diagrams: timelines, checklists, step-by-step guides, decision trees, comparison tables, matrices, and bar charts. A typical book includes dozens of these visual elements.
- Can I read it on Kindle? What formats can I download?
Yes. Every book can be read in our online reader or downloaded as a PDF or EPUB. The EPUB can be opened with Kindle, Apple Books, Kobo, and any e-reader. The Commercial and Author licenses also include an editable Word (DOCX) and Markdown download.
- How much does it cost?
About the price of a regular ebook. The exact price depends on your book's length and complexity, from $2 for the shortest books to $35 for the most comprehensive, and it's shown when you review your book, before you commit to anything. Each book is a one-time purchase, yours to keep, no subscription. Licenses that let you share, teach, or publish your book range from $35.99 to $49.99.
- Can I preview the book before purchasing?
Before you pay, you'll see what your book will cover: the title, a detailed description, the estimated length, and the complete chapter-by-chapter table of contents, so you know what you're getting before you decide. The full text itself is written after you purchase.
- How long does it take to create a book?
About 10 minutes. You can start reading the opening chapters while the rest is still being written.