Acrylic Painting for Woodcrafters
Master Brush Techniques, Color Mixing, and Realistic Finishes for Your Scroll Saw and Woodcraft Projects
Transform your woodcraft projects from plain wood into stunning, professionally finished pieces.
222 pages10 chaptersJan 4, 2026PaintingCreated by John
About this book
This practical guide teaches you everything you need to paint acrylics with confidence and skill, even if you've never picked up a brush before. You'll master essential brush techniques, learn how to mix colors that pop, and discover how to create realistic wood textures and grain effects that elevate your scroll saw work. Whether you're painting intricate details on small pieces or finishing larger projects, you'll find step-by-step tutorials, daily practice exercises, and proven methods for using traceables and stencils to achieve precision without frustration. This book addresses the specific challenges woodcrafters face—painting on wood surfaces, working with scroll saw designs, and creating finishes that look professionally done. You'll overcome artistic fear through practical techniques and build the creative confidence to express your unique artistic vision in every project you create.
Table of contents
- IntroductionWhy Acrylics Are Perfect for Woodcrafters, Overcoming Artistic Fear and Building Confidence, How to Use This Book for Maximum LearningRead below
- Chapter 1: Understanding Acrylic Paint and MaterialsAcrylic Paint Properties and Characteristics, Essential Supplies: Brushes, Palettes, and Tools, Choosing Quality Paint Without Breaking the Bank
- Chapter 2: Preparing Your Wood SurfacesSanding, Cleaning, and Surface Preparation, Primer Selection and Application Techniques, Sealing and Finishing for Durability
- Chapter 3: Mastering the Color Wheel and Color MixingColor Theory Fundamentals for Painters, Practical Color Mixing Techniques and Ratios, Creating Harmonious Color Palettes for Your Projects
- Chapter 4: Essential Brush Techniques and BrushworkBrush Control and Proper Grip Techniques, Master Basic Brush Strokes and Movements, Advanced Techniques: Dry Brush, Stippling, and Glazing
- Chapter 5: Layering and Glazing for Depth and DimensionLayering Fundamentals and Building Depth, Glazing Methods for Smooth Transitions, Color Blending Techniques for Professional Results
- Chapter 6: Using Traceables and Stencils with ConfidenceWhy Traceables Remove Barriers and Accelerate Learning, Transfer Methods and Stencil Integration Techniques, Painting with Precision and Control Using Guides
- Chapter 7: Painting Realistic Wood Textures and Grain EffectsUnderstanding Natural Wood Grain Patterns, Techniques for Creating Realistic Wood Texture, Painting Convincing Wood Grain Effects on Flat Surfaces
- Chapter 8: Painting Scroll Saw Crafts and Woodcraft ProjectsPreparing Scroll Saw Pieces for Painting, Painting Intricate Details and Fine Lines, Finishing Woodcraft Paintings for Professional Appeal
- Chapter 9: Step-by-Step Tutorials and Practice ProjectsBeginner Projects to Build Foundational Skills, Intermediate Projects to Develop Technique, Advanced Projects to Challenge Your Abilities
- Chapter 10: Establishing Daily Practice and Artistic ExpressionCreating Effective Daily Practice Routines, Finding Your Unique Artistic Voice and Style, Building Creative Confidence Through Consistent Practice
- ConclusionYour Painting Journey Starts Now, Next Steps and Continued Growth
- Glossary of Painting Terms
- Further Reading and Resources
Introduction
You've spent hours carefully cutting intricate scroll saw patterns, sanding every edge smooth, and assembling beautiful woodcraft projects. Your pieces are structurally sound and precisely crafted, yet something feels incomplete. The natural wood is beautiful, but you envision vibrant colors, realistic details, and professional finishes that transform your work from simple craft projects into stunning art pieces. The problem isn't your woodworking skills—it's that you've never learned how to paint. Perhaps you've tried once or twice, only to end up with streaky brushstrokes, muddy colors, or finishes that look amateurish rather than professional. You might believe that painting requires natural artistic talent you simply don't possess, or that years of training are necessary before you can achieve the results you imagine.
This book exists to prove those assumptions wrong and to give you the specific skills, techniques, and confidence you need to paint your woodcraft projects beautifully. Painting is not a mysterious talent bestowed upon a lucky few—it's a learnable skill built on understandable principles and repeatable techniques. Every professional painter you admire started exactly where you are now, uncertain and inexperienced. The difference between amateur results and professional finishes isn't innate ability; it's knowledge of proper techniques, understanding of materials, and consistent practice with intentional focus. Throughout this book, you'll discover that acrylic painting on wood follows logical principles that anyone can master with the right instruction and dedication.
Your background as a woodcrafter actually gives you significant advantages as you begin your painting journey. You already understand how wood behaves, how different species accept finishes, and how surface preparation affects final results. You're accustomed to working with precision tools, following detailed instructions, and developing skills through practice. You appreciate the satisfaction of transforming raw materials into finished pieces, and you understand that quality results require patience and attention to detail. These same qualities that make you a skilled woodcrafter will serve you exceptionally well as you develop your painting abilities. This book is specifically designed for woodcrafters like you, addressing the unique challenges of painting on wood surfaces, working with scroll saw designs, and creating finishes that complement rather than compete with your craftsmanship.
The approach in this book is deliberately practical and accessible. You won't find abstract art theory or vague suggestions to "express yourself" without concrete guidance on how to do so. Instead, you'll receive step-by-step instructions for essential techniques, specific recommendations for materials and tools, and practice exercises designed to build your skills progressively. Each chapter addresses a specific aspect of acrylic painting for woodcraft, from understanding paint properties and preparing surfaces to mastering brush techniques and creating realistic wood grain effects. The tutorials and projects are carefully sequenced to build your confidence gradually, starting with fundamental skills and progressing to more complex techniques as your abilities develop.
Perhaps most importantly, this book embraces practical tools that remove unnecessary barriers to your success. You'll learn how to use traceables and stencils professionally—not as "cheating," but as legitimate techniques that allow you to focus on developing your painting skills without the frustration of drawing ability holding you back. Professional artists and craftspeople use these tools regularly because they're efficient, accurate, and produce consistent results. By removing the drawing obstacle, you can concentrate entirely on color mixing, brush control, layering techniques, and finishing methods—the skills that will actually make your painted woodcraft projects look professional and polished.
Your journey through this book will transform not just your woodcraft projects, but your understanding of what you're capable of creating. You'll discover that the artistic vision you've been imagining is entirely achievable with the right techniques and consistent practice. The fear and uncertainty you feel now will gradually be replaced by confidence and creative excitement as you see your skills developing with each project you complete. By the time you finish this book and work through its exercises and tutorials, you'll have the knowledge, skills, and confidence to paint any woodcraft project you can imagine, creating finished pieces that reflect your unique artistic vision and craftsmanship.
Why Acrylics Are Perfect for Woodcrafters
Acrylic paint is the ideal medium for woodcraft projects, offering a unique combination of properties that align perfectly with the needs of woodcrafters. Unlike oil paints that require days to dry or watercolors that need specialized papers, acrylics dry quickly—typically within fifteen to thirty minutes for thin layers. This rapid drying time means you can complete multiple layers in a single painting session, building depth and detail without waiting overnight between steps. For woodcrafters working on projects with deadlines or those who prefer to complete pieces in focused work sessions, this efficiency is invaluable. The quick-drying nature also reduces the risk of smudging or accidentally touching wet paint as you rotate your piece to access different areas.
The adhesion properties of acrylic paint make it exceptionally well-suited for wood surfaces. Acrylics form a flexible, durable film as they dry, bonding securely to properly prepared wood without cracking, peeling, or flaking over time. This flexibility is crucial for wood, which naturally expands and contracts slightly with humidity changes. Oil-based paints can become brittle and crack on wood surfaces, while watercolors simply don't adhere properly without specialized grounds. Acrylics strike the perfect balance, creating a permanent bond that moves with the wood substrate. When properly sealed, acrylic paintings on wood can last for decades without deterioration, making them ideal for heirloom-quality pieces you want to preserve.
The versatility of acrylic paint allows you to achieve virtually any finish or effect you can imagine on your woodcraft projects. You can use acrylics straight from the tube for bold, opaque coverage, or thin them with water or medium for transparent glazes that allow wood grain to show through. This range means you can create everything from solid, vibrant colors on scroll saw ornaments to subtle, realistic wood grain effects on painted furniture pieces. Consider these specific applications that demonstrate acrylic versatility:
- Opaque coverage: Completely cover wood surfaces with solid colors for decorative pieces, signs, or painted designs where you want no wood grain visible
- Transparent glazing: Apply thin, translucent layers that tint the wood while preserving its natural grain patterns and texture
- Textured effects: Build up thick applications for dimensional effects, or use specialized mediums to create raised textures and patterns
- Fine detail work: Paint intricate details, thin lines, and precise patterns on small scroll saw pieces with excellent control
- Blended gradients: Create smooth color transitions and realistic shading that adds depth and dimension to flat wood surfaces
The cleanup and safety advantages of acrylic paint make it particularly appealing for home workshops and craft spaces. Acrylics are water-based, meaning you can clean your brushes, palettes, and tools with simple soap and water—no toxic solvents or harsh chemicals required. This eliminates the strong odors associated with oil paints and the ventilation concerns that come with solvent-based mediums. You can paint comfortably in your workshop or craft room without worrying about fumes affecting your health or requiring expensive ventilation systems. The non-toxic nature of most acrylic paints also makes them safer if you have family members or pets in your workspace, though you should still follow basic safety practices like avoiding ingestion and washing hands after painting sessions.
Acrylic paints offer exceptional color vibrancy and permanence that enhances the visual impact of your woodcraft projects. The pigments in quality acrylic paints are highly concentrated, producing rich, saturated colors that remain bright and true over time. Unlike some mediums that yellow or fade with age, acrylics maintain their color integrity for decades when properly sealed and protected from direct sunlight. This permanence means the beautiful colors you apply today will look essentially the same years from now, preserving the artistic vision of your finished pieces. The wide range of available colors—from subtle earth tones perfect for realistic wood effects to brilliant primaries ideal for decorative pieces—gives you unlimited creative possibilities.
The forgiving nature of acrylic paint makes it ideal for beginners developing their skills. While acrylics dry quickly, they remain workable for several minutes after application, giving you time to blend, adjust, and refine your brushwork before the paint sets. If you make a mistake, you can simply let the paint dry and paint over it—acrylics are completely opaque when applied in sufficient layers, allowing you to correct errors without the mistake showing through. This is dramatically different from watercolors, where mistakes are nearly impossible to fix, or oils, where corrections require scraping away wet paint or waiting days for drying before repainting. For woodcrafters learning to paint, this forgiving quality reduces frustration and encourages experimentation without fear of ruining your carefully crafted wood pieces.
The cost-effectiveness and accessibility of acrylic painting supplies make it practical for woodcrafters to begin painting without significant financial investment. Quality student-grade acrylic paints are affordable and widely available at craft stores, art supply retailers, and online sources. You don't need expensive specialized equipment—basic brushes, a simple palette, and water containers are sufficient to start. As your skills develop, you can gradually invest in higher-quality materials, but the initial barrier to entry is remarkably low. This accessibility means you can experiment, practice, and develop your skills without worrying about wasting expensive materials. Compare this to oil painting, which requires not just paints but also solvents, mediums, specialized brushes, and often more expensive surfaces, and the practical advantages of acrylics for woodcrafters become even more apparent.
The compatibility of acrylic paint with various finishing products allows you to protect and enhance your painted woodcraft projects effectively. Once your acrylic painting is complete and fully cured, you can apply water-based polyurethane, acrylic sealers, or specialized finishing products to protect the surface and add desired sheen levels. These topcoats shield your painted designs from moisture, handling, and environmental factors that could otherwise damage the finish. You can choose from matte, satin, or glossy finishes depending on the aesthetic you want to achieve. This compatibility with standard woodworking finishes means you can integrate painting seamlessly into your existing woodcraft workflow, using familiar products and techniques to complete your projects professionally.
Overcoming Artistic Fear and Building Confidence
The fear of painting is remarkably common among woodcrafters, often rooted in deeply held beliefs about artistic ability that simply aren't true. Many people carry negative experiences from childhood—perhaps a thoughtless comment from a teacher, comparison to a more "talented" sibling, or simply never receiving instruction in visual arts. These experiences crystallize into a fixed belief: "I'm not artistic" or "I can't draw." This belief becomes a self-fulfilling prophecy, preventing you from even attempting to develop painting skills because you've already decided you lack the necessary talent. The truth is that painting, like woodworking, is a skill built through instruction and practice, not an innate gift bestowed at birth. Every technique you'll learn in this book can be mastered through deliberate practice, regardless of your current skill level or past experiences.
Understanding the difference between talent and skill is crucial for overcoming artistic fear and building genuine confidence. Talent might give someone a slight head start, but skill—developed through consistent, intentional practice—determines actual ability and results. Consider your woodworking journey: you weren't born knowing how to operate a scroll saw, cut perfect miters, or sand surfaces smooth. You learned these skills through instruction, practice, and gradual improvement. Some techniques came easily; others required repeated attempts before you achieved satisfactory results. Painting works exactly the same way. The brush control, color mixing, and layering techniques you'll learn are no more mysterious or talent-dependent than learning to cut accurate curves with your scroll saw. They simply require the same patience, practice, and willingness to learn from mistakes that you've already demonstrated in your woodworking.
Reframing mistakes as essential learning opportunities rather than failures transforms your entire approach to developing painting skills. In woodworking, you understand that mistakes happen—a blade breaks, a cut goes slightly off-line, or a joint doesn't fit perfectly. You don't interpret these incidents as evidence that you're "not a woodworker"; you troubleshoot, adjust your technique, and continue. Apply this same mindset to painting. A brushstroke that's too heavy, a color that doesn't match your vision, or a detail that looks awkward aren't failures—they're feedback. Each "mistake" teaches you something specific about paint consistency, brush pressure, color mixing ratios, or technique application. Professional artists make countless adjustments and corrections during every painting; the difference is they view these adjustments as normal parts of the creative process rather than evidence of inadequacy.
Starting with simple, achievable projects builds momentum and confidence more effectively than attempting complex paintings before you've developed foundational skills. This progressive approach prevents the discouragement that comes from tackling projects beyond your current ability level. Consider this structured progression for building confidence:
- Week 1-2: Practice basic brush control exercises on scrap wood—straight lines, curves, dots, and simple shapes without worrying about creating finished pieces
- Week 3-4: Paint simple geometric designs or basic patterns on small wood pieces, focusing on even coverage and clean edges
- Week 5-6: Complete a simple project using traceables, such as a basic ornament or small sign with solid colors and minimal detail
- Week 7-8: Add simple shading and highlighting to designs, introducing basic depth and dimension concepts
- Week 9-10: Attempt a project with multiple colors and moderate detail, applying layering techniques you've practiced
- Week 11-12: Challenge yourself with a more complex design incorporating various techniques you've learned
Celebrating small wins and acknowledging progress—no matter how incremental—maintains motivation and builds the positive momentum necessary for skill development. Your first attempts at painting won't produce masterpieces, and that's perfectly normal and expected. Instead of comparing your early work to professional results or even to your vision of what you wanted to create, compare it to where you started. Can you control your brush better than you could last week? Are your colors more consistent? Are your edges cleaner? These improvements, however small they seem, represent genuine progress and deserve recognition. Keep your early practice pieces and periodically review them to see how far you've advanced. This tangible evidence of improvement is incredibly motivating when you feel discouraged or stuck.
Understanding that professional-looking results come from technique, not talent, removes the mystique from painting and makes it accessible. When you see a beautifully painted woodcraft piece, you're seeing the application of specific, learnable techniques: proper surface preparation, appropriate primer selection, correct paint consistency, controlled brush pressure, strategic layering, and protective sealing. None of these techniques require artistic genius—they require knowledge and practice. A professional finish isn't the result of magical talent; it's the result of knowing which techniques to apply, in what order, and how to execute them properly. This book provides exactly that knowledge, breaking down professional results into step-by-step processes you can follow and practice until they become second nature.
Removing the drawing barrier through traceables and stencils eliminates one of the most significant sources of artistic fear for woodcrafters. Many people who say "I can't paint" actually mean "I can't draw," conflating two related but distinct skills. Drawing—creating original designs and accurately rendering subjects freehand—is indeed a skill that requires considerable practice to develop. Painting—applying color, creating textures, building depth through layering, and achieving professional finishes—is a separate skill set that doesn't require drawing ability. By using traceables and stencils to transfer designs onto your wood surfaces, you bypass the drawing challenge entirely and focus exclusively on developing your painting skills. This isn't cheating or taking shortcuts; it's using professional tools that allow you to concentrate on the skills most relevant to finishing your woodcraft projects beautifully.
Building a supportive practice environment and mindset accelerates your learning and makes the process more enjoyable. Dedicate a specific space in your workshop for painting, even if it's just a corner with a small table. Having your materials organized and readily accessible reduces friction and makes it easier to practice regularly. Set realistic expectations: commit to short, focused practice sessions rather than waiting for large blocks of time that may never materialize. Fifteen minutes of daily practice produces better results than occasional marathon sessions. Eliminate distractions during practice time—turn off your phone, close social media, and focus entirely on the techniques you're developing. Consider documenting your progress through photos or a simple journal, noting what techniques you practiced, what worked well, and what you want to improve. This documentation provides valuable feedback and creates a record of your artistic journey that becomes increasingly rewarding to review as your skills develop.
Connecting with other woodcrafters who paint, whether online or in person, provides encouragement, inspiration, and practical advice that accelerates your learning. You'll discover that many experienced woodcrafters went through the same fears and challenges you're facing now, and their success stories prove that your goals are achievable. Online communities, social media groups, and local woodworking clubs often include members who paint their projects and are willing to share tips, answer questions, and provide encouragement. Seeing the range of skill levels and styles among other woodcrafters who paint helps normalize the learning process and reminds you that everyone starts somewhere. These connections also provide accountability and motivation—sharing your progress and projects with others who understand the challenges creates positive pressure to continue practicing and developing your skills.
How to Use This Book for Maximum Learning
This book is structured as a progressive learning system, with each chapter building on concepts and skills introduced in previous chapters. While you might be tempted to skip directly to advanced techniques or specific projects that interest you, resist this urge initially. The foundational chapters on materials, surface preparation, color theory, and basic brush techniques provide essential knowledge that makes advanced techniques much easier to master. Think of this book like a woodworking manual that teaches joinery—you need to understand basic joints before attempting complex furniture construction. Read through the entire book once to understand the complete scope of what you'll be learning, then return to Chapter 1 and work through each chapter systematically, completing the practice exercises and projects before moving forward.
The practice exercises included throughout this book are not optional suggestions—they're essential components of your skill development. Each exercise is specifically designed to develop muscle memory, hand-eye coordination, and technical understanding of particular techniques. Skipping these exercises to rush toward finished projects is like trying to learn scroll saw work without practicing basic cuts on scrap wood first. You might produce something, but it won't reflect your potential, and you'll develop bad habits that are difficult to correct later. Approach each exercise with full attention and intention, focusing on the specific skill it's designed to develop rather than trying to create something beautiful. Use inexpensive materials for practice—scrap wood pieces, student-grade paints, and basic brushes are perfectly adequate for skill development exercises.
Creating a structured learning schedule maximizes your progress and ensures consistent skill development. Sporadic practice produces sporadic results, while regular, focused practice creates steady improvement and builds the muscle memory essential for brush control and technique execution. Consider implementing this practical learning schedule:
- Daily practice sessions: Dedicate 15-30 minutes each day to focused practice, even if you can't work on complete projects
- Weekly technique focus: Concentrate on mastering one specific technique each week, such as dry brushing, glazing, or color mixing
- Weekend projects: Use longer weekend sessions to apply the week's practiced techniques to actual woodcraft projects
- Monthly review: At the end of each month, review your progress, identify areas needing additional practice, and set goals for the coming month
- Quarterly challenges: Every three months, attempt a project that pushes beyond your comfort zone, applying multiple techniques you've learned
Maintaining a practice journal or sketchbook specifically for your painting development provides valuable feedback and documentation of your progress. This doesn't need to be elaborate or artistic—a simple notebook where you record what you practiced, what worked well, what challenged you, and what you want to improve is sufficient. Include photos of your practice pieces and projects, noting the techniques you used and any problems you encountered. Write down color mixing ratios that produced colors you liked, so you can recreate them later. Document which brushes worked best for specific techniques, what paint consistency produced desired effects, and any tips or insights you discover through practice. This journal becomes an invaluable personal reference guide customized to your specific learning journey and preferences.
The tutorials and projects in this book are carefully sequenced to build your skills progressively, but you should adapt them to your specific interests and woodcraft style. If you primarily create scroll saw ornaments, focus more attention on the techniques relevant to small, detailed pieces. If you paint larger woodcraft items like signs or decorative panels, emphasize the sections covering broader brushwork and efficient coverage techniques. The fundamental skills remain the same regardless of project type, but you can customize your practice focus to align with your actual woodcraft projects. This relevance increases motivation and ensures the skills you're developing directly apply to the pieces you want to create.
Using scrap wood and practice boards extensively before painting finished woodcraft projects prevents the heartbreak of ruining pieces you've invested significant time crafting. Keep a supply of wood scraps in various types and sizes specifically for painting practice. Sand and prepare these practice pieces exactly as you would finished projects, so you're practicing on surfaces that accurately represent your actual working conditions. Test color combinations, practice new techniques, and experiment with different approaches on these practice pieces before committing to your finished work. This approach builds confidence and allows you to troubleshoot problems without the pressure and stress of potentially ruining a carefully crafted piece. Professional painters routinely create test samples and practice new techniques on scrap materials—it's standard practice, not a sign of uncertainty.
Implementing a systematic approach to learning new techniques ensures thorough understanding and proper skill development. When you encounter a new technique in this book, follow this learning process:
- Read completely: Read the entire section about the technique before attempting it, understanding the purpose, process, and expected results
- Watch or visualize: If video resources are available, watch demonstrations; otherwise, carefully study any illustrations and visualize the process
- Practice in isolation: Practice the technique by itself on scrap wood, focusing exclusively on the mechanics without trying to create finished art
- Repeat deliberately: Practice the technique multiple times, paying attention to what produces better results and what doesn't work
- Apply contextually: Incorporate the technique into a simple project where it's appropriate, seeing how it works in practical application
- Refine through feedback: Evaluate your results, identify areas for improvement, and practice those specific aspects again
- Integrate fully: Use the technique regularly in various projects until it becomes natural and automatic
Balancing patience with persistence is essential for maintaining motivation throughout your learning journey. Skill development isn't linear—you'll experience periods of rapid improvement followed by plateaus where progress seems to stall. These plateaus are normal and don't indicate that you've reached your limit; they're consolidation periods where your brain is integrating new skills and preparing for the next leap forward. During plateaus, maintain your practice routine without becoming discouraged. Continue working through exercises and projects, trusting that improvement is happening even when it's not immediately visible. Conversely, don't become impatient and try to rush through foundational skills to reach advanced techniques prematurely. Solid fundamentals make advanced techniques much easier to master, while weak fundamentals create ongoing struggles and frustration.
Leveraging the resources and references provided throughout this book extends your learning beyond the pages themselves. The glossary defines technical terms you'll encounter, ensuring you understand the language of painting and can communicate effectively with other painters or when purchasing supplies. The further reading section points you toward additional resources for deepening your knowledge in specific areas that particularly interest you. The footnoted research and sources provide evidence for techniques and approaches recommended in this book, allowing you to explore the underlying principles more deeply if desired. These supplementary resources aren't required for learning to paint your woodcraft projects successfully, but they're available for those who want to expand their understanding and continue developing their skills beyond this book's scope.
Finally, remember that this book is a tool for your creative development, not a rigid rulebook that must be followed without deviation. As you develop your skills and confidence, you'll naturally begin experimenting, adapting techniques to your preferences, and developing your own approaches to painting challenges. This evolution is positive and should be encouraged. The techniques and methods presented here represent proven approaches that work reliably, but they're not the only ways to achieve beautiful results. Use this book as your foundation, master the fundamental techniques it teaches, and then feel free to experiment, innovate, and develop your unique artistic voice. Your goal isn't to paint exactly like the examples in this book—it's to develop the skills and confidence to paint your woodcraft projects in ways that reflect your personal vision and creative expression.
This is the end of the free sample. The full book has 10 chapters.
Want this book written for you?
Tell us your goals and background, and get your own version of this book, tailored by AI to you.


Benefits of AI-tailored books
- Read one book, not ten:
- all the Painting knowledge you need, gathered into a single book.
- Save days of learning:
- tell us your goals, choose your topics, and the whole book is built around them.
- Learn effortlessly:
- Painting book written for your specific background and expertise.
- Understand at a glance:
- includes charts, tables, timelines, checklists, decision trees, and more.
- Stay current:
- written the day you order it, not years ago.
- Trust what you read:
- every book is checked for accuracy, with real research when your subject needs it.
Create your unique book in 3 steps
- 1. Select your focus
Select the focus of your Painting book and share your background
- 2. Personalize your book
Specify your goals and choose sub-topics to include
- 3. Get your tailored book
Your book is ready in 10 minutes. Read it online, download as EPUB or PDF, or send to Kindle.


Frequently asked questions
- What is TailoredRead?
TailoredRead creates complete, full-length nonfiction ebooks, written specifically for you. Tell us what you want to learn and why, and TailoredRead writes you a complete ebook on it, with charts, tables, and diagrams throughout. Read it online, on Kindle, or on any e-reader, or download it as a PDF or EPUB. Every book is written fresh the day you order it.
- How is the book tailored to me?
Before anything is written, you answer a few short questions about your goals, your background, and the topics you care about. Your book is then planned around your answers: written at your level, focused on your goals, and covering the topics you chose, instead of the one-size-fits-all book a store sells everyone.
- Will it read like generic AI content?
No. Your book isn't a chat transcript: it's planned chapter by chapter before a single word is written, told in a clear book voice, and explains ideas visually with charts, tables, and diagrams. After writing, every book goes through an editorial pass that polishes chapters so the book reads consistent from start to finish. Judge for yourself: browse thousands of sample books on our Explore Books page.
- How accurate is the content?
Our AI first checks whether your subject needs live research. Niche and fast-moving subjects are researched before writing, and the book plan and chapters are grounded in what it finds. After writing, every book goes through a quality pass that checks its facts and consistency, and researched books list their sources in a Notes section at the back.
- How long is the book?
You choose the length: Comprehensive (250-300 pages), Detailed (150-200 pages), Essential (70-100 pages), or Short (30-50 pages).
- Does the book include visuals?
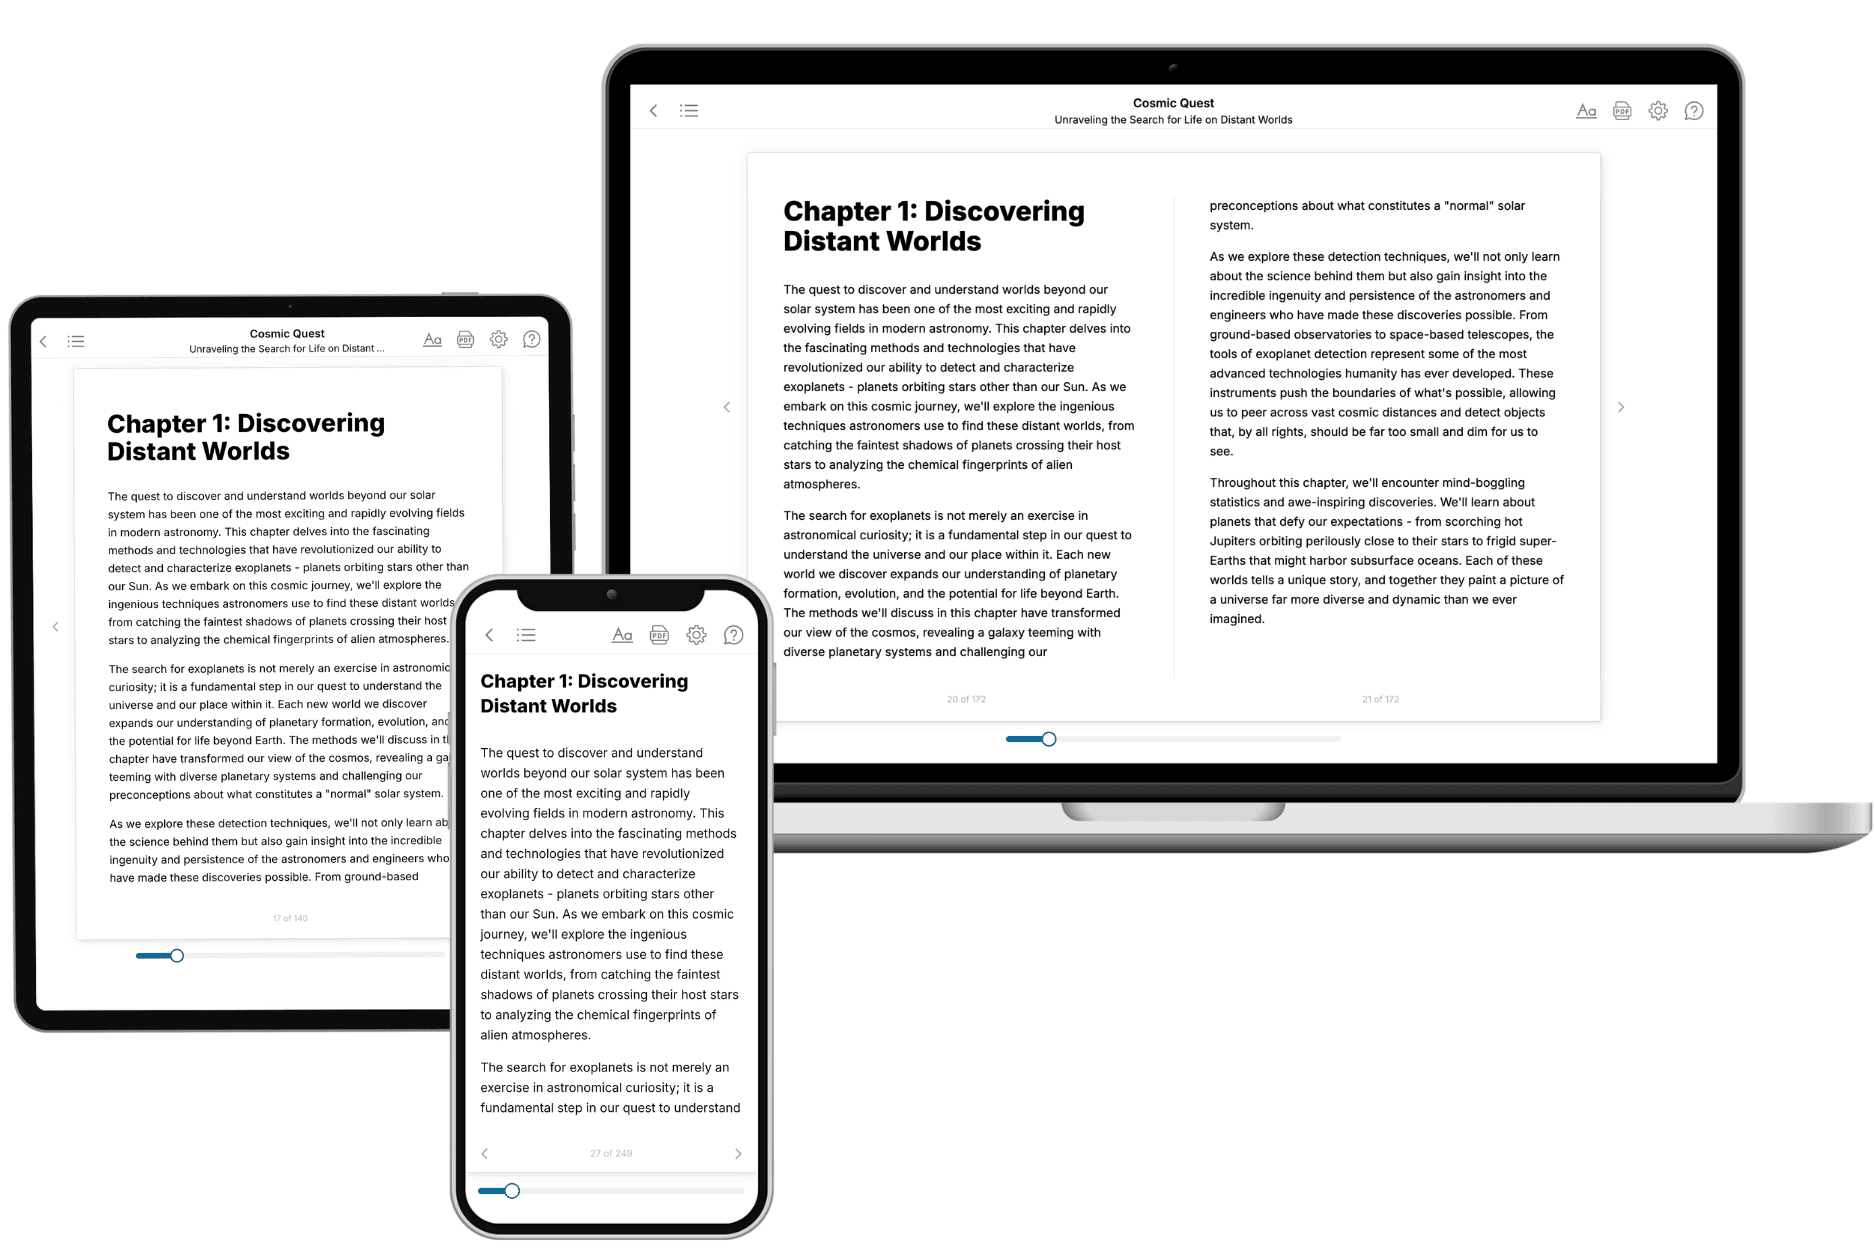
Yes. Every book includes charts, tables, and diagrams: timelines, checklists, step-by-step guides, decision trees, comparison tables, matrices, and bar charts. A typical book includes dozens of these visual elements.
- Can I read it on Kindle? What formats can I download?
Yes. Every book can be read in our online reader or downloaded as a PDF or EPUB. The EPUB can be opened with Kindle, Apple Books, Kobo, and any e-reader. The Commercial and Author licenses also include an editable Word (DOCX) and Markdown download.
- How much does it cost?
About the price of a regular ebook. The exact price depends on your book's length and complexity, from $2 for the shortest books to $35 for the most comprehensive, and it's shown when you review your book, before you commit to anything. Each book is a one-time purchase, yours to keep, no subscription. Licenses that let you share, teach, or publish your book range from $35.99 to $49.99.
- Can I preview the book before purchasing?
Before you pay, you'll see what your book will cover: the title, a detailed description, the estimated length, and the complete chapter-by-chapter table of contents, so you know what you're getting before you decide. The full text itself is written after you purchase.
- How long does it take to create a book?
About 10 minutes. You can start reading the opening chapters while the rest is still being written.