Step-by-Step Guide
TailoredRead writes a nonfiction book shaped around your subject, experience level, and goals. This guide walks through the full flow: signing in, answering the questionnaire, reviewing the preview, paying, and reading or downloading your book.
Not sure what to create? A few things other readers have built:
- A developer picking up a new programming language, AI/ML stack, or cloud platform
- A working professional learning a new business domain, such as strategy, operations, marketing, or finance
- Someone building a health or fitness practice: meditation, running, strength training, or mobility
- A researcher or student bridging a gap in an adjacent scientific or engineering field
- An expert writing a publishable business or methodology book under their own name
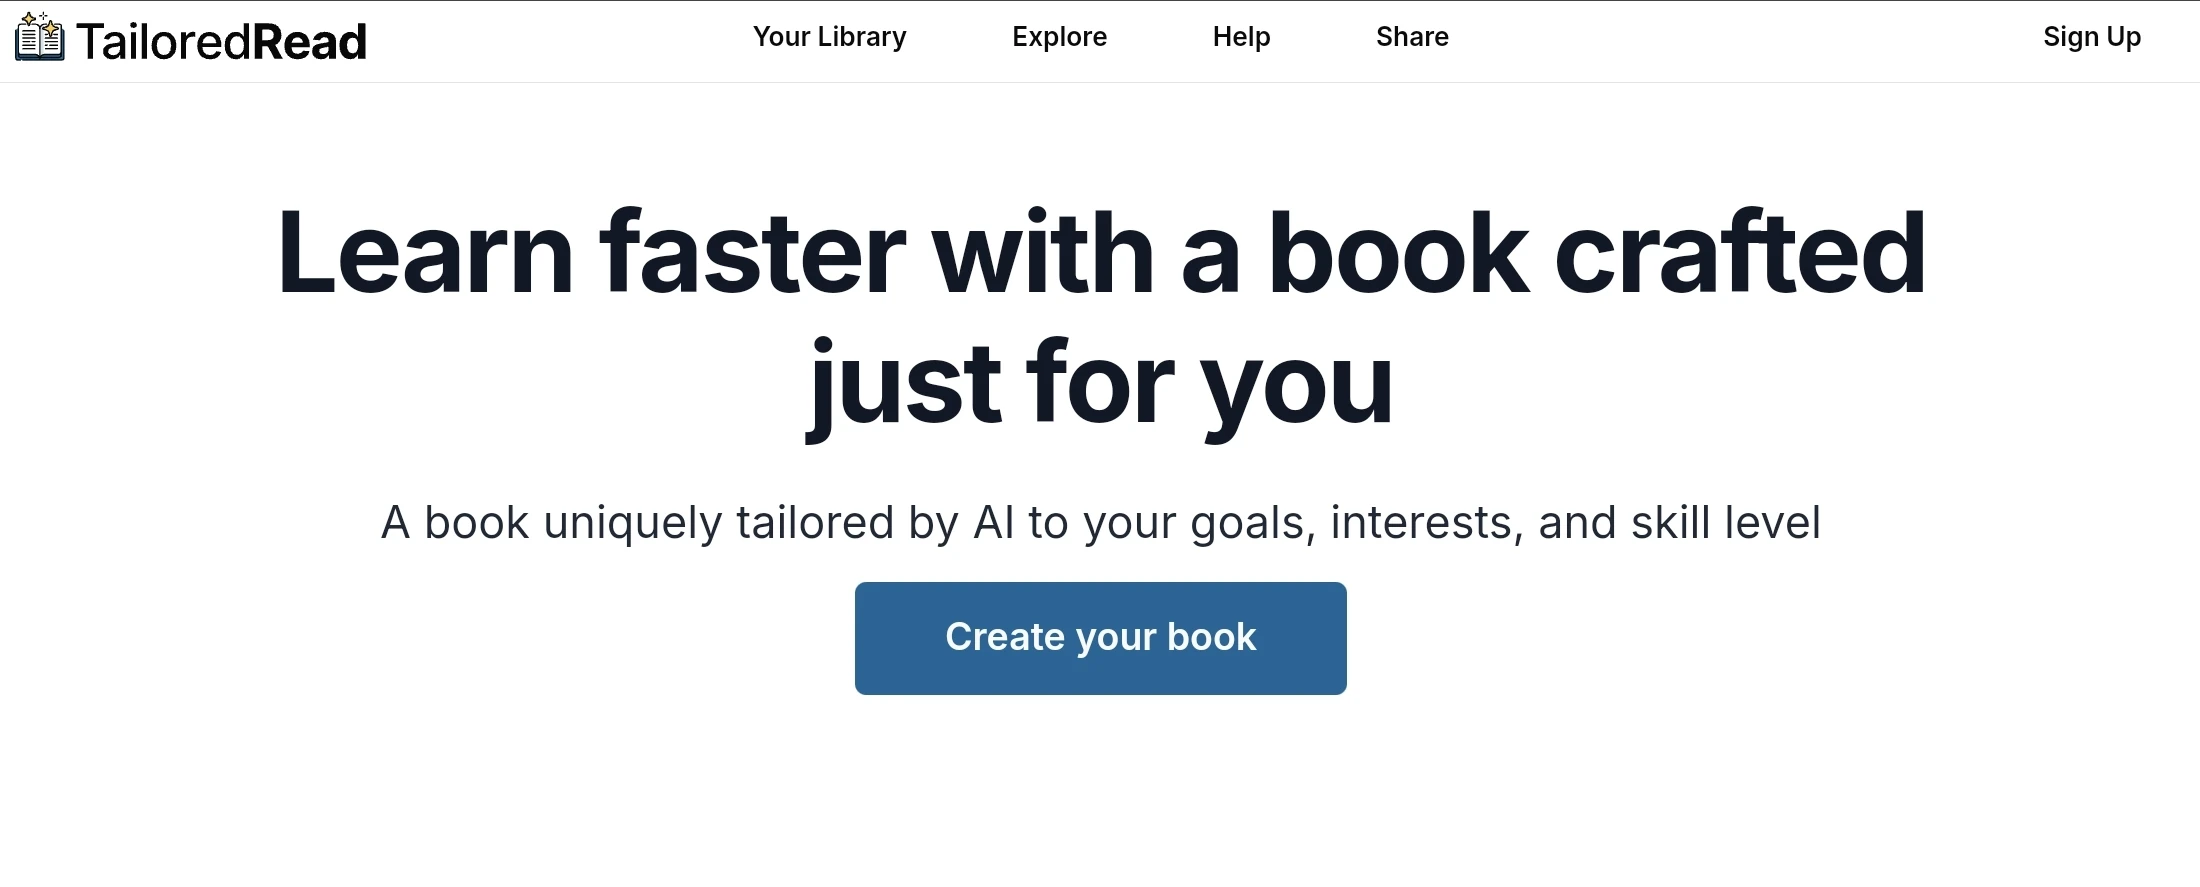
Step 1: Visit TailoredRead
Go to the TailoredRead website and select Create My Tailored Book or Sign Up to get started.
Step 2: Sign in
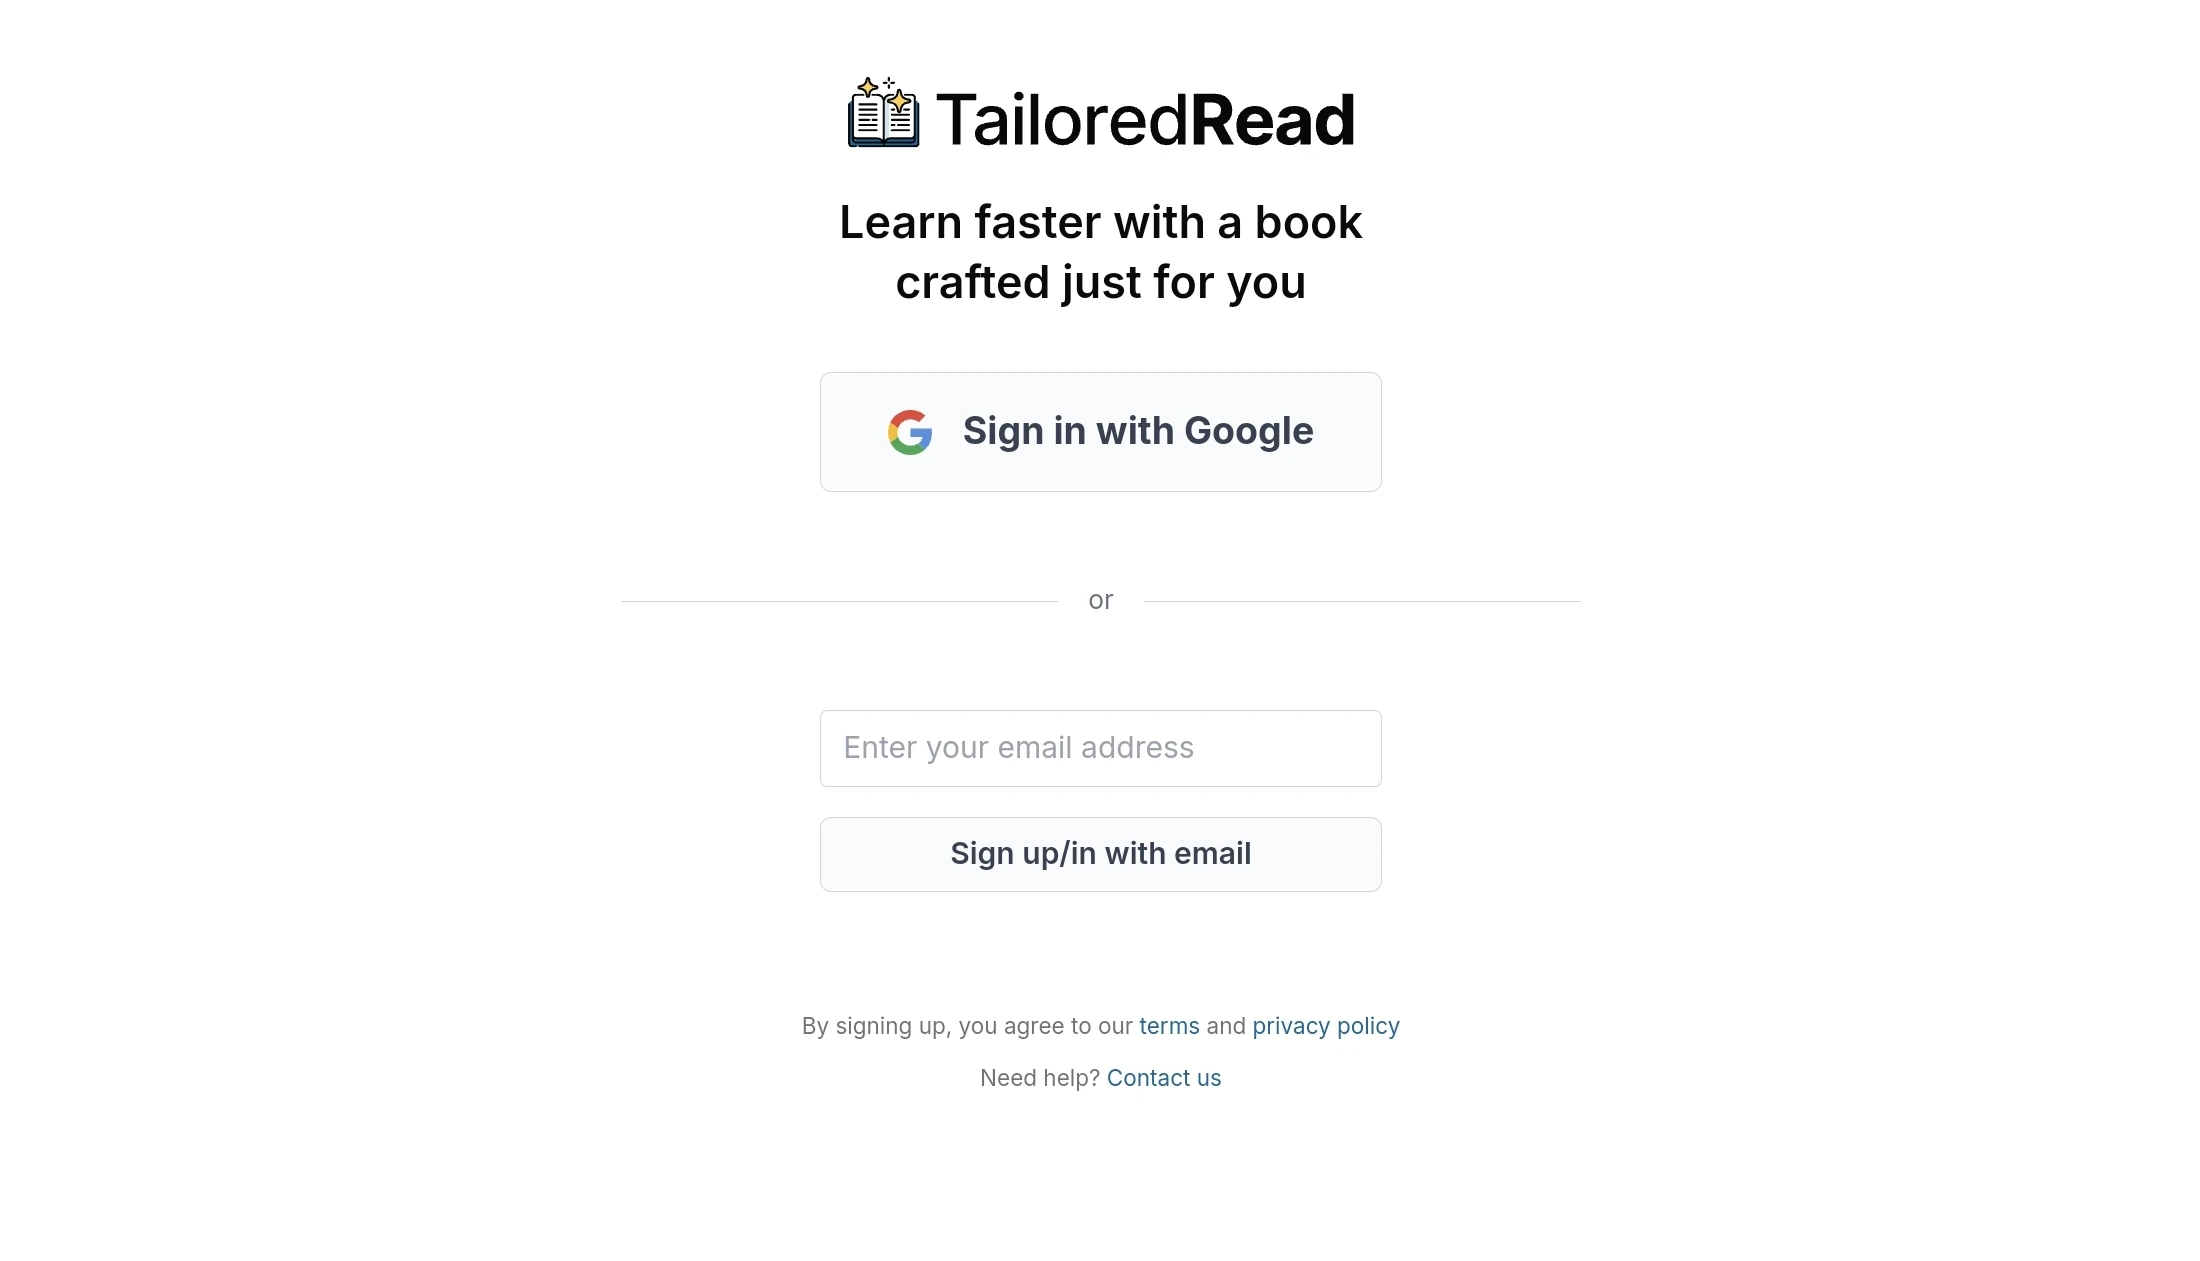
Sign in with one of two options:
Option 1: Google (recommended). Select Sign in with Google and choose a Google account.
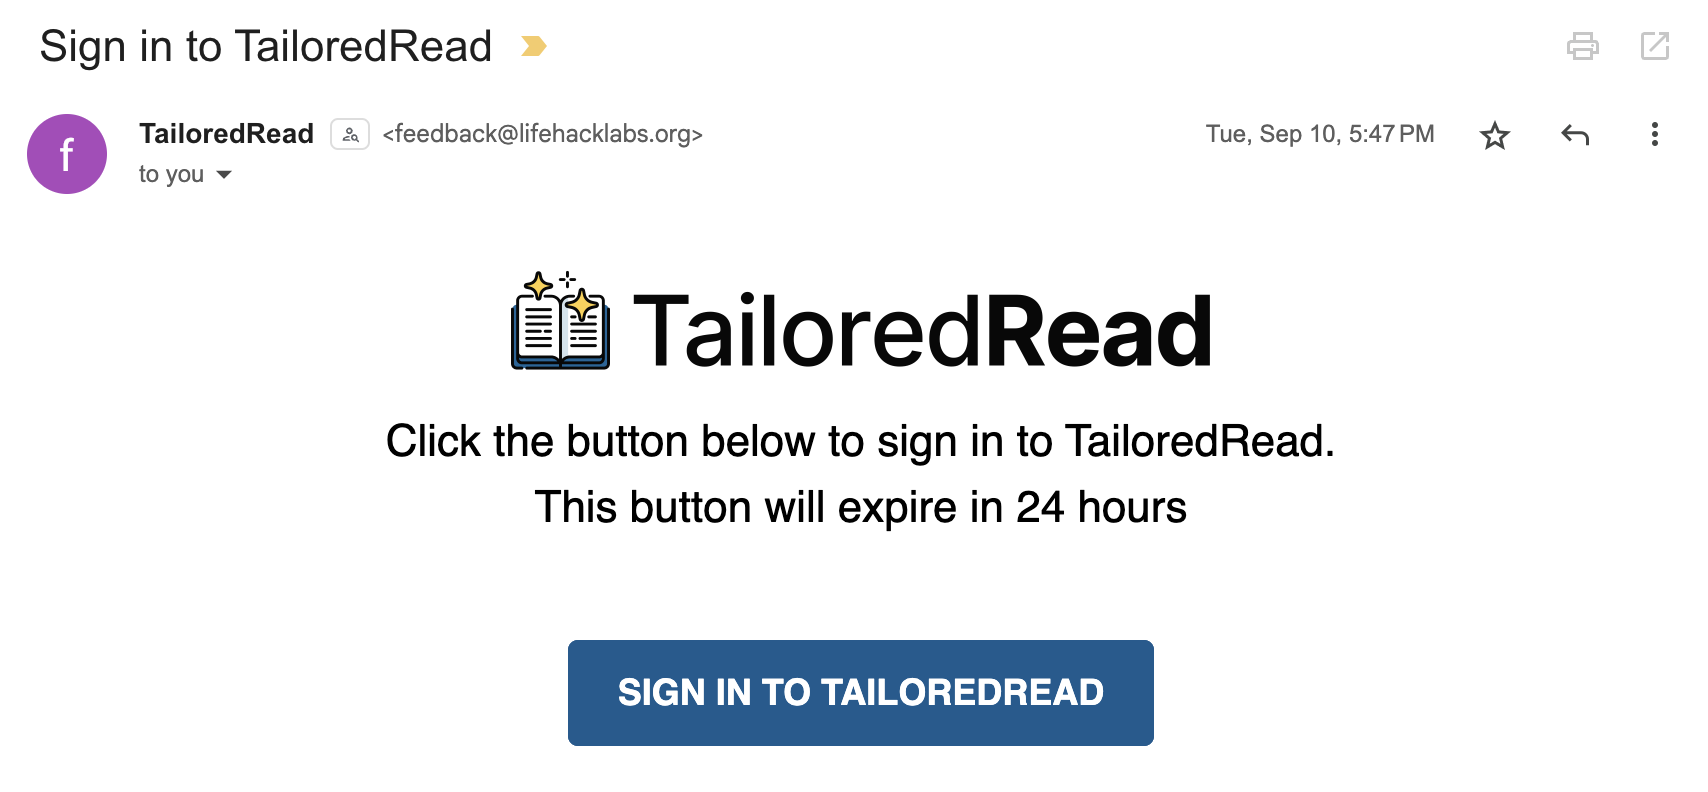
Option 2: Email link. Enter your email. You'll get a message with a sign-in link. Open the email and select the link to finish signing in.
Step 3: Design your book
If you don't see the book creation page, go to the create page directly.
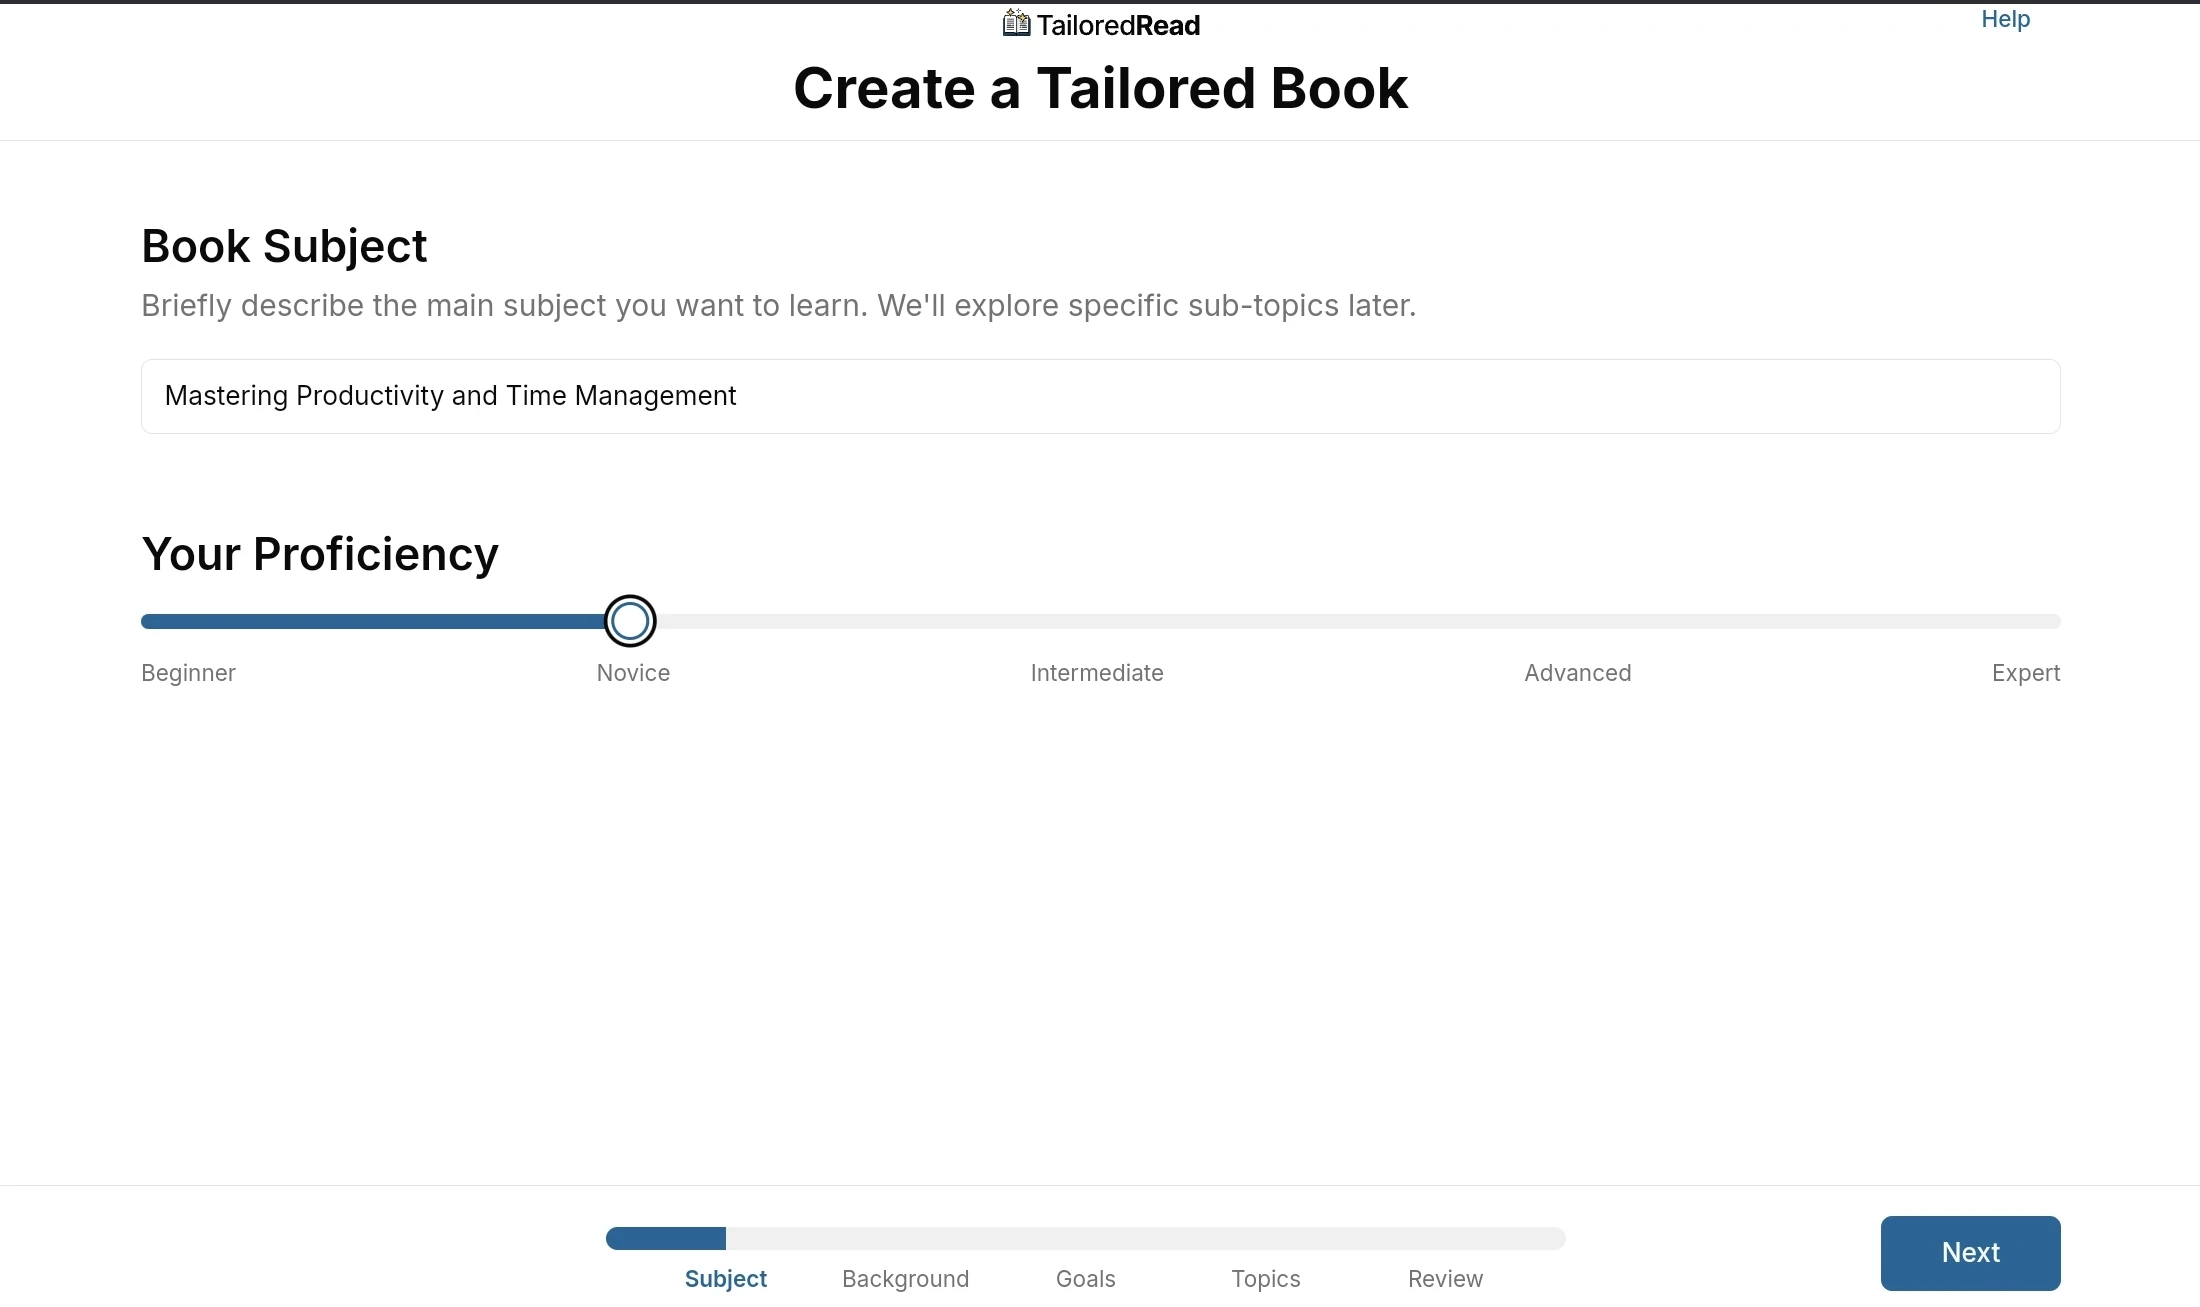
Step 3.1: Subject
- Type your subject in the Subject field (for example, Mastering Productivity and Time Management). Select Explore suggested subjects if you want ideas.
- Under This Book Is For..., pick who the book is for. The choice sets the default license and price:
- Me: Personal Use, for learning based on your own goals.
- My Students: Teaching Students (Educational license, shareable for free, no editing).
- Shareable Resource: for marketers, pros, and coaches (Commercial license, editable, shareable as a lead magnet or thought leadership).
- Publishing: for selling or publishing the book (Author license, editable and sellable).
- Other: opens a text box to describe a custom use case.
- Select Next to continue.
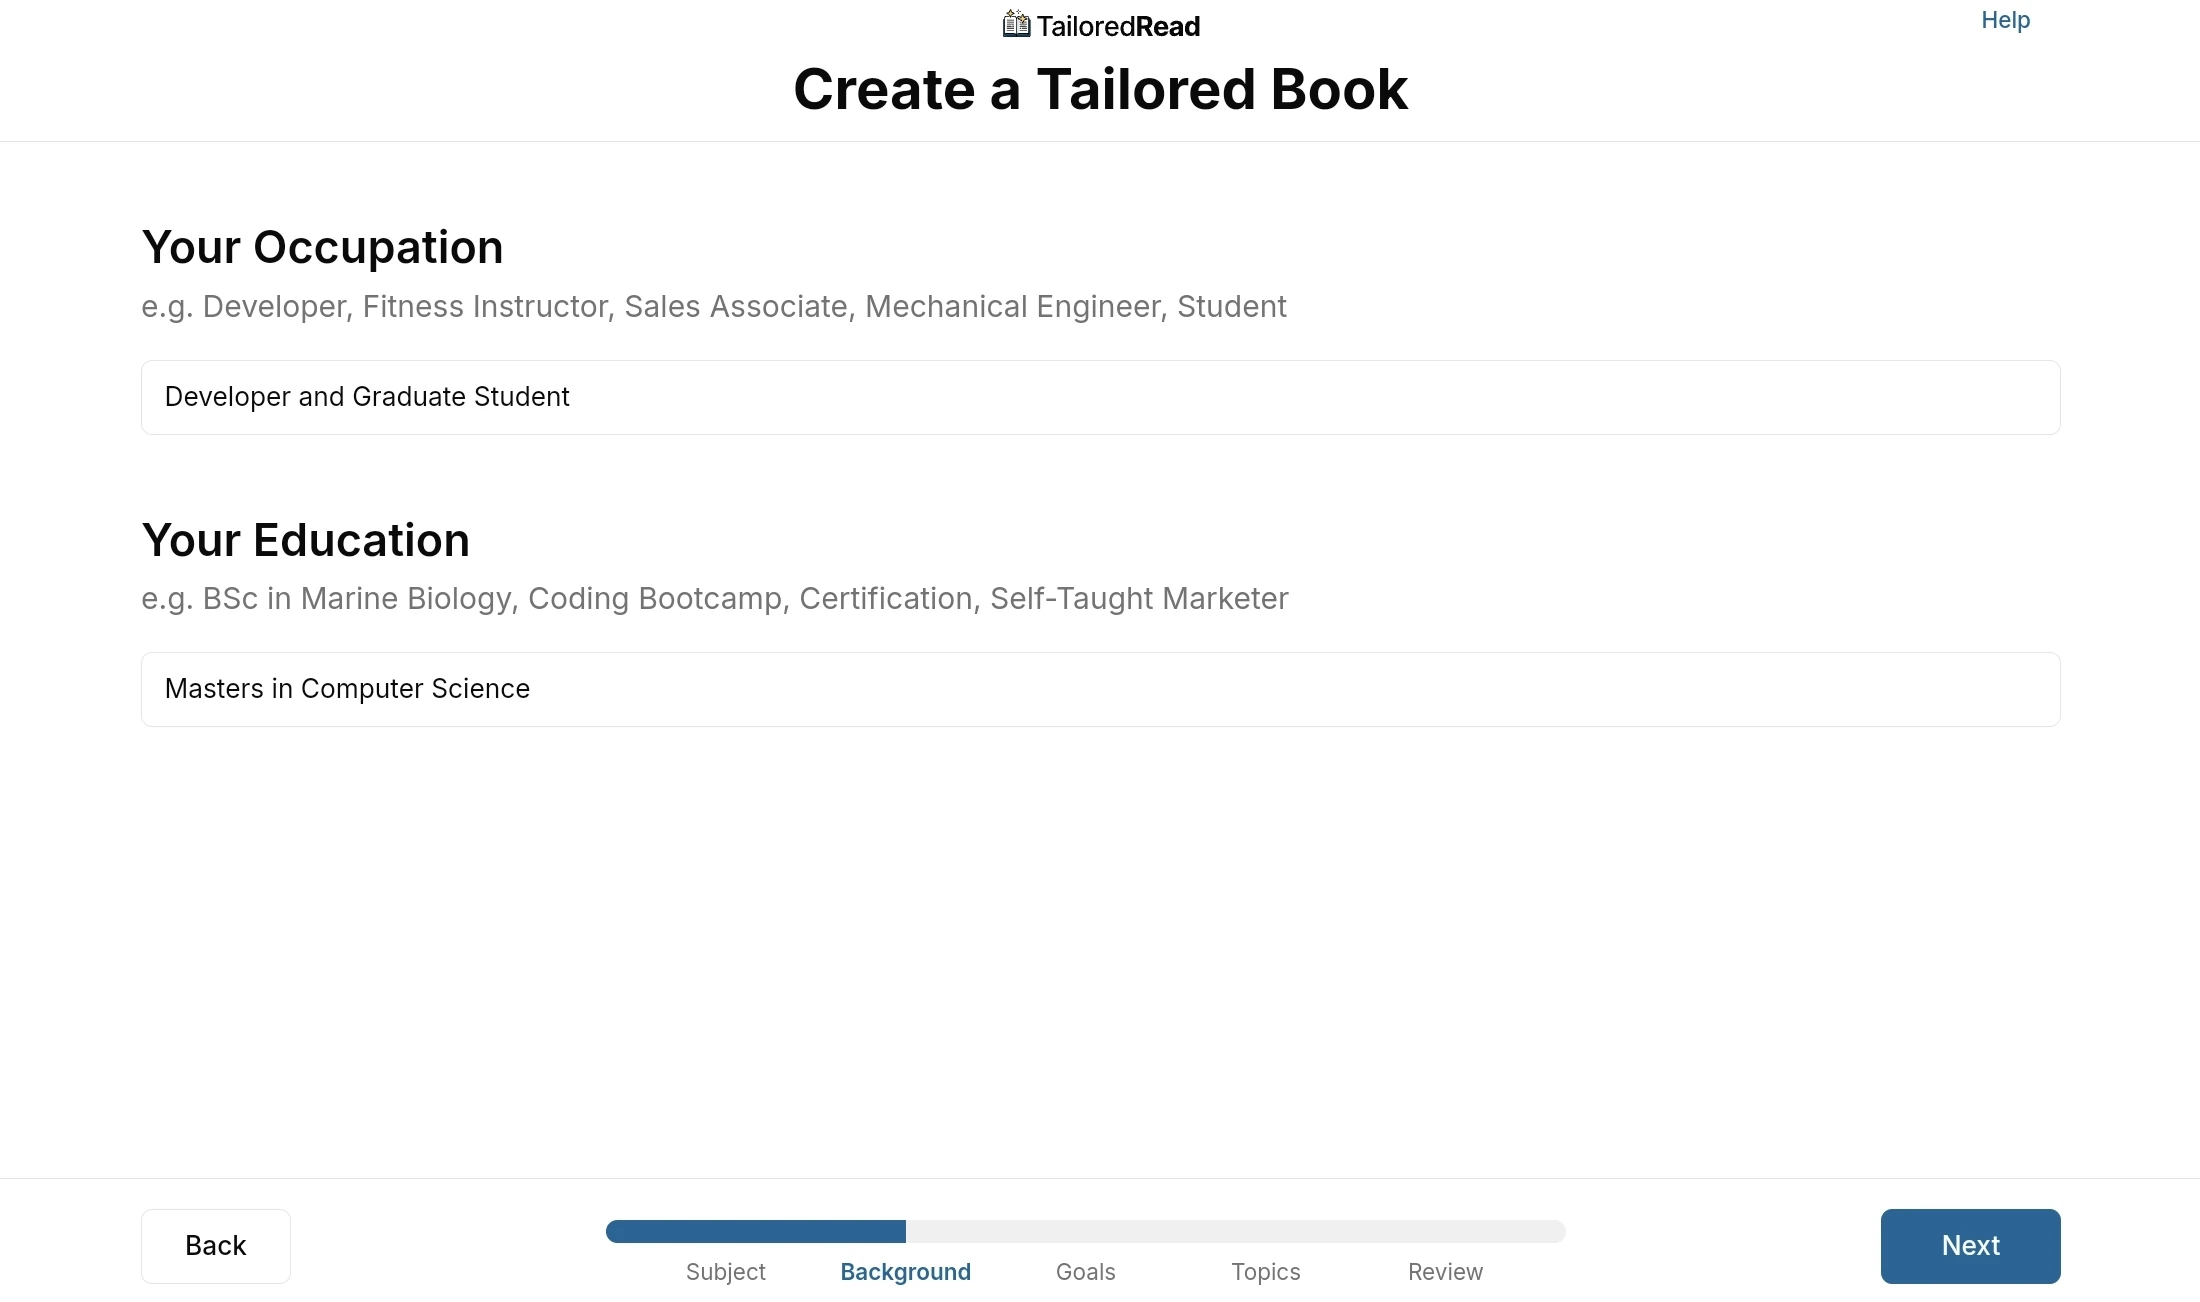
Step 3.2: Personalize
All fields on this step are optional. They help our AI tailor the content to what you already know.
- Occupation: your job role or status (for example, Developer and Graduate Student).
- Education: your educational background (for example, Masters in Computer Science).
- Familiarity: slide to match how familiar you are with this subject. The five levels are Beginner, Novice, Intermediate, Advanced, and Expert. This tells the AI how deep to go.
- Select Next to continue.
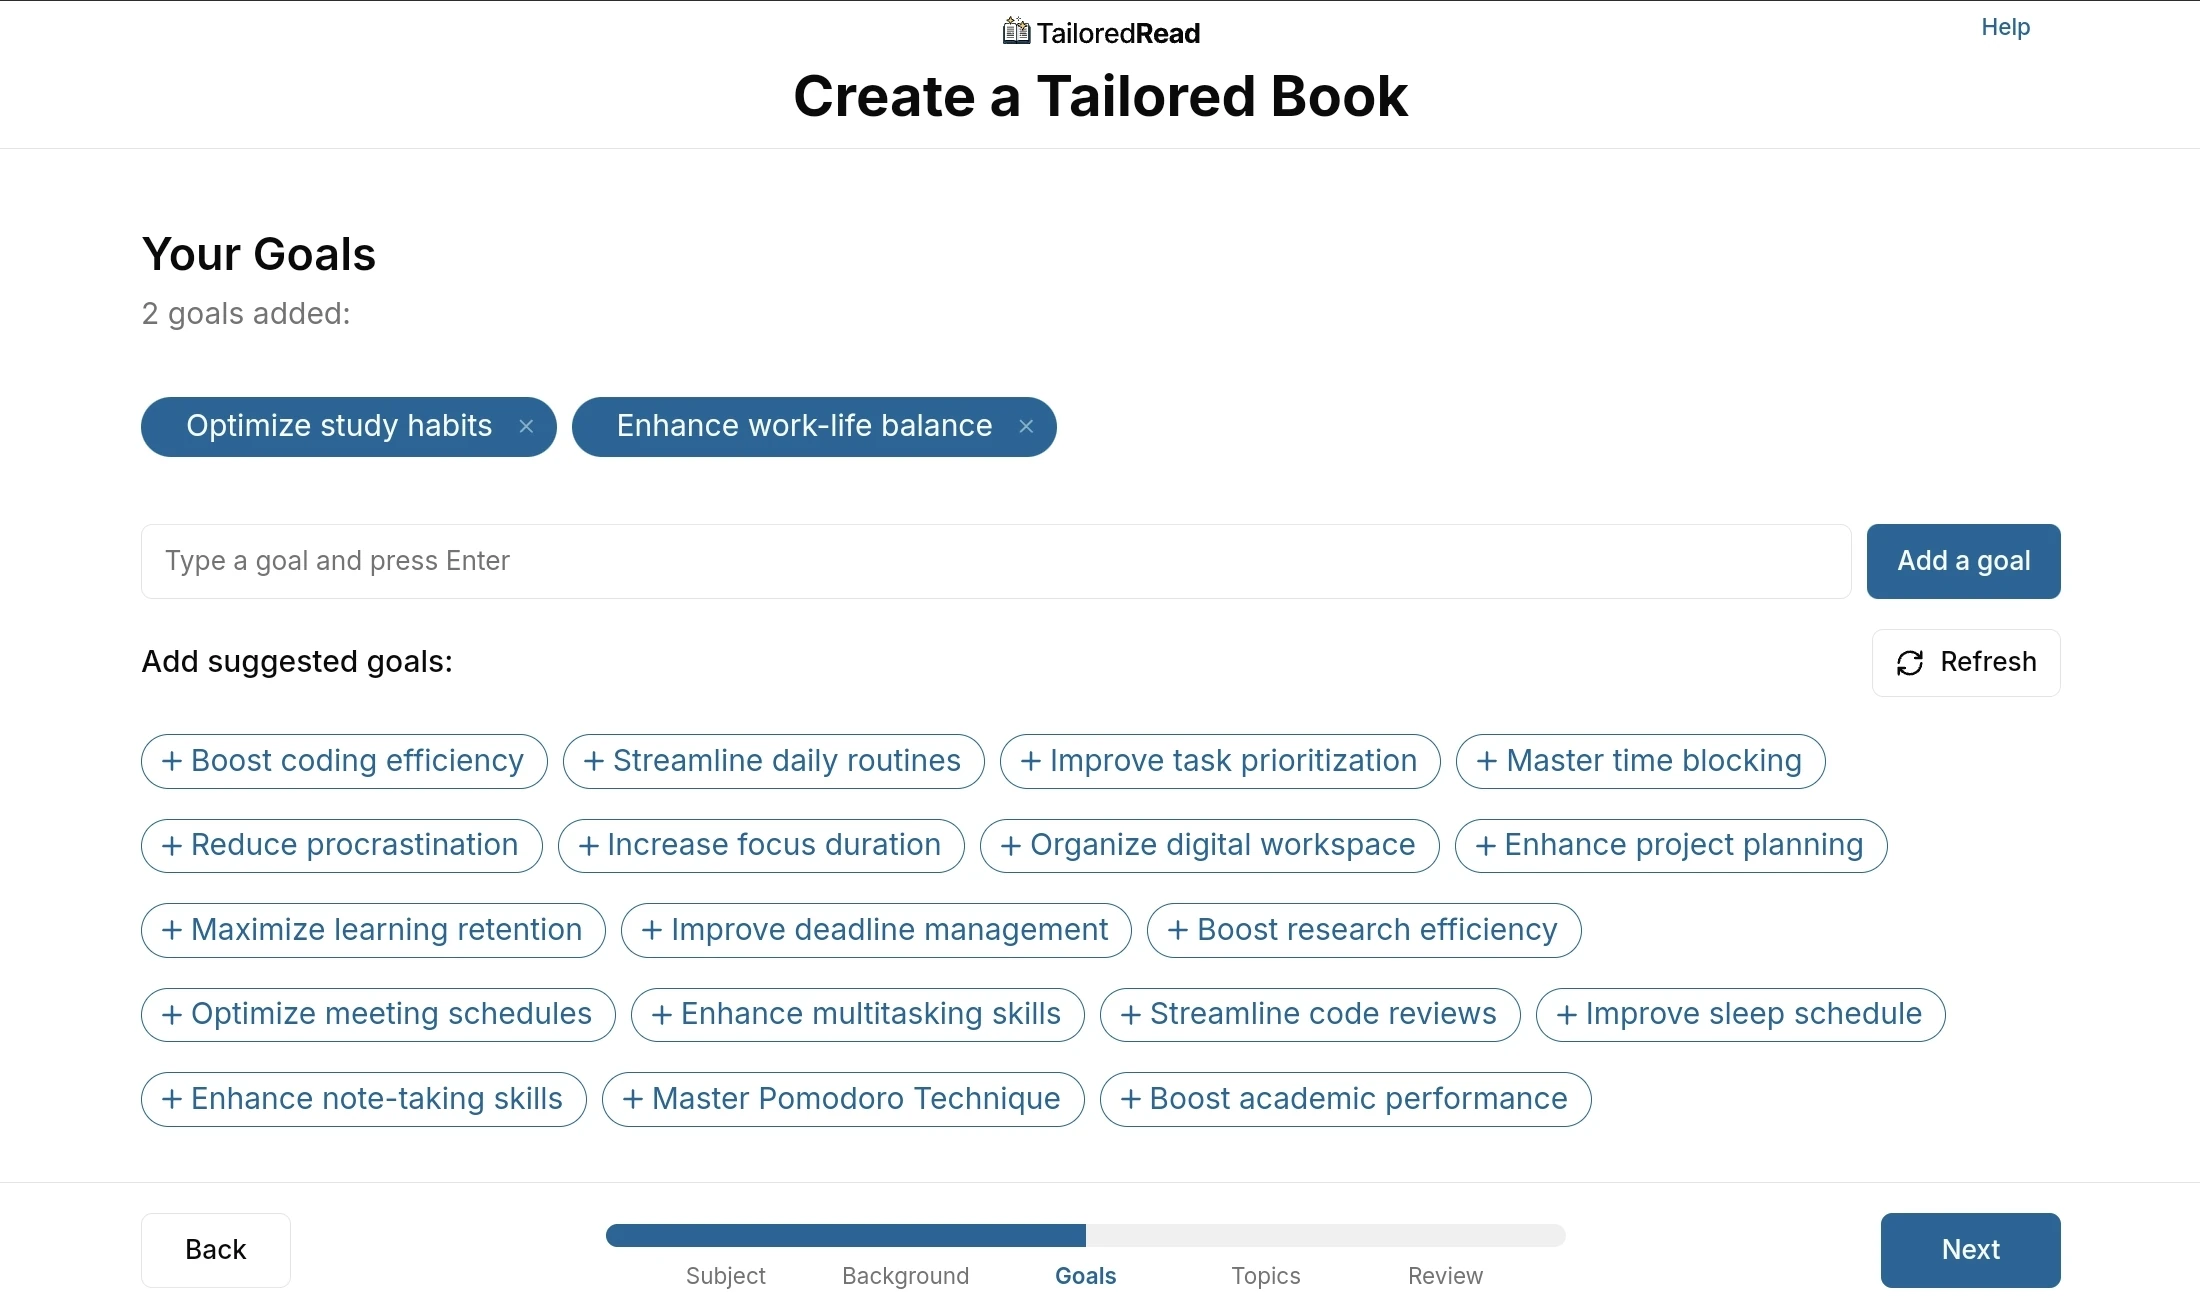
Step 3.3: Goals
- Add goals you want the book to help you accomplish.
- Type a goal in the text box (for example, Optimize study habits or Enhance work-life balance) and select Add a goal.
- Under Add suggested goals, select any of the suggested pills to add them. Select Refresh to generate a new set of suggestions.
- Add as many as you'd like.
- Select Next to continue.
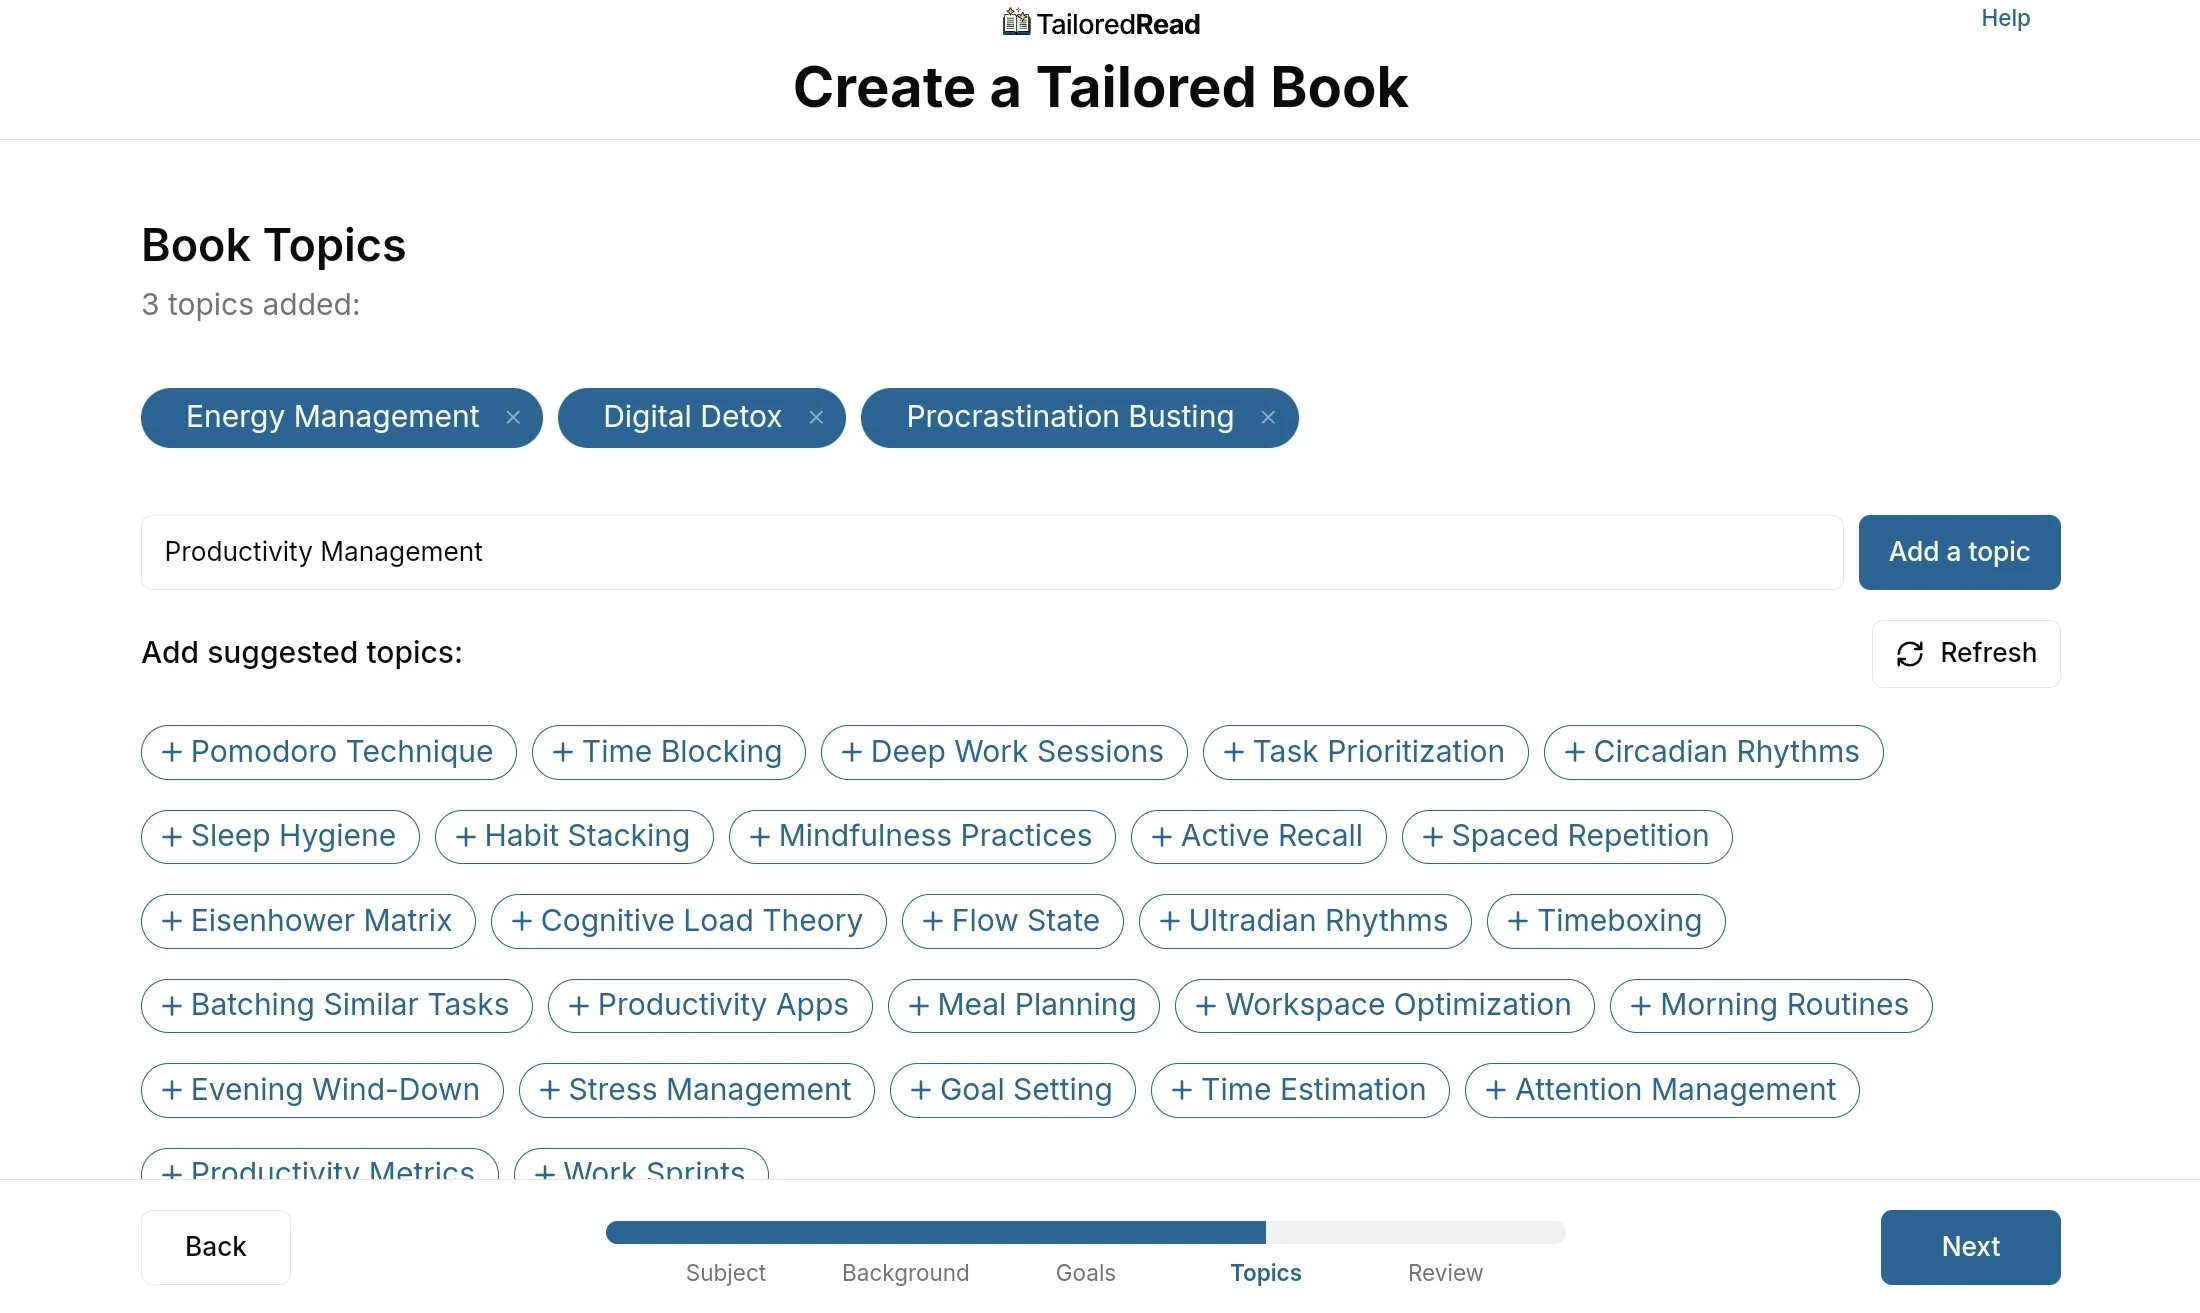
Step 3.4: Topics
- Add the topics you want the book to cover.
- Type a topic (for example, Productivity Management) and select Add a topic.
- Under Add suggested topics, select any of the suggested pills (such as Pomodoro Technique, Sleep Hygiene, or Deep Work Sessions) to add them. Select Refresh to generate a new set.
- Select Next to continue.
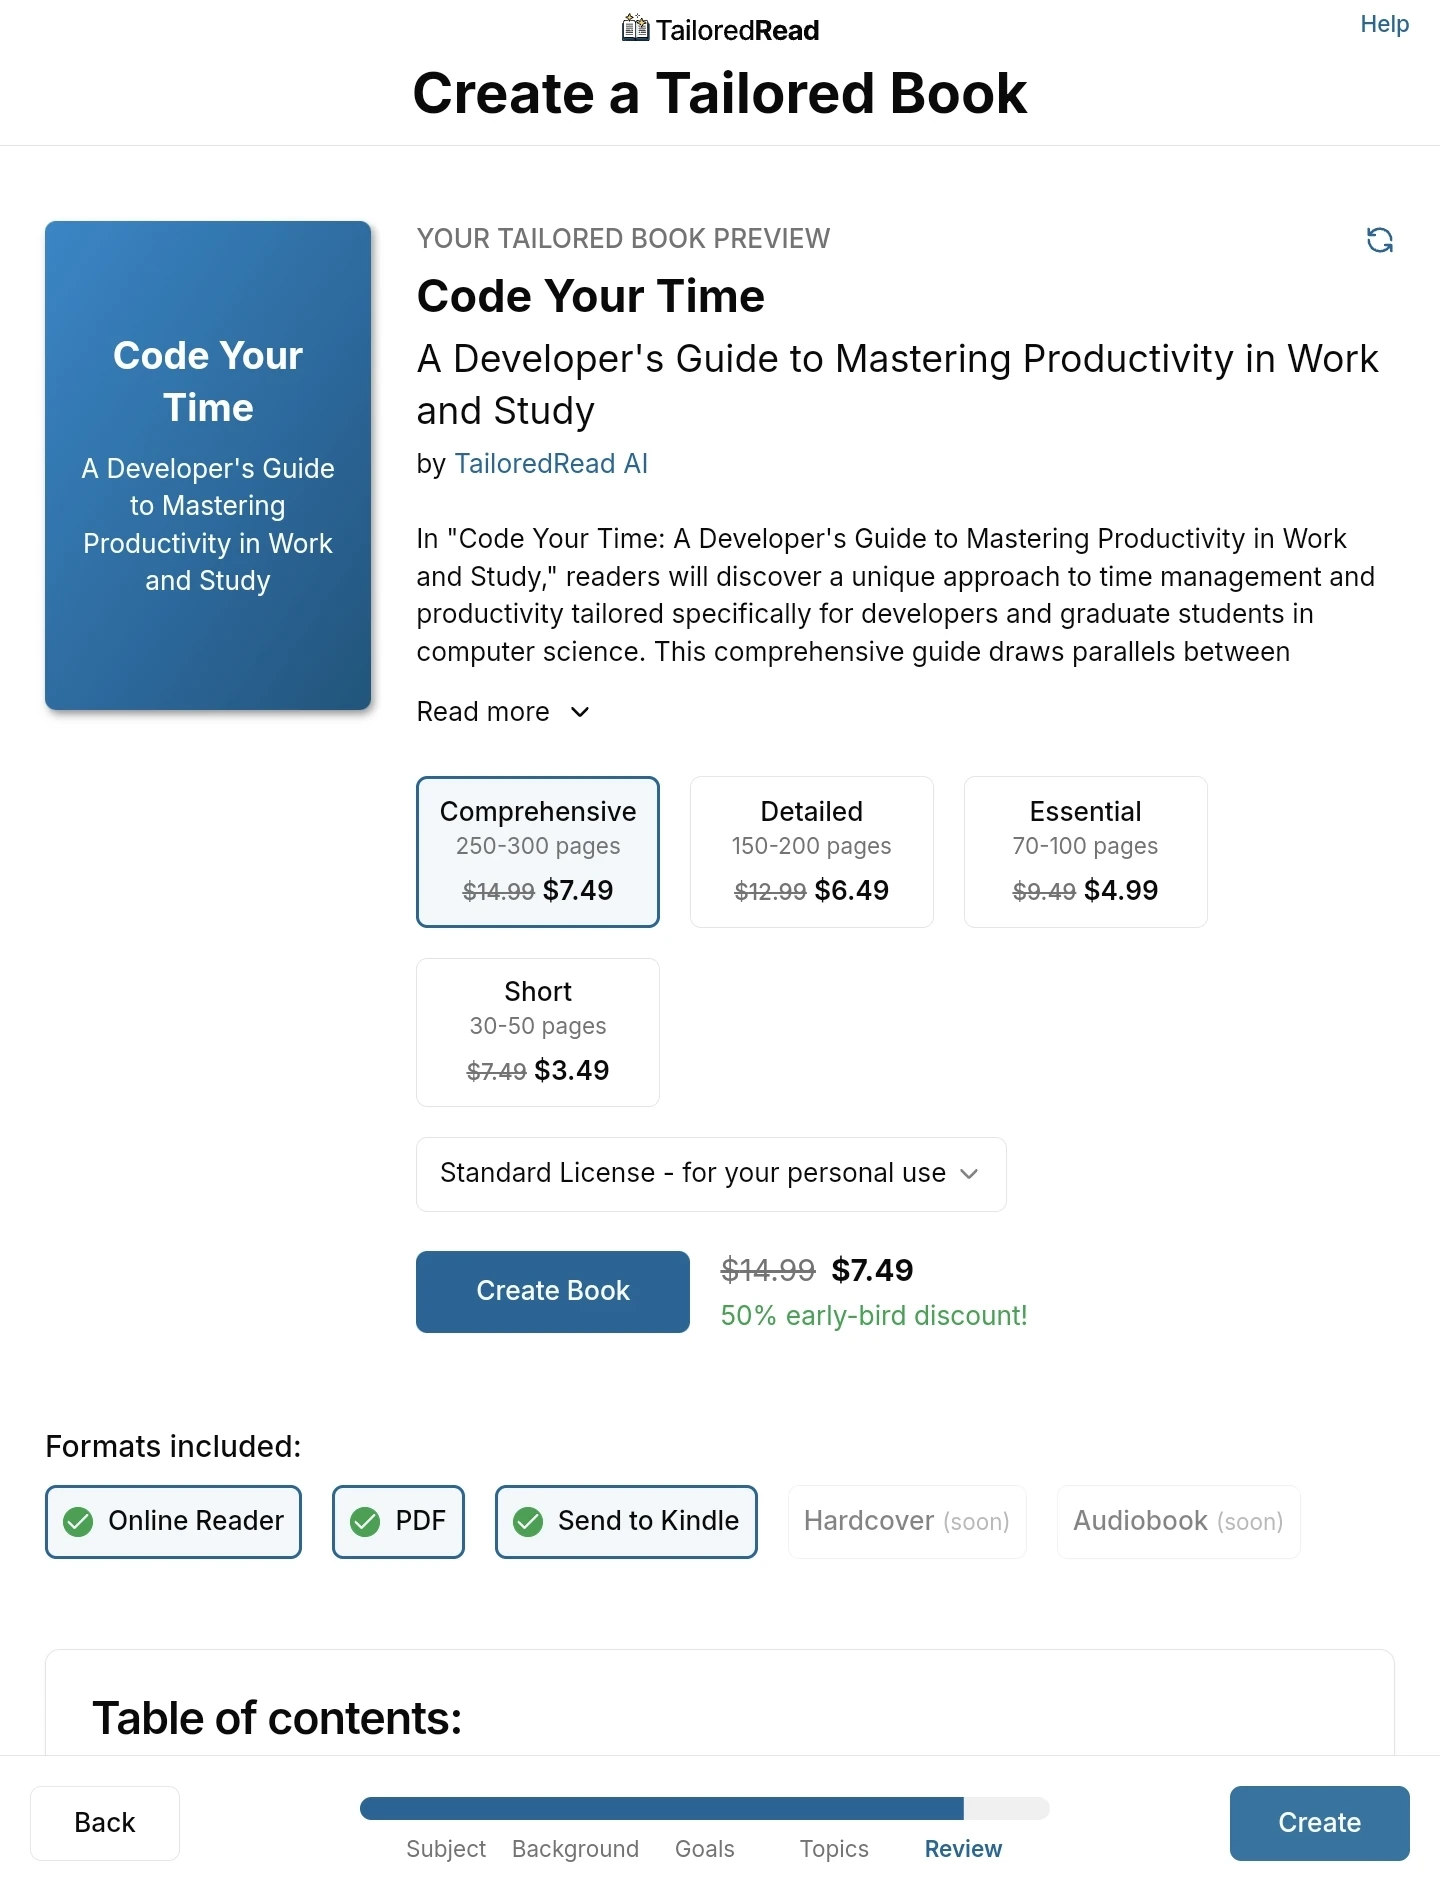
Step 3.5: Review
- Select Book Length: pick a length based on how much depth you want. See Book Length for page counts and how to choose.
- Select License: the default Personal License covers reading it yourself. See other licenses if you want to share, edit, sell, or publish your book.
- Review the book title and description.
- Scroll down to review the table of contents, which lists every chapter and subchapter.
- If anything's off, go back and adjust your inputs. If you change your subject, your details (occupation, education, or familiarity), your goals, or your topics, return to this step and press the Refresh icon in the top-right corner of the preview so the title and table of contents rebuild to match. Changing the book length on this step updates the preview automatically, so it needs no refresh. When you're ready, select Buy & Create Your Book.
If your subject is restricted, the Review step will show a message and block you from paying. Edit your inputs or pick a different subject and try again.
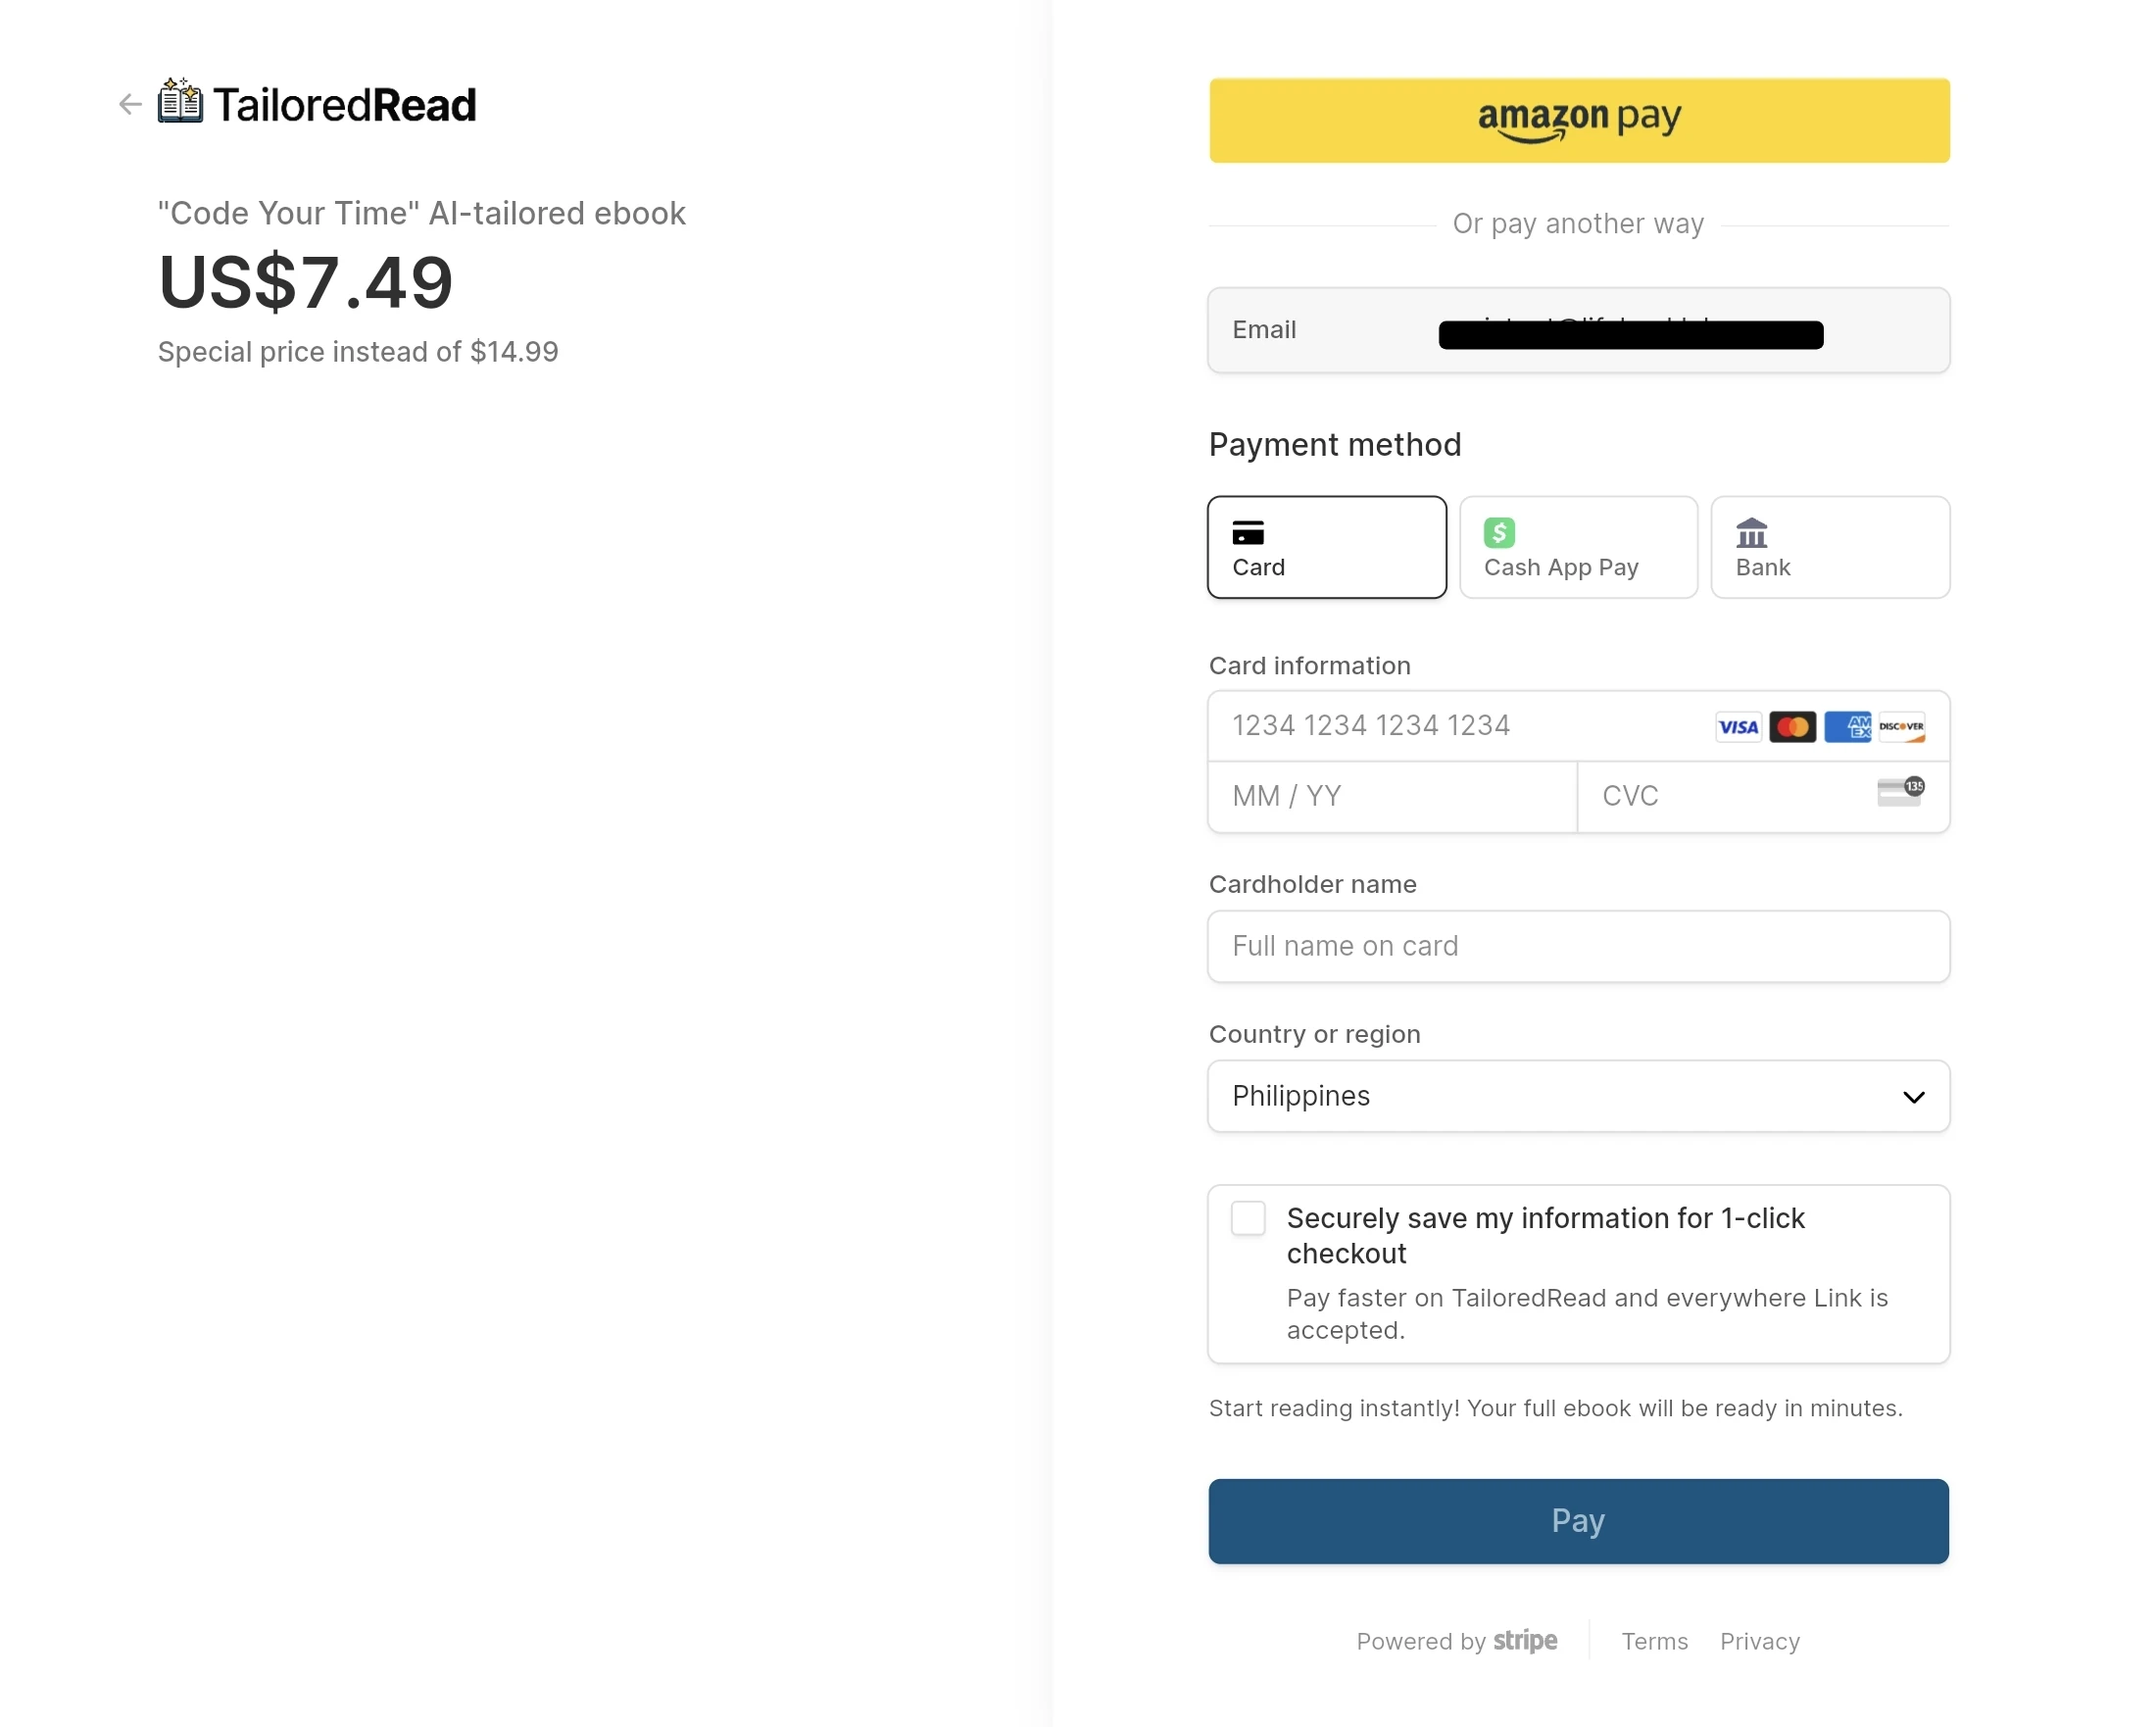
Step 4: Pay
Selecting Buy & Create Your Book redirects you to Stripe, our payment processor. Fill in your payment details and select Pay. Stripe handles the card itself. We never see your full card number, only the last 4 digits.
Step 5: Book generation
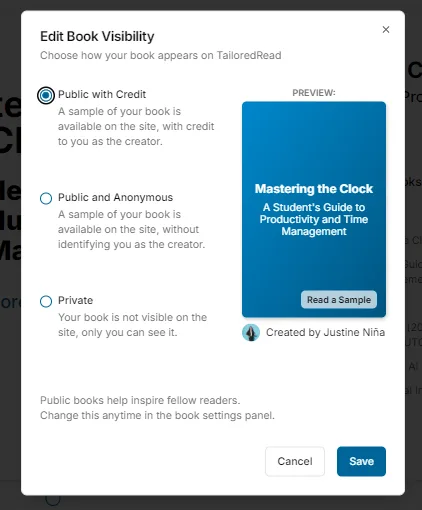
Step 5.1: Choose Book Visibility
Choose whether a sample of your book is visible to other readers. They'll only see the cover, table of contents, and introduction, not the rest of the content. You can change this any time from the reader menu. See Book Visibility for what's shown, who can see it, and how visibility affects sharing.
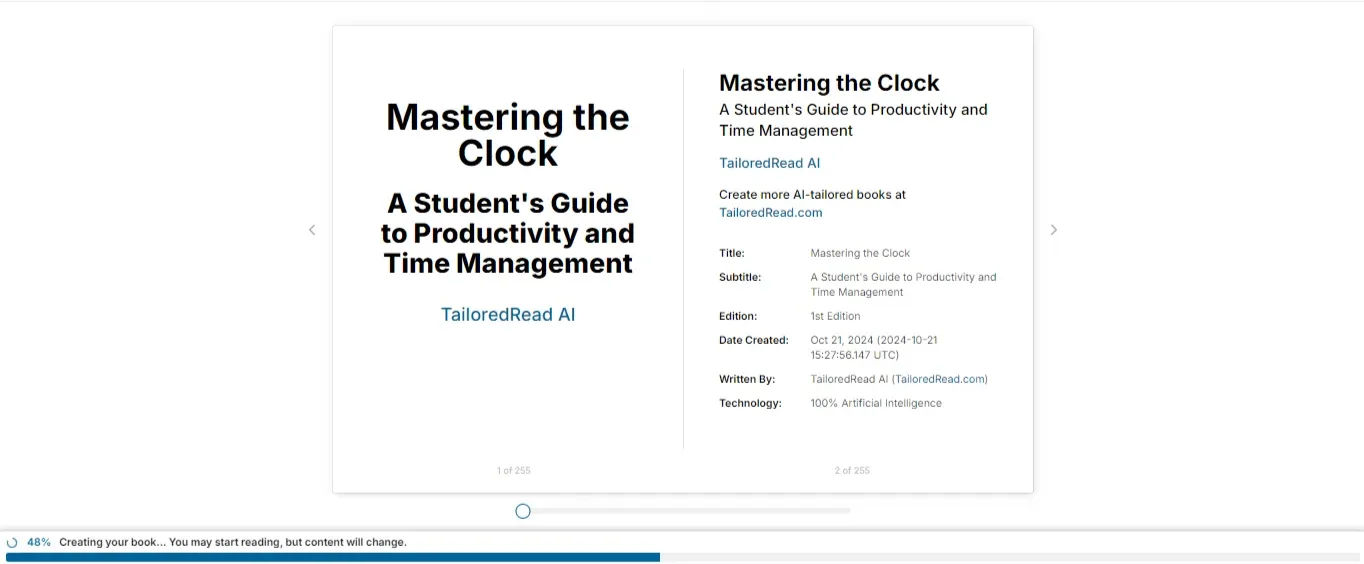
Step 5.2: Read while it's being written
Your book generates in front of you. This usually takes about 10 minutes, and you can start reading immediately. If it takes longer than 30 minutes or shows an error, see Why is my book stuck?.
When generation is done, you'll be redirected to the full reader.
Step 6: Read, download, or send to Kindle
Read your book
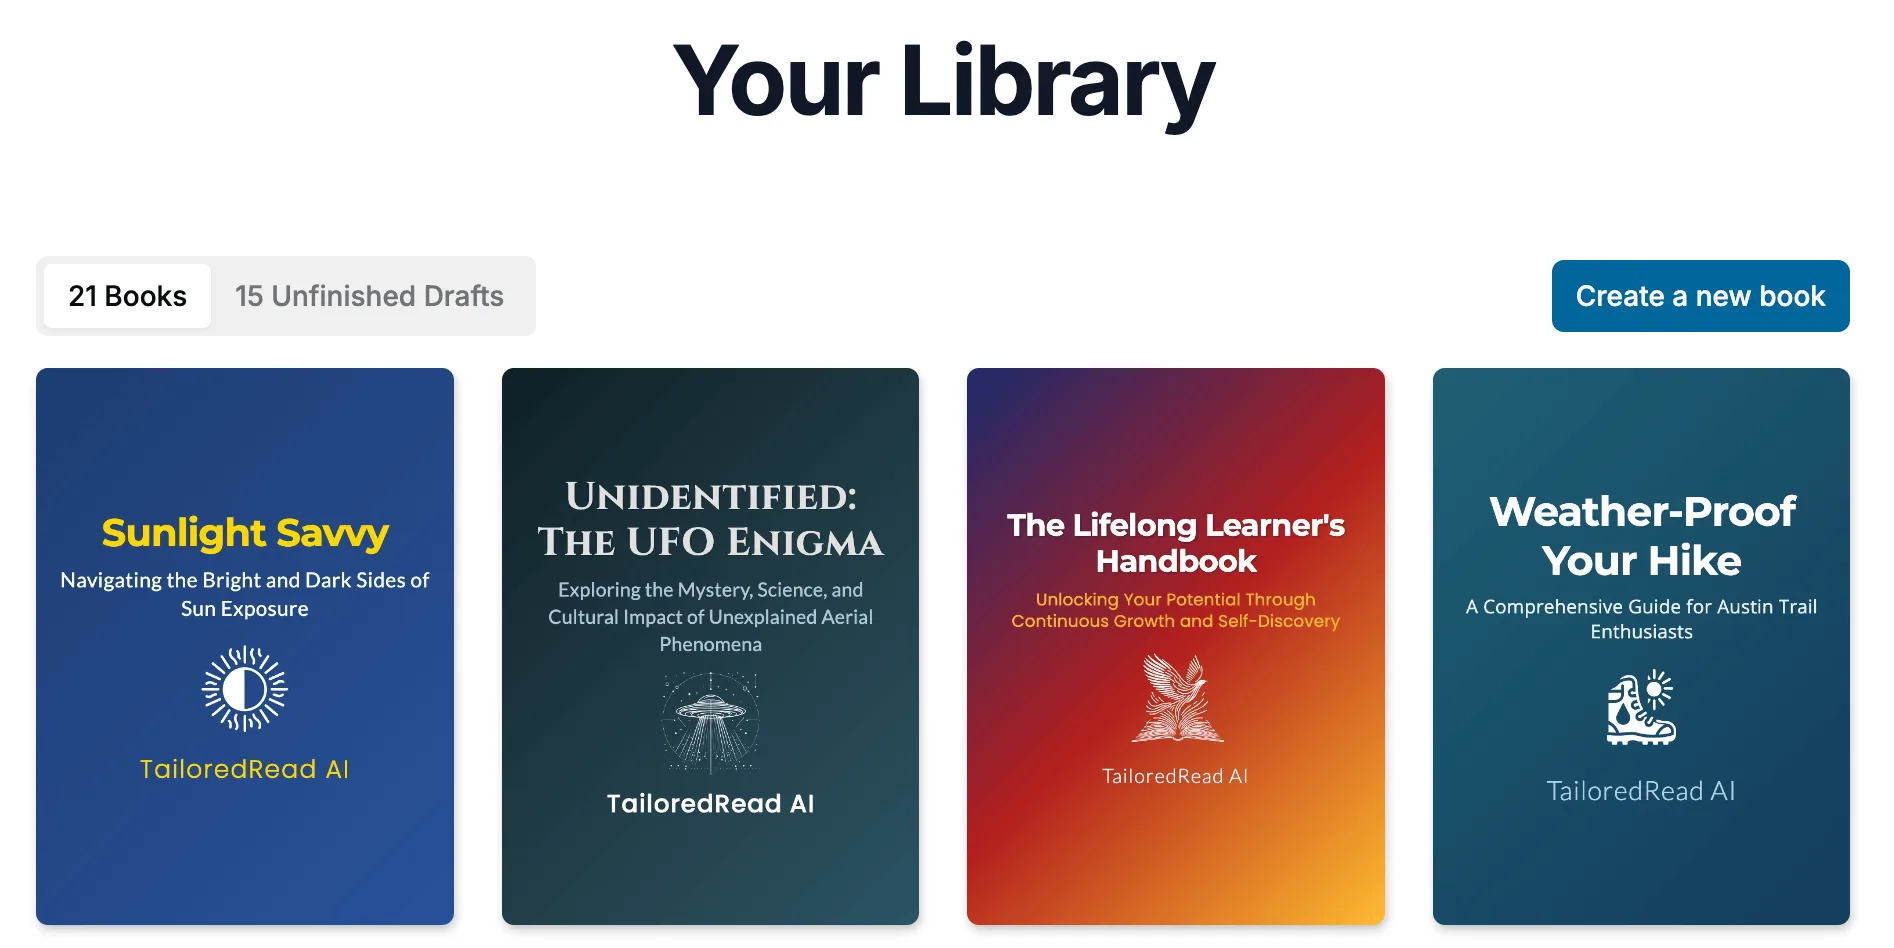
Your book lives in Your Library. Select any book to open it.
Download the EPUB or PDF (optional)
In the reader, select the ⋮ icon in the top-right corner, then choose:
- Download EPUB (eBook) (the reflowable ebook file for Kindle, Apple Books, Kobo, and reading apps. See How do I open my book on any device?)
- Download PDF for Tablet or Computer
- Download PDF for Phone
- Download Word Document (available on books with a Commercial or Author license. See Download Word)
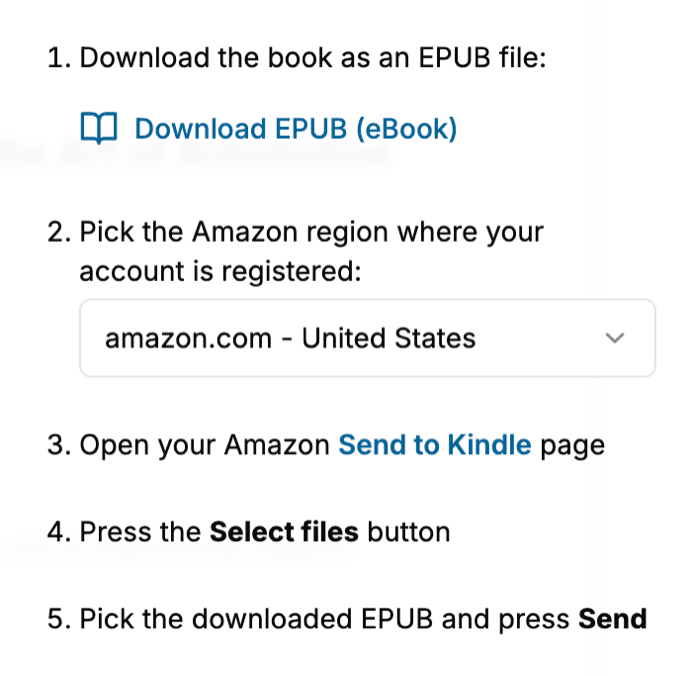
Send to Kindle (optional)
In the reader, select the ⋮ icon in the top-right corner, then select Send to Kindle. The dialog walks you through it: download the book's EPUB, pick your Amazon region, then upload the file on Amazon's Send to Kindle page. See Send to Kindle.