The Bone Anatomy Coloring Book
Learn the Human Skeleton Through Interactive Illustration and Detailed Exploration
Discover how coloring transforms your understanding of bone anatomy.
191 pages8 chaptersFeb 16, 2026Anatomy Coloring
About this book
This interactive guide combines detailed anatomical illustrations with engaging coloring activities to help you master skeletal structure in ways traditional textbooks cannot. As you color each bone, you'll internalize the names, landmarks, and relationships that form the foundation of anatomical knowledge. Whether you're a student, healthcare professional, or anatomy enthusiast, you'll progress from understanding basic bone classification and structure to exploring complex regional anatomy. Each chapter builds systematically, introducing new concepts while reinforcing previous learning through visual reinforcement. The combination of accurate anatomical detail, color-coding strategies, and progressive complexity ensures that knowledge sticks. By the end, you'll have both a comprehensive understanding of human bone anatomy and a personalized visual reference guide you've created yourself.
Table of contents
- IntroductionWhy Coloring Enhances Anatomical Learning, How to Use This Book for Maximum Learning, Effective Coloring Strategies and Color-Coding Systems, Essential Anatomical Terminology and Directional LanguageRead below
- Chapter 1: Bone Basics: Structure and ClassificationWhat Are Bones? Living Tissues and Their Functions, The Four Types of Bones: Long, Short, Flat, and Irregular, Internal Architecture: Compact and Spongy Bone, Bone Landmarks and Anatomical Features
- Chapter 2: The Axial Skeleton: Skull and SpineThe Skull: Cranial and Facial Bones, Key Skull Landmarks and Foramina, The Vertebral Column: Cervical, Thoracic, Lumbar, and Sacral Regions, Vertebral Structure and Intervertebral Relationships
- Chapter 3: The Thorax and Pelvis: Protective StructuresThe Rib Cage: Ribs, Sternum, and Thoracic Protection, Pelvic Anatomy: Ilium, Ischium, and Pubis, Important Pelvic Landmarks and Sex Differences
- Chapter 4: Upper Limb Bones: Shoulder to FingertipsThe Shoulder Girdle: Clavicle and Scapula, Arm Bones: Humerus, Radius, and Ulna, Hand Bones: Carpals, Metacarpals, and Phalanges, Upper Limb Articulations and Functional Relationships
- Chapter 5: Lower Limb Bones: Hip to ToesThe Femur and Tibia: Thigh and Leg Bones, The Fibula and Patella: Supporting Structures, Foot Bones: Tarsals, Metatarsals, and Phalanges, Lower Limb Articulations and Weight-Bearing Functions
- Chapter 6: Bone Articulations: How Bones ConnectJoint Classification: Fibrous, Cartilaginous, and Synovial, Synovial Joint Structure and Movement Types, Major Joints of the Body and Their Movements
- Chapter 7: Bone Development and RemodelingOssification: How Bones Form and Develop, Bone Remodeling: Adaptation and Maintenance, Factors Affecting Bone Health and Density
- Chapter 8: Integrated Systems: Bones and BeyondThe Skeletal-Muscular System: Bones and Movement, Beyond Support: Blood Production and Mineral Storage, Clinical Applications: Understanding Skeletal Pathology
- ConclusionYour Anatomical Mastery: What You've Learned, Continuing Your Anatomical Education
- Glossary
- Further Reading and Resources
Introduction
Learning bone anatomy can feel overwhelming when you first encounter the sheer number of structures, landmarks, and Latin terms that make up the human skeleton. Traditional textbooks present information in dense paragraphs accompanied by static diagrams that you passively observe. This approach works for some learners, but many people struggle to retain the intricate details of skeletal anatomy through reading alone. The good news is that there's a more engaging, effective method: interactive coloring. When you actively color anatomical structures, you transform from a passive observer into an active participant in your own learning journey.
This book takes a fundamentally different approach to teaching bone anatomy. Instead of simply reading about the 206 bones that comprise the adult human skeleton, you'll color them, trace their contours, and visually distinguish one structure from another using your own color-coding system. Research in educational psychology consistently demonstrates that active learning techniques produce better retention than passive reading[1]. Coloring engages multiple cognitive pathways simultaneously: visual processing, motor coordination, spatial reasoning, and memory formation. As you decide which color to use for each bone or landmark, you're making decisions that deepen your understanding of anatomical relationships.
Whether you're a nursing student preparing for anatomy exams, a physical therapy student learning musculoskeletal relationships, an artist seeking to understand the human form, or simply someone fascinated by how the body works, this book meets you where you are. You already have foundational knowledge of anatomy, which means you're ready to build a more sophisticated, detailed understanding of skeletal structures. Each chapter progresses systematically from basic concepts to complex regional anatomy, ensuring that new information builds logically on what you've already learned. By the time you complete this book, you'll have created a personalized visual reference guide that reflects your own learning journey—one that you can return to again and again.
The chapters ahead will guide you through the entire skeletal system in a logical sequence. You'll begin with fundamental concepts about bone classification and structure, then explore the axial skeleton (skull and spine), the thorax and pelvis, the upper limbs, the lower limbs, joint articulations, bone development, and finally the integrated systems that connect bones to the rest of the body. Each section includes detailed illustrations designed specifically for coloring, accompanied by clear explanations of anatomical features and their functional significance. The combination of visual engagement and conceptual understanding creates a powerful learning experience that traditional methods cannot match.
Why Coloring Enhances Anatomical Learning
The act of coloring anatomical structures activates your brain in ways that passive observation cannot achieve. When you color a bone or landmark, you're engaging in what cognitive scientists call elaborative encoding—the process of connecting new information to existing knowledge through meaningful associations. As you choose a color for the temporal bone of the skull, for instance, you're not just memorizing its name; you're considering its location, its relationship to surrounding structures, and its distinctive features. This multi-layered processing creates stronger, more durable memory traces than simply reading the word "temporal bone" in a textbook.
Neuroscience research reveals that motor activities combined with visual learning create particularly robust neural connections. When your hand moves across the page, coloring the intricate processes and foramina of a vertebra, your motor cortex, visual cortex, and memory centers all activate simultaneously[2]. This multi-sensory engagement means you're building multiple pathways to the same information. Later, when you need to recall the structure of a vertebra, you can access that memory through visual recall, motor memory, or conceptual understanding—whichever pathway works best in that moment.
Coloring also slows down the learning process in a beneficial way. In our fast-paced world, we often rush through educational material, skimming paragraphs and glancing at diagrams. Coloring forces you to slow down and truly observe each structure. As you carefully stay within the lines of the zygomatic arch or distinguish between the greater and lesser tubercles of the humerus, you're spending focused time with each anatomical feature. This sustained attention allows you to notice details you might otherwise overlook: the subtle curve of a bone's surface, the precise location where two structures meet, or the relative size of different landmarks.
The psychological benefits of coloring extend beyond pure cognition. Many learners find the act of coloring meditative and stress-reducing, which creates an optimal mental state for learning. When you're relaxed and engaged rather than anxious and overwhelmed, your brain processes and retains information more effectively. The repetitive, focused nature of coloring can reduce the anxiety that often accompanies anatomy courses, transforming study time from a stressful obligation into an enjoyable activity. This positive emotional association with the material further enhances memory formation and recall.
Color-coding creates visual organization that mirrors the conceptual organization of anatomical knowledge. When you consistently use the same color for all bones of a particular type or region, you're creating a visual system that reinforces categorical relationships. For example, if you color all cranial bones in shades of blue and all facial bones in shades of green, you're visually representing the fundamental division within skull anatomy. These color associations become mental shortcuts that help you quickly categorize and recall information during exams or clinical applications.
Research on visual learning demonstrates that people remember images far better than words alone. This phenomenon, known as the picture superiority effect, explains why medical students who draw or color anatomical structures consistently outperform those who only read descriptions[3]. When you color the bones in this book, you're creating vivid visual memories that will persist long after verbal descriptions fade. Months or even years later, you'll likely remember the shape and color of the scapula you colored, even if you've forgotten the exact wording of its textbook description.
The interactive nature of coloring also promotes active problem-solving and decision-making. Each time you approach a new illustration, you must decide: Which structure should I color first? What color best represents this bone? How can I distinguish this landmark from adjacent features? These decisions, though seemingly simple, engage your executive function and deepen your understanding of spatial relationships. You're not just memorizing isolated facts; you're building a three-dimensional mental model of how bones fit together in space. This spatial understanding proves invaluable when you later need to visualize anatomical relationships in clinical or practical contexts.
Finally, coloring creates a tangible record of your learning progress. Unlike digital resources that disappear when you close your device, this book becomes a permanent artifact of your educational journey. The pages you've colored represent hours of focused study and growing expertise. You can flip back through completed sections to review material, and the visual nature of your colored illustrations makes review sessions faster and more effective than re-reading text. Your completed coloring book becomes a personalized study guide that reflects your unique learning path and serves as a lasting reference throughout your career.
How to Use This Book for Maximum Learning
To get the most from this coloring book, approach it as an active learning tool rather than a passive coloring activity. Before you begin coloring any illustration, read the accompanying text carefully. Understanding the conceptual framework and functional significance of each structure will make your coloring more purposeful and meaningful. As you read about the humerus, for example, note which landmarks serve as muscle attachment points and which form part of joint surfaces. This contextual knowledge will guide your coloring decisions and help you appreciate why each feature matters.
Work through the chapters in sequence rather than jumping randomly between sections. The book is carefully structured to build knowledge progressively, with each chapter introducing concepts that prepare you for the next. Starting with bone basics and classification gives you the foundational vocabulary and understanding you'll need when exploring specific regions. Similarly, understanding the axial skeleton before moving to the appendicular skeleton helps you grasp how these major divisions of the skeletal system differ in structure and function. This sequential approach mirrors how anatomy is typically taught in academic settings and ensures you're never encountering terminology or concepts before you're ready.
Create a consistent study routine that combines reading, coloring, and review. An effective approach might look like this:
- Preview: Read through the entire section before picking up your coloring tools, getting an overview of the structures you'll be learning
- Color: Work through the illustrations methodically, referring back to the text as needed to understand what you're coloring
- Label: After coloring, test yourself by covering the labels and trying to identify structures from memory
- Review: Return to previously colored sections regularly to reinforce your learning and identify areas that need additional attention
- Apply: Try to visualize these structures on your own body or on anatomical models if available
Take your time with each illustration. Rushing through the coloring defeats the purpose of this active learning approach. Spend enough time with each structure to really observe its shape, borders, and relationships to neighboring bones. If an illustration shows the articulation between the radius and ulna, notice how their shapes complement each other, how they're positioned relative to one another, and which specific surfaces come into contact. This careful observation builds the spatial understanding that's crucial for anatomical competence.
Use the margins and blank spaces to add your own notes, mnemonics, or additional labels. Personalizing the book makes it more valuable as a long-term reference. If you discover a helpful memory trick for remembering the carpal bones, write it down near the relevant illustration. If you notice a clinical correlation mentioned in class or another resource, add that note to the appropriate page. These personal annotations transform the book from a generic educational tool into your unique learning companion.
Don't hesitate to use additional resources alongside this book. While the illustrations and explanations here are comprehensive, anatomy is a vast subject that benefits from multiple perspectives. Consider using this book in conjunction with:
- Three-dimensional anatomical models that you can manipulate and view from different angles
- Online anatomy resources with interactive features and different illustration styles
- Anatomy atlases with photographic images of real bones
- Video resources that demonstrate bone movements and articulations
- Study groups where you can quiz each other and discuss anatomical relationships
Pay special attention to the clinical and functional information provided throughout the book. Bones aren't just abstract structures to memorize; they're living tissues that serve specific purposes in the body. Understanding that the greater tubercle of the humerus serves as an attachment point for rotator cuff muscles, for instance, helps you appreciate why injuries to this area cause specific movement limitations. This functional context makes anatomical knowledge more meaningful and easier to remember because you understand the "why" behind the "what."
Test yourself regularly using the illustrations. After completing a section, return to it a few days later and try to identify structures without looking at the labels. Cover the text with a piece of paper and see how many landmarks you can name from memory. This retrieval practice—actively recalling information rather than passively reviewing it—is one of the most effective learning strategies available[4]. The effort of trying to remember, even when you struggle, strengthens memory traces more effectively than simply re-reading material you already understand.
Consider creating flashcards or digital study aids based on the illustrations you've colored. Photograph your completed pages and use them to make custom study materials. You might create cards with the colored bone on one side and its name and key features on the other. Or you could use apps that allow you to label structures on images, using your own colored illustrations as the base images. These supplementary study tools extend the value of your coloring work and provide additional opportunities for active recall practice.
Finally, remember that mastery takes time and repetition. Don't expect to remember every detail after coloring an illustration once. Anatomical knowledge builds gradually through repeated exposure and practice. Return to challenging sections multiple times, and don't be discouraged if you need to look up the same structure several times before it sticks. This is a normal part of the learning process. The combination of coloring, reading, reviewing, and testing yourself will eventually transform unfamiliar terms into confident knowledge that you can apply in academic, clinical, or personal contexts.
Effective Coloring Strategies and Color-Coding Systems
Developing a thoughtful color-coding system before you begin coloring will dramatically enhance the educational value of this book. Random color choices might make pretty pictures, but strategic color selection creates visual patterns that reinforce anatomical relationships and categories. Your color-coding system should be consistent, meaningful, and sustainable throughout the entire book. Before you color your first bone, take time to plan an approach that will serve you well across all chapters.
One effective strategy is to assign color families to major anatomical regions or divisions. For example, you might use:
- Blues and purples for all bones of the axial skeleton (skull, vertebrae, ribs, sternum)
- Reds and oranges for all bones of the upper limbs (shoulder girdle, arm, forearm, hand)
- Greens and yellows for all bones of the lower limbs (pelvic girdle, thigh, leg, foot)
- Browns and grays for bone features like processes, tubercles, and other landmarks
Alternatively, you might organize your color system by bone type rather than region. Since bones are classified as long, short, flat, or irregular based on their shape and structure, you could assign a color family to each type. All long bones (femur, humerus, radius, ulna, tibia, fibula, metacarpals, metatarsals, phalanges) might be shades of blue, while flat bones (skull bones, ribs, sternum, scapula) could be shades of red. This approach reinforces the classification system and helps you recognize structural similarities between bones in different body regions.
When coloring complex structures with multiple parts, use variations in shade or intensity to distinguish components while maintaining visual unity. For instance, when coloring a vertebra, you might use:
- Light blue for the vertebral body
- Medium blue for the pedicles and laminae
- Dark blue for the spinous and transverse processes
Consider using contrasting colors for structures that articulate with each other. When coloring a joint, using distinctly different colors for the two bones makes the articulation point visually obvious. For example, if you color the femur in green and the tibia in orange, the knee joint becomes immediately apparent where these colors meet. This contrast helps you understand and remember which bones connect at each joint, reinforcing your knowledge of skeletal articulations.
Choose your coloring tools thoughtfully based on the level of detail in each illustration. Colored pencils offer the most control and are ideal for small, intricate structures like the bones of the inner ear or the delicate processes of vertebrae. They allow you to build up color gradually, create subtle shading, and maintain sharp edges. Markers provide bold, vibrant colors that work well for larger structures but can bleed through paper and make fine details challenging. Fine-tipped markers or gel pens offer a middle ground, providing vibrant color with reasonable precision. Many learners find that a combination of tools works best: colored pencils for detailed work and markers for larger areas.
Develop a consistent approach to coloring bone landmarks and features. These structures—processes, tubercles, condyles, foramina, and other surface features—appear on many different bones throughout the skeleton. You might choose to:
- Use a single color (like brown or gray) for all landmarks regardless of which bone they're on
- Use darker shades of the bone's base color for its landmarks
- Use a highlighting technique, leaving landmarks uncolored while coloring the surrounding bone
- Use specific colors for specific types of landmarks (red for all processes, yellow for all tubercles, etc.)
Create a color key or legend on the inside cover or first page of your book. Document your color-coding decisions so you can maintain consistency as you work through the chapters. Your key might include entries like "Axial skeleton: blue family," "Muscle attachment points: red dots," or "Articular surfaces: yellow." This reference ensures that when you return to the book weeks or months later, you can remember and maintain your original system. It also helps if you need to take a break from the book and return to it after some time away.
Don't feel obligated to color every single millimeter of every illustration. Strategic use of white space can be just as effective as color. You might choose to color only the outlines of bones, leaving the interior white, which creates a clean, clear image that's easy to read. Alternatively, you might color bones solidly but leave specific features (like foramina or fossa) uncolored to make them stand out. Some learners find that lightly coloring the main bone and then using darker colors or outlining for important landmarks creates an effective visual hierarchy.
Consider adding visual symbols or patterns in addition to color. Small dots might indicate muscle attachment points, while hatching or cross-hatching could indicate areas of spongy bone versus compact bone. Arrows could show the direction of bone growth or the path of blood vessels through foramina. These additional visual elements add another layer of information to your illustrations without requiring additional colors. They're particularly useful if you're working with a limited color palette or if you want to distinguish between different types of information (structural versus functional, for example).
Remember that your color-coding system should serve your learning, not constrain it. If you discover partway through the book that a different approach would work better, don't hesitate to adapt. You might add a note explaining the change in your color key. The goal is to create a visual system that makes sense to your brain and enhances your understanding of skeletal anatomy. What works perfectly for one learner might not work as well for another, so feel free to experiment and adjust until you find an approach that feels intuitive and helpful for your unique learning style.
Essential Anatomical Terminology and Directional Language
Before diving into specific bones and structures, you need to understand the standardized language that anatomists use to describe locations, directions, and relationships in the body. This terminology might seem unnecessarily complex at first, but it serves a crucial purpose: it provides precise, unambiguous communication that works regardless of body position. When a physician says a fracture is located on the "lateral aspect of the distal femur," every healthcare professional understands exactly where that injury is located, eliminating the confusion that everyday language might create.
Anatomical terminology assumes the body is in anatomical position: standing upright, facing forward, arms at the sides with palms facing forward, and feet parallel. All directional terms are defined relative to this standard position, even if the person is actually lying down, sitting, or in any other position. This standardization means that "anterior" always means toward the front of the body, whether you're describing a bone in a standing person or examining a patient lying on an operating table. Understanding and consistently using anatomical position as your reference point is fundamental to clear anatomical communication.
The primary directional terms you'll encounter throughout this book include:
- Superior (cranial): Toward the head or upper part of a structure; the shoulder is superior to the elbow
- Inferior (caudal): Away from the head or toward the lower part of a structure; the knee is inferior to the hip
- Anterior (ventral): Toward the front of the body; the sternum is anterior to the heart
- Posterior (dorsal): Toward the back of the body; the vertebrae are posterior to the sternum
- Medial: Toward the midline of the body; the ulna is medial to the radius
- Lateral: Away from the midline of the body; the ears are lateral to the nose
- Proximal: Closer to the point of attachment or origin; the elbow is proximal to the wrist
- Distal: Farther from the point of attachment or origin; the fingers are distal to the wrist
Additional directional terms apply to specific regions or contexts. In the limbs, superficial means closer to the surface of the body, while deep means farther from the surface. The term intermediate describes structures between two others. For the hands and feet, specialized terms provide even more precision: palmar refers to the palm side of the hand, dorsal to the back of the hand, plantar to the sole of the foot, and dorsal to the top of the foot. These region-specific terms prevent confusion and provide the precision needed for clinical communication.
Anatomical planes divide the body into sections and help describe the orientation of structures. The three primary planes are:
- Sagittal plane: Divides the body into left and right portions; the midsagittal (median) plane creates equal halves
- Frontal (coronal) plane: Divides the body into anterior and posterior portions
- Transverse (horizontal) plane: Divides the body into superior and inferior portions
Bone-specific terminology describes the various features, projections, and depressions found on skeletal structures. These terms appear repeatedly throughout the book, so familiarizing yourself with them now will make later chapters much easier to understand. Common bone markings include:
- Process: Any prominent projection from a bone (such as the spinous process of a vertebra)
- Tubercle: A small, rounded projection (such as the greater tubercle of the humerus)
- Tuberosity: A large, rough projection (such as the tibial tuberosity)
- Condyle: A rounded articular projection (such as the medial condyle of the femur)
- Epicondyle: A projection above a condyle (such as the lateral epicondyle of the humerus)
- Fossa: A shallow depression (such as the glenoid fossa of the scapula)
- Foramen: A hole or opening through a bone (such as the foramen magnum of the skull)
- Fissure: A narrow, slit-like opening (such as the superior orbital fissure)
- Spine: A sharp, slender projection (such as the spine of the scapula)
Many anatomical terms derive from Latin or Greek roots, which explains why they might seem unfamiliar at first. However, these classical roots often provide helpful clues to meaning. The term "foramen" comes from the Latin word for "opening." "Fossa" means "ditch" or "trench" in Latin, which perfectly describes these shallow depressions. "Condyle" derives from the Greek word for "knuckle," reflecting the rounded, knuckle-like shape of these articular surfaces. As you encounter new terms, try to learn their etymological roots; this knowledge helps you remember meanings and make educated guesses about unfamiliar terms you encounter later.
Regional terminology divides the body into major areas that help organize anatomical study. The axial skeleton includes the skull, vertebral column, and thoracic cage—essentially the central axis of the body. The appendicular skeleton includes the limbs and the girdles (shoulder and pelvic) that attach them to the axial skeleton. Within these major divisions, more specific regions have their own names: the cranium (skull), thorax (chest), brachium (arm), antebrachium (forearm), femoral region (thigh), crural region (leg), and so on. These regional terms appear in chapter titles and section headings throughout this book, providing an organizational framework for your learning.
As you work through the coloring exercises, practice using anatomical terminology in your own notes and labels. Instead of writing "the bump on the side of the elbow," write "the lateral epicondyle of the humerus." This practice might feel awkward initially, but it builds fluency with professional anatomical language. The more you use these terms actively, the more natural they become. Eventually, thinking "the medial malleolus of the tibia" will feel just as comfortable as thinking "the bump on the inside of the ankle"—and far more precise. This linguistic precision is essential for anyone pursuing healthcare, fitness, or anatomy-related fields, where clear communication can literally be a matter of life and death.
Remember that anatomical terminology, while standardized, does have some regional variations and historical alternatives. Some terms have been updated or replaced over time as anatomical nomenclature has been standardized internationally. The Terminologia Anatomica, published by the International Federation of Associations of Anatomists, provides the current official anatomical terminology[5]. This book uses current, widely accepted terminology, but you may occasionally encounter alternative terms in other resources. When you do, note both terms in your personal annotations so you can recognize either version in future study or professional contexts.
Notes
Introduction
- 1. S. Freeman and others, "Active learning increases student performance in science, engineering, and mathematics," Proceedings of the National Academy of Sciences, 2014
- 2. M. Longcamp and others, "Learning through hand- or typewriting influences visual recognition of new graphic shapes," Journal of Cognitive Neuroscience, 2008
- 3. A. Paivio, Imagery and verbal processes, New York: Holt, Rinehart, and Winston, 1971
- 4. H. L. Roediger and A. C. Butler, "The critical role of retrieval practice in long-term retention," Trends in Cognitive Sciences, 2011
- 5. Federative Committee on Anatomical Terminology, Terminologia Anatomica, Stuttgart: Thieme, 1998
This is the end of the free sample. The full book has 8 chapters.
Want this book written for you?
Tell us your goals and background, and get your own version of this book, tailored by AI to you.


Benefits of AI-tailored books
- Read one book, not ten:
- all the Anatomy Coloring knowledge you need, gathered into a single book.
- Save days of learning:
- tell us your goals, choose your topics, and the whole book is built around them.
- Learn effortlessly:
- Anatomy Coloring book written for your specific background and expertise.
- Understand at a glance:
- includes charts, tables, timelines, checklists, decision trees, and more.
- Stay current:
- written the day you order it, not years ago.
- Trust what you read:
- every book is checked for accuracy, with real research when your subject needs it.
Create your unique book in 3 steps
- 1. Select your focus
Select the focus of your Anatomy Coloring book and share your background
- 2. Personalize your book
Specify your goals and choose sub-topics to include
- 3. Get your tailored book
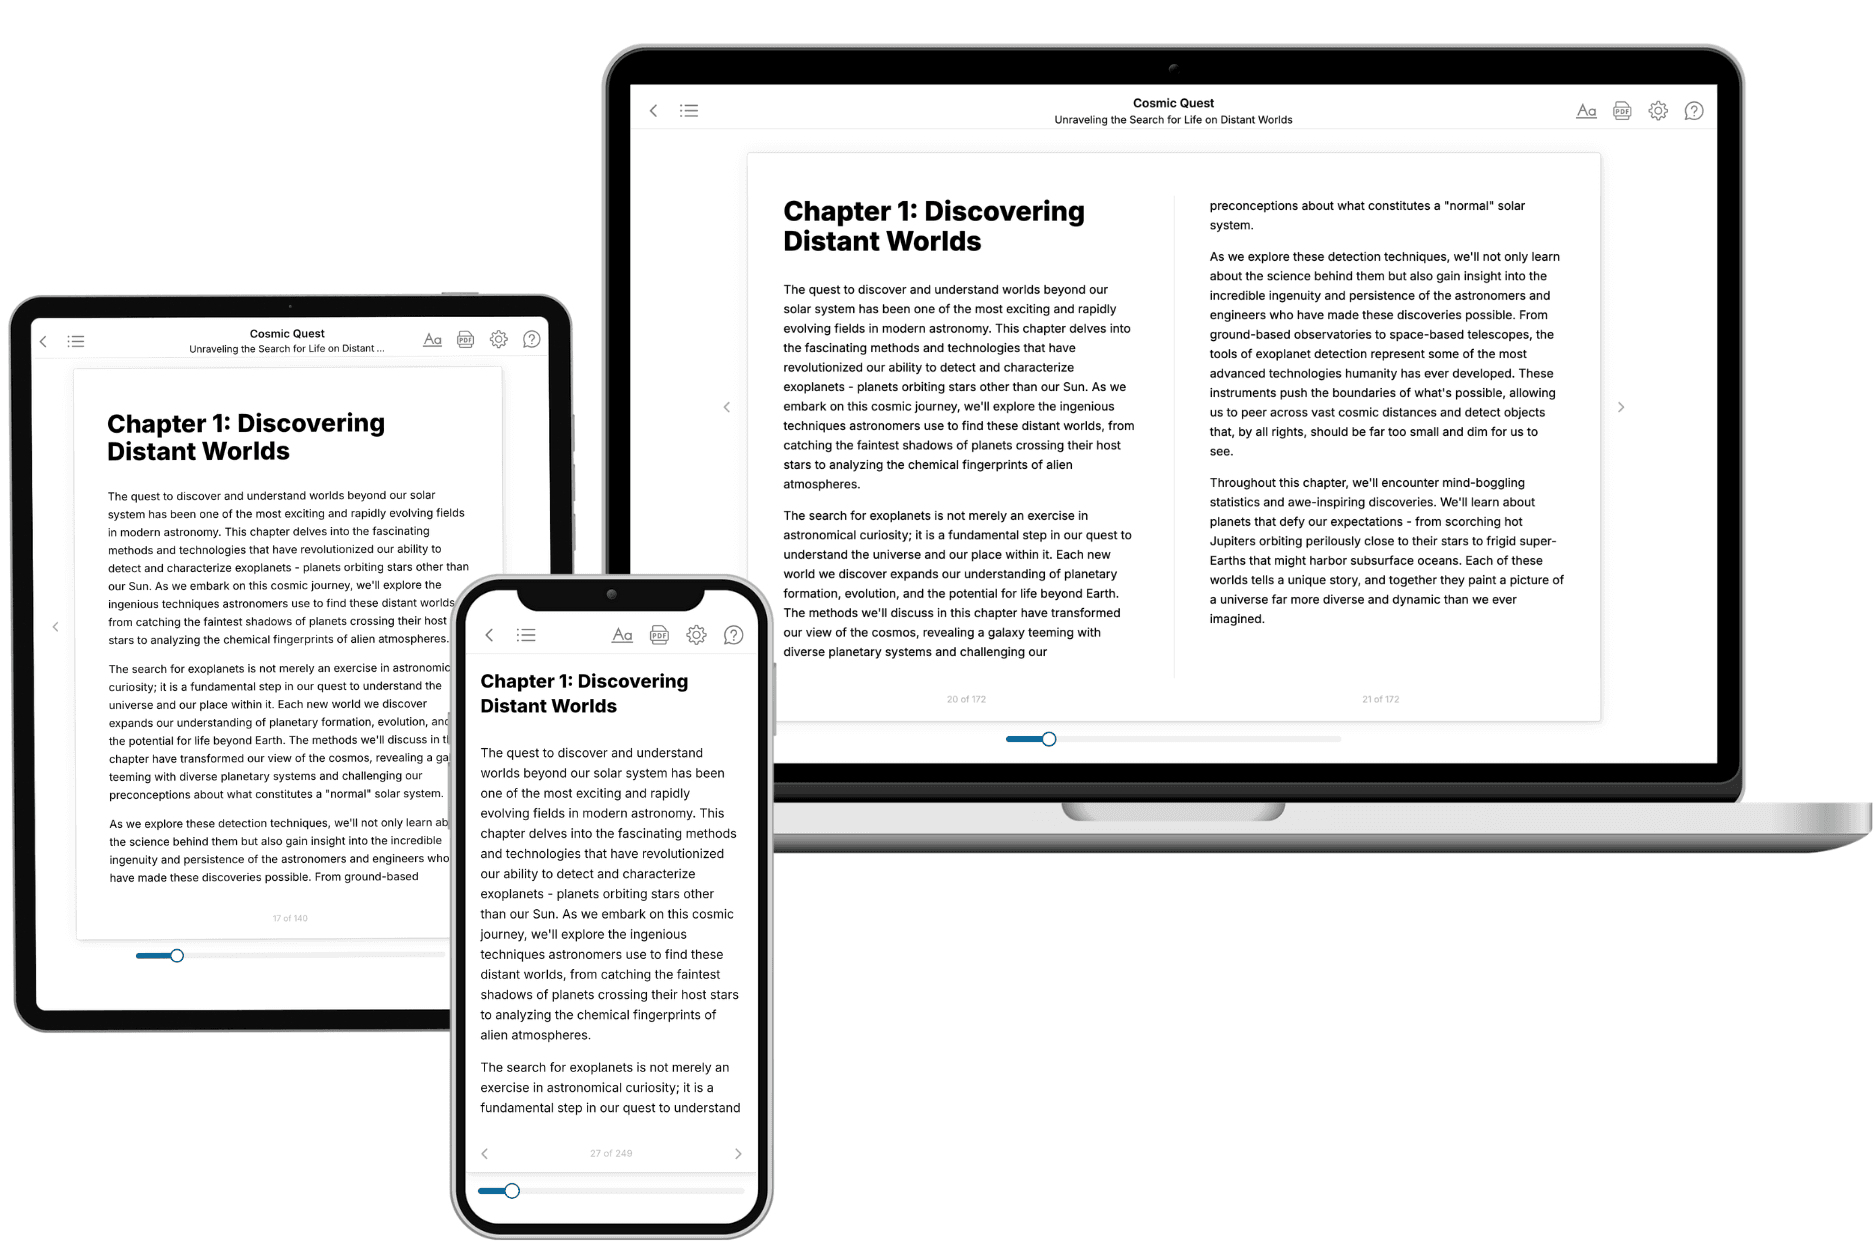
Your book is ready in 10 minutes. Read it online, download as EPUB or PDF, or send to Kindle.

Frequently asked questions
- What is TailoredRead?
TailoredRead creates complete, full-length nonfiction ebooks, written specifically for you. Tell us what you want to learn and why, and TailoredRead writes you a complete ebook on it, with charts, tables, and diagrams throughout. Read it online, on Kindle, or on any e-reader, or download it as a PDF or EPUB. Every book is written fresh the day you order it.
- How is the book tailored to me?
Before anything is written, you answer a few short questions about your goals, your background, and the topics you care about. Your book is then planned around your answers: written at your level, focused on your goals, and covering the topics you chose, instead of the one-size-fits-all book a store sells everyone.
- Will it read like generic AI content?
No. Your book isn't a chat transcript: it's planned chapter by chapter before a single word is written, told in a clear book voice, and explains ideas visually with charts, tables, and diagrams. After writing, every book goes through an editorial pass that polishes chapters so the book reads consistent from start to finish. Judge for yourself: browse thousands of sample books on our Explore Books page.
- How accurate is the content?
Our AI first checks whether your subject needs live research. Niche and fast-moving subjects are researched before writing, and the book plan and chapters are grounded in what it finds. After writing, every book goes through a quality pass that checks its facts and consistency, and researched books list their sources in a Notes section at the back.
- How long is the book?
You choose the length: Comprehensive (250-300 pages), Detailed (150-200 pages), Essential (70-100 pages), or Short (30-50 pages).
- Does the book include visuals?
Yes. Every book includes charts, tables, and diagrams: timelines, checklists, step-by-step guides, decision trees, comparison tables, matrices, and bar charts. A typical book includes dozens of these visual elements.
- Can I read it on Kindle? What formats can I download?
Yes. Every book can be read in our online reader or downloaded as a PDF or EPUB. The EPUB can be opened with Kindle, Apple Books, Kobo, and any e-reader. The Commercial and Author licenses also include an editable Word (DOCX) and Markdown download.
- How much does it cost?
About the price of a regular ebook. The exact price depends on your book's length and complexity, from $2 for the shortest books to $35 for the most comprehensive, and it's shown when you review your book, before you commit to anything. Each book is a one-time purchase, yours to keep, no subscription. Licenses that let you share, teach, or publish your book range from $35.99 to $49.99.
- Can I preview the book before purchasing?
Before you pay, you'll see what your book will cover: the title, a detailed description, the estimated length, and the complete chapter-by-chapter table of contents, so you know what you're getting before you decide. The full text itself is written after you purchase.
- How long does it take to create a book?
About 10 minutes. You can start reading the opening chapters while the rest is still being written.