Descriptive Geometry Essentials
Master the Art of Visualizing and Representing 3D Objects in 2D Space
Imagine being able to look at a complex 3D structure and instantly know how to represent it accurately on paper—or conversely, to read a technical drawing and visualize the complete three-dimensional object in your mind.
207 pages9 chaptersFeb 26, 2026Geometry
About this book
This is the power of descriptive geometry. Whether you're an engineer, architect, designer, or student, this book equips you with the essential techniques to translate spatial concepts into precise technical drawings. You'll progress from fundamental principles of projection and orthographic views through advanced methods like auxiliary projections, sectional drawings, and transformations. Each concept builds logically on the previous one, with clear explanations and practical applications that show why these methods matter in real-world design. By the end, you'll confidently solve spatial problems, create accurate technical representations, and understand how classical descriptive geometry principles underpin modern CAD and digital design tools.
Table of contents
- IntroductionWhat Is Descriptive Geometry?, Why Descriptive Geometry Matters Today, How to Use This BookRead below
- Chapter 1: Fundamentals of ProjectionUnderstanding Projection Principles, Parallel Projection vs. Perspective Projection, The Three Principal Projection Planes
- Chapter 2: Orthographic Projection FundamentalsIntroduction to Orthographic Views, First Angle vs. Third Angle Projection, Creating Multiview Technical Drawings
- Chapter 3: Points, Lines, and Planes in SpaceRepresenting Points in Three Dimensions, Understanding Line Relationships and Orientations, Analyzing Plane Characteristics and Positions
- Chapter 4: Auxiliary Views and Hidden FeaturesThe Purpose and Power of Auxiliary Views, Constructing Auxiliary Views Step by Step, Revealing True Shapes and Dimensions
- Chapter 5: Sectional Views and Cross-SectionsSectional Drawing Fundamentals, Cutting Plane Lines and Conventions, Interpreting Complex Internal Structures
- Chapter 6: Isometric and Pictorial ProjectionsIsometric Projection Principles, Creating Accurate Isometric Drawings, Dimetric, Trimetric, and Oblique Projections
- Chapter 7: Perspective Projection and VisualizationPerspective Projection Fundamentals, One-Point, Two-Point, and Three-Point Perspective, Using Perspective for Realistic Visual Communication
- Chapter 8: Geometric Transformations and RotationsRotation Principles and Methods, Translation, Reflection, and Scaling, Solving Complex Spatial Problems with Transformations
- Chapter 9: Practical Applications in Engineering and DesignReal-World Engineering Applications, Architectural Design and Technical Documentation, Bridging Classical Methods to Modern CAD Software
- ConclusionYour Path to Descriptive Geometry Mastery, Continuing Your Learning Journey
- Glossary of Key Terms
- Further Reading and Resources
Introduction
Picture a structural engineer staring at a complex steel joint, trying to communicate its exact geometry to a fabrication team halfway across the country. Or an architect who needs to show a client precisely how a curved roof will intersect with a vertical wall. In both cases, words fall short. Photographs distort. Only a precise, systematic drawing can carry the full truth of a three-dimensional form onto a flat sheet of paper. That systematic approach has a name: descriptive geometry.
Descriptive geometry is the mathematical and visual language that lets designers, engineers, and builders translate three-dimensional reality into two-dimensional drawings, and then read those drawings back into three-dimensional understanding. It is not a new idea. The French mathematician Gaspard Monge formalized the discipline in the late eighteenth century, and his methods became so strategically valuable that the French government classified them as a military secret for nearly fifteen years.[1] Today, those same principles sit at the core of every engineering drawing standard, every architectural blueprint, and every CAD software package in use around the world.
This book is built for learners who already have a working knowledge of basic geometry and want to move into the practical, applied world of spatial representation. You will not need advanced calculus or a professional drafting background to follow along. What you will need is patience, a willingness to think in three dimensions, and the habit of working through each concept with pencil and paper before moving on. The ideas here build on each other deliberately. Each chapter adds a new layer of capability, and by the time you reach the final pages, you will have a complete toolkit for solving real spatial problems in engineering, architecture, and technical design.
Before diving into the chapters themselves, this introduction covers three essential foundations. First, it explains exactly what descriptive geometry is and where it comes from. Second, it makes the case for why these classical methods remain deeply relevant in an era of powerful digital tools. Third, it gives you a clear map of how this book is organized and how to get the most out of it. Think of this introduction as the orientation session before the real work begins.
What Is Descriptive Geometry?
At its core, descriptive geometry is a method for representing three-dimensional objects and spatial relationships using two-dimensional drawings. It provides a rigorous, rule-based system for projecting points, lines, planes, and solids onto flat surfaces in ways that preserve measurable, accurate information about size, shape, and position. Unlike a freehand sketch, a descriptive geometry drawing carries precise geometric truth that can be used to manufacture, construct, or analyze the object it represents.
The discipline rests on the concept of projection. Imagine shining a light through a wire-frame model of a cube onto a wall behind it. The shadow on the wall is a projection of the cube. Descriptive geometry formalizes this idea by defining exactly where the light source is, how the projection plane is oriented, and what rules govern the relationship between the original object and its projected image. Different projection methods produce different types of drawings, each suited to different purposes.
Gaspard Monge's key contribution was the method of double projection, which uses two perpendicular projection planes simultaneously. By projecting an object onto both a horizontal plane and a vertical plane at the same time, you capture enough information to reconstruct the object's full three-dimensional geometry from the two flat views. This is the foundation of what engineers and architects today call orthographic projection, and it remains the dominant standard for technical drawings worldwide.
Descriptive geometry covers a broad family of techniques, not just orthographic projection. The full scope includes:
- Orthographic and multiview projection: representing objects through multiple flat views aligned to standard planes
- Auxiliary views: additional projected views that reveal true shapes on inclined or oblique surfaces
- Sectional views: imaginary cuts through objects that expose internal features
- Isometric and pictorial projection: three-dimensional-looking drawings that preserve measurable proportions
- Perspective projection: drawings that simulate how the human eye perceives depth and distance
- Geometric transformations: rotation, translation, and reflection techniques for solving spatial problems
Each of these techniques answers a different question. Orthographic views answer: What are the exact dimensions and shapes of this object's faces?
Auxiliary views answer: What does this angled surface actually look like when viewed straight-on?
Perspective drawings answer: How will this design look to a person standing in front of it?
Together, they form a complete visual language for spatial communication.
It is worth understanding the difference between descriptive geometry as a discipline and technical drawing as a practice. Technical drawing is the broader activity of producing engineering and architectural drawings. Descriptive geometry is the underlying geometric theory that makes those drawings accurate and meaningful. You can learn to copy drawing conventions without understanding descriptive geometry, but you will struggle whenever you encounter an unfamiliar shape or a non-standard problem. Understanding the geometry gives you the ability to reason through any situation, not just the ones you have seen before.
A useful analogy: learning technical drawing conventions without descriptive geometry is like learning to read music without understanding rhythm or harmony. You can follow the notes on a page, but you cannot improvise, transpose, or solve problems you have not encountered before. Descriptive geometry is the theory that turns mechanical copying into genuine spatial understanding.
Historical note: Gaspard Monge developed his projection methods while working as a military engineer at the École Royale du Génie in Mézières, France, around 1765. He used them to solve fortification design problems that had previously required lengthy arithmetic calculations. His geometric approach was so much faster and more powerful that it was kept secret until 1795, when it was finally published and taught publicly at the newly founded École Polytechnique.[2]
Today, descriptive geometry is taught in engineering, architecture, and industrial design programs around the world. Its principles are embedded in international drawing standards such as ISO 128 and ASME Y14.5, which govern how technical drawings are created and interpreted across industries. Whether you are reading a machined-part drawing, a structural steel detail, or a building floor plan, you are working with the legacy of Monge's systematic approach to spatial representation.
Why Descriptive Geometry Matters Today
A reasonable question arises: if modern CAD software can generate three-dimensional models and automatically produce drawings from them, why spend time learning classical descriptive geometry methods? The answer has several layers, and each one is worth examining carefully. The short version is that software handles the mechanics, but the human operator still needs to understand the geometry to use the software intelligently, catch errors, and solve problems that do not fit neatly into a software workflow.
Consider what happens when a CAD model produces an unexpected result. A surface intersection looks wrong. A section view shows a shape that does not match your expectation. A projected view seems to be missing a line. If you understand descriptive geometry, you can diagnose the problem by reasoning through the spatial relationships involved. If you do not, you are left clicking through menus hoping something changes. The engineer or designer who understands the underlying geometry is always more capable than one who only knows the software commands.
There is also the matter of communication. Not every design conversation happens in front of a computer screen. Engineers sketch on whiteboards. Architects draw on napkins during client meetings. Site supervisors mark up paper drawings in the field. The ability to produce and read accurate spatial representations by hand, quickly and confidently, is a professional skill that remains valuable regardless of what software your organization uses. Studies of engineering education consistently show that students with stronger spatial visualization skills perform better in design courses and professional practice.[3]
Spatial visualization itself is a cognitive skill, and descriptive geometry is one of the most effective ways to develop it. Research by Sorby and colleagues at Michigan Technological University demonstrated that targeted training in spatial visualization, including descriptive geometry exercises, significantly improved students' performance in engineering graphics courses and correlated with better outcomes in subsequent engineering coursework. The benefit is not just about drawing. It is about how your brain processes and manipulates three-dimensional information.
The practical applications of descriptive geometry span a wide range of industries and problem types:
- Mechanical engineering: designing parts that fit together precisely, calculating clearances, and specifying manufacturing tolerances
- Civil and structural engineering: representing complex connections, grading plans, and cut-and-fill calculations for earthworks
- Architecture: documenting building geometry, resolving roof intersections, and producing construction drawings
- Industrial design: communicating product form and surface geometry to manufacturing teams
- Aerospace and automotive design: defining complex curved surfaces and their intersections
- Piping and HVAC design: routing systems through constrained three-dimensional spaces
Beyond professional applications, descriptive geometry sharpens a type of thinking that is broadly useful. Working through a descriptive geometry problem requires you to hold a three-dimensional object in your mind, systematically project it onto planes, track the relationships between projected points, and verify that your result is geometrically consistent. This is disciplined spatial reasoning, and it transfers to any field where you need to think clearly about how things relate in space.
There is also a direct bridge between classical descriptive geometry and modern digital tools. CAD software like AutoCAD, SolidWorks, CATIA, and Revit all implement projection methods that are direct descendants of Monge's system. When you set up a drawing view in SolidWorks, you are choosing a projection plane and a projection direction, exactly as you would in classical descriptive geometry. When you create a section view in Revit, you are applying a cutting plane and projecting the result, following the same conventions that have been in use for over two centuries. Understanding the classical methods makes you a more capable and confident user of these tools.
Finally, descriptive geometry matters because precision matters. In engineering and construction, a misread drawing or a misunderstood spatial relationship can lead to parts that do not fit, structures that fail, or costly rework. The discipline of descriptive geometry trains you to be exact, to verify your work geometrically, and to communicate spatial information without ambiguity. These habits of precision are as valuable today as they were when Monge first formalized them.
Real-world example: During the construction of the Sydney Opera House in the 1960s, the complex geometry of the shell roof structures required extensive geometric analysis to resolve how the curved surfaces intersected and how they could be fabricated from standardized components. The geometric problem-solving involved was essentially applied descriptive geometry at a very large scale. The eventual solution, proposed by engineer Ove Arup's team, relied on redefining the shells as sections of a single sphere, which made the geometry tractable and the fabrication feasible.[4]
How to Use This Book
This book is organized as a progressive learning journey. Each chapter builds on the concepts introduced in the chapters before it. That structure is intentional. Descriptive geometry is a cumulative discipline. Trying to jump ahead to auxiliary views without understanding orthographic projection, or attempting perspective drawing without grasping the basics of projection planes, will leave you with gaps that make the harder material much more difficult. The recommended approach is to work through the chapters in order, at least on your first pass through the book.
Here is a brief map of what each chapter covers and how the pieces connect:
- Chapter 1 (Fundamentals of Projection) establishes the core concept of projection and introduces the two main families: parallel projection and perspective projection. This is the conceptual foundation for everything that follows.
- Chapter 2 (Orthographic Projection Fundamentals) dives into the most important projection method in technical drawing. You will learn how to create and read multiview drawings using both first-angle and third-angle projection conventions.
- Chapter 3 (Points, Lines, and Planes in Space) builds the geometric vocabulary you need for more advanced work. Understanding how points, lines, and planes behave in three-dimensional space is essential before tackling auxiliary views or transformations.
- Chapter 4 (Auxiliary Views and Hidden Features) introduces the technique of creating additional projected views to reveal true shapes on inclined surfaces. This is where descriptive geometry starts to solve problems that standard orthographic views cannot handle alone.
- Chapter 5 (Sectional Views and Cross-Sections) covers the conventions and techniques for cutting through objects to expose internal features. Sectional drawings are essential in mechanical and architectural documentation.
- Chapter 6 (Isometric and Pictorial Projections) shifts to three-dimensional-looking drawings that preserve measurable proportions. Isometric drawing is widely used in technical illustration and assembly documentation.
- Chapter 7 (Perspective Projection and Visualization) explores how to create drawings that simulate human visual perception. Perspective drawings are the primary tool for communicating design intent to non-technical audiences.
- Chapter 8 (Geometric Transformations and Rotations) introduces the techniques of rotating, translating, and reflecting geometric elements to solve spatial problems. These methods are powerful tools for finding true lengths, true shapes, and angular relationships.
- Chapter 9 (Practical Applications in Engineering and Design) ties everything together by showing how these techniques apply in real professional contexts, including a discussion of how classical methods connect to modern CAD software.
To get the most out of this book, you should work actively rather than passively. Reading a description of how to construct an auxiliary view is useful, but actually drawing one, step by step, is what builds the skill. Keep graph paper or a sketchbook nearby as you read. When a construction method is described, pause and try it yourself before moving on. When an example is given, see if you can reproduce it independently. This active engagement is what converts understanding into capability.
Each chapter includes worked examples that walk through specific problems in detail. These examples are not just illustrations of the concepts. They are models of the thinking process you should apply when you encounter similar problems. Pay attention not just to the steps, but to the reasoning behind each step. Ask yourself: why is this projection line drawn here? Why does this view look the way it does? What spatial relationship is being captured? Developing the habit of asking these questions will accelerate your learning significantly.
A note on tools and materials: for hand drawing exercises, you will benefit from having the following on hand:
- A drawing board or flat surface with a T-square or parallel rule
- Set squares (30/60 degree and 45 degree)
- A compass and dividers for transferring distances
- Sharp pencils in at least two grades (HB for construction lines, H or 2H for finished lines)
- Graph paper or isometric paper for structured exercises
- An eraser and erasing shield for clean corrections
If you are working digitally, any CAD or vector drawing software will work for the exercises. The geometric principles are the same regardless of whether you draw by hand or on screen. Many learners find it valuable to start with hand drawing to build spatial intuition, then move to digital tools once the concepts are solid.
You may find some chapters more challenging than others. Chapter 3, on points, lines, and planes, tends to be the one where learners first encounter real difficulty, because it requires holding abstract spatial relationships in mind without the visual anchor of a recognizable object. Chapter 8, on transformations, can also feel demanding because it introduces a new problem-solving strategy rather than just a new drawing technique. If you get stuck, the recommended approach is to slow down, go back to the previous chapter, and make sure the foundational concepts are solid before pushing forward. Struggling with a concept is normal and productive. Skipping past confusion is not.
Throughout the book, key terms are introduced in bold when they first appear and are defined in context. A full glossary at the back of the book collects all these terms in one place for easy reference. When you encounter a term you are not sure about, check the glossary before assuming you have missed something. The glossary is also a useful study tool for reviewing the vocabulary of the discipline as a whole.
How to approach practice problems: When working through a construction problem, follow this sequence: (1) Read the problem statement and identify what is given and what is asked. (2) Sketch a rough three-dimensional picture of the situation to orient your thinking. (3) Set up your projection planes and locate the given elements. (4) Apply the relevant construction method step by step. (5) Check your result by verifying that it is geometrically consistent with the given information. This five-step process works for virtually every descriptive geometry problem you will encounter.
One final thought before you begin: descriptive geometry rewards persistence. The first time you successfully construct an auxiliary view that reveals the true shape of an oblique surface, or the first time you read a complex sectional drawing and immediately visualize the internal structure it represents, you will understand why this discipline has been taught to engineers and designers for over two centuries. The skills you build here are durable, transferable, and genuinely useful. The work is worth it.
Notes
Introduction
- 1. René Taton, L'Œuvre Scientifique de Monge, Presses Universitaires de France. Paris, 1951
- 2. Joël Sakarovitch, "Gaspard Monge," Landmark Writings in Western Mathematics 1640-1940. Elsevier, 2005
- 3. Sheryl A. Sorby, "Educational Research in Developing 3-D Spatial Skills for Engineering Students," International Journal of Science Education, 2009
- 4. Peter Rice, An Engineer Imagines, Artemis London Ltd, 1994
This is the end of the free sample. The full book has 9 chapters.
Want this book written for you?
Tell us your goals and background, and get your own version of this book, tailored by AI to you.


Benefits of AI-tailored books
- Read one book, not ten:
- all the Geometry knowledge you need, gathered into a single book.
- Save days of learning:
- tell us your goals, choose your topics, and the whole book is built around them.
- Learn effortlessly:
- Geometry book written for your specific background and expertise.
- Understand at a glance:
- includes charts, tables, timelines, checklists, decision trees, and more.
- Stay current:
- written the day you order it, not years ago.
- Trust what you read:
- every book is checked for accuracy, with real research when your subject needs it.
Create your unique book in 3 steps
- 1. Select your focus
Select the focus of your Geometry book and share your background
- 2. Personalize your book
Specify your goals and choose sub-topics to include
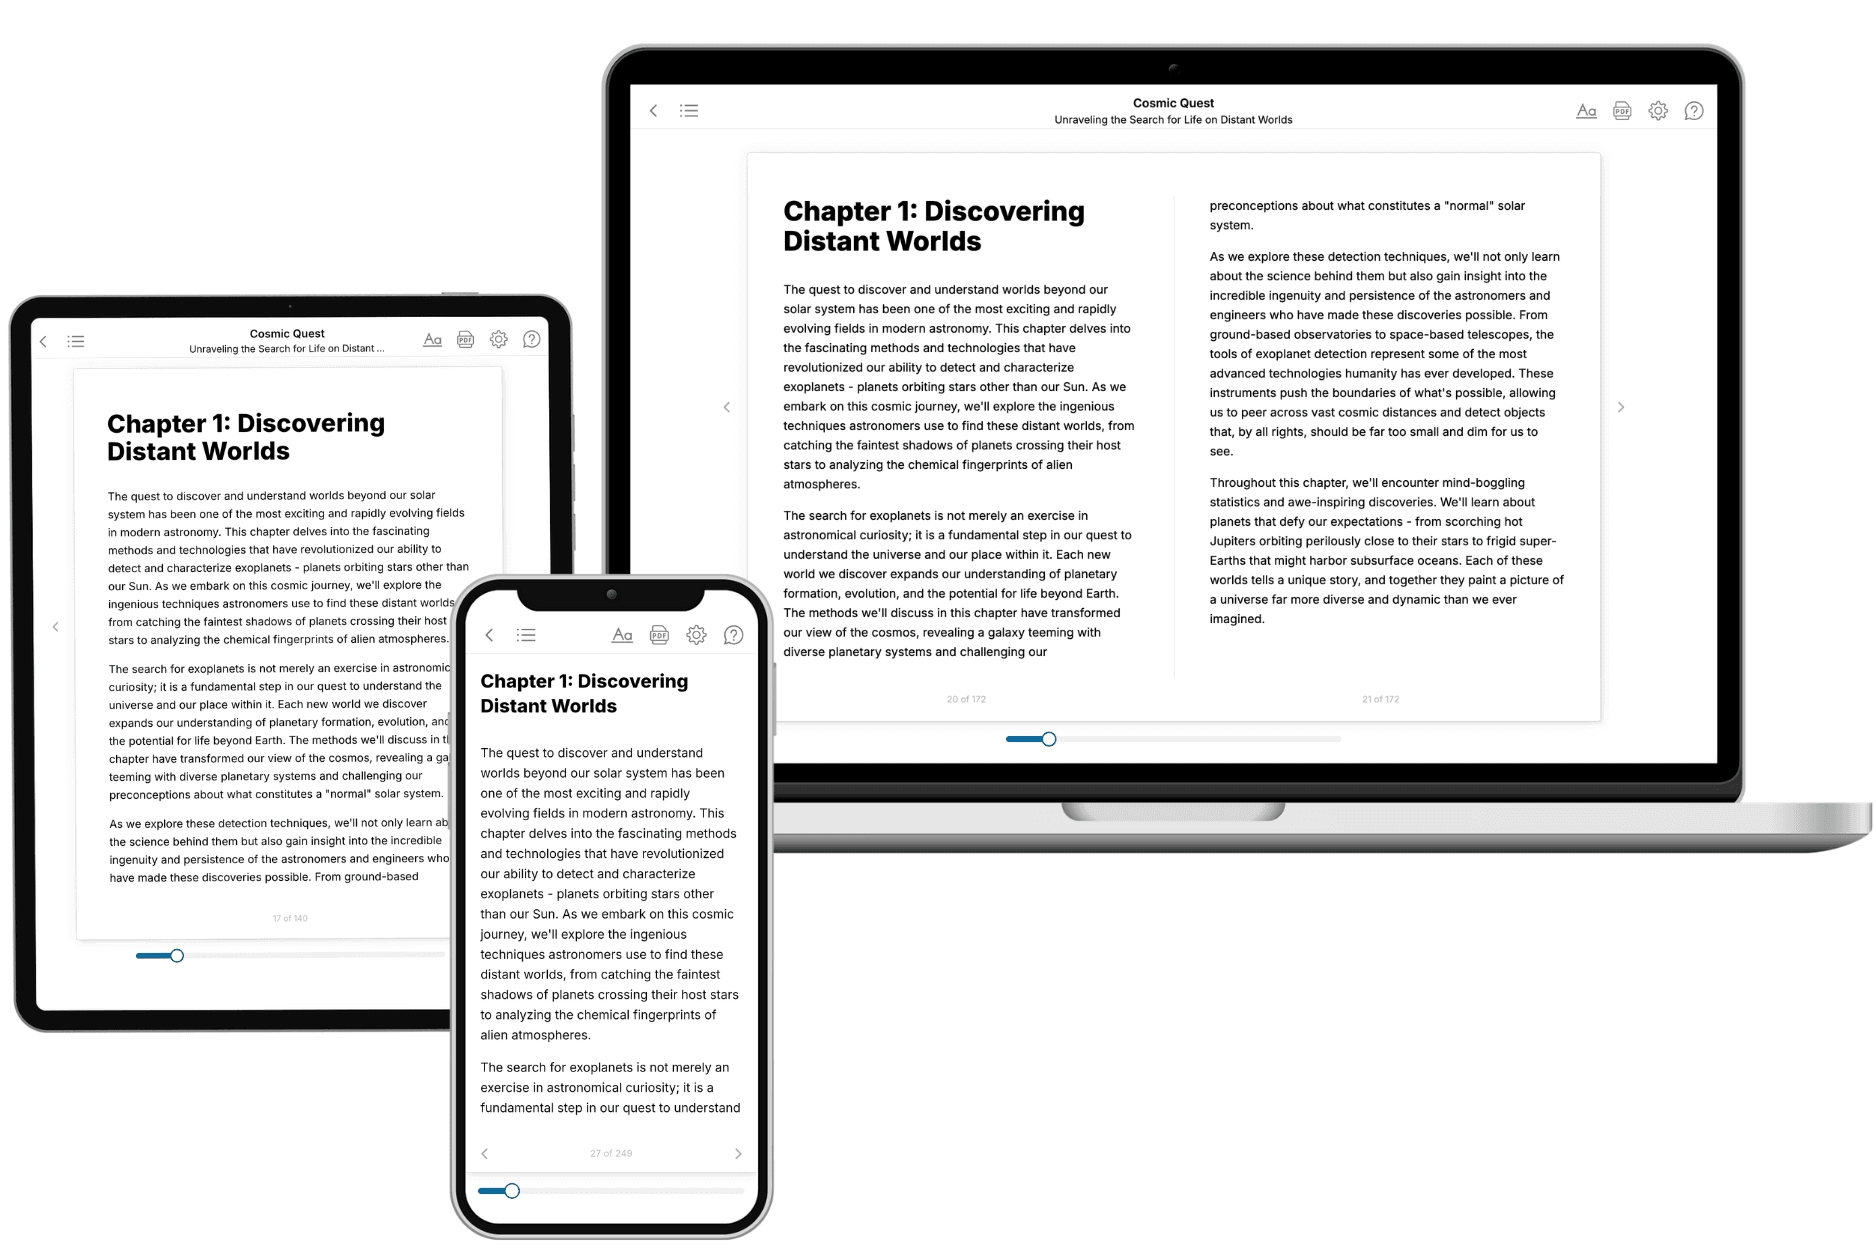
- 3. Get your tailored book
Your book is ready in 10 minutes. Read it online, download as EPUB or PDF, or send to Kindle.
Frequently asked questions
- What is TailoredRead?
TailoredRead creates complete, full-length nonfiction ebooks, written specifically for you. Tell us what you want to learn and why, and TailoredRead writes you a complete ebook on it, with charts, tables, and diagrams throughout. Read it online, on Kindle, or on any e-reader, or download it as a PDF or EPUB. Every book is written fresh the day you order it.
- How is the book tailored to me?
Before anything is written, you answer a few short questions about your goals, your background, and the topics you care about. Your book is then planned around your answers: written at your level, focused on your goals, and covering the topics you chose, instead of the one-size-fits-all book a store sells everyone.
- Will it read like generic AI content?
No. Your book isn't a chat transcript: it's planned chapter by chapter before a single word is written, told in a clear book voice, and explains ideas visually with charts, tables, and diagrams. After writing, every book goes through an editorial pass that polishes chapters so the book reads consistent from start to finish. Judge for yourself: browse thousands of sample books on our Explore Books page.
- How accurate is the content?
Our AI first checks whether your subject needs live research. Niche and fast-moving subjects are researched before writing, and the book plan and chapters are grounded in what it finds. After writing, every book goes through a quality pass that checks its facts and consistency, and researched books list their sources in a Notes section at the back.
- How long is the book?
You choose the length: Comprehensive (250-300 pages), Detailed (150-200 pages), Essential (70-100 pages), or Short (30-50 pages).
- Does the book include visuals?
Yes. Every book includes charts, tables, and diagrams: timelines, checklists, step-by-step guides, decision trees, comparison tables, matrices, and bar charts. A typical book includes dozens of these visual elements.
- Can I read it on Kindle? What formats can I download?
Yes. Every book can be read in our online reader or downloaded as a PDF or EPUB. The EPUB can be opened with Kindle, Apple Books, Kobo, and any e-reader. The Commercial and Author licenses also include an editable Word (DOCX) and Markdown download.
- How much does it cost?
About the price of a regular ebook. The exact price depends on your book's length and complexity, from $2 for the shortest books to $35 for the most comprehensive, and it's shown when you review your book, before you commit to anything. Each book is a one-time purchase, yours to keep, no subscription. Licenses that let you share, teach, or publish your book range from $35.99 to $49.99.
- Can I preview the book before purchasing?
Before you pay, you'll see what your book will cover: the title, a detailed description, the estimated length, and the complete chapter-by-chapter table of contents, so you know what you're getting before you decide. The full text itself is written after you purchase.
- How long does it take to create a book?
About 10 minutes. You can start reading the opening chapters while the rest is still being written.