Dodging and Burning with Medium Format
Master Selective Exposure Control for Stunning Black and White Prints
Struggling to elevate your medium format prints beyond flat, one-dimensional results?
191 pages9 chaptersFeb 21, 2026Photography
About this book
Dodging and burning are the darkroom techniques that transform ordinary negatives into stunning prints with professional-grade tonal control and visual impact. This comprehensive guide teaches you how to selectively lighten and darken specific areas of your prints to enhance contrast, rescue underexposed details, and create compelling visual emphasis. You'll learn the essential tools, proven techniques, and strategic planning methods used by master printers. Discover how to meter and expose your negatives correctly so dodging and burning work effectively, master the timing and motion techniques that create seamless transitions, and avoid the common mistakes that ruin prints. Whether you're working with fiber-based or RC papers, this book provides practical, step-by-step instruction grounded in the unique advantages of medium format photography. Move beyond basic printing and develop the darkroom mastery that produces exhibition-quality work.
Table of contents
- IntroductionWhy Dodging and Burning Matter in Medium Format Photography, What You'll Learn in This Book, How to Use This Guide for Maximum ResultsRead below
- Chapter 1: Foundations of Dodging and BurningA Brief History and Why It Still Matters, Core Principles of Selective Exposure Control, Why Medium Format Negatives Excel with These Techniques
- Chapter 2: Preparing Your Negatives for SuccessProper Exposure Metering in the Field, Development Techniques That Enable Dodging and Burning, Assessing Your Negatives for Dodging and Burning Potential
- Chapter 3: Essential Tools and EquipmentDodging Tools: Hands, Paddles, and Custom Solutions, Burning Tools: Masks, Cards, and Precision Techniques, Setting Up Your Darkroom for Effective Work
- Chapter 4: Mastering Dodging TechniquesBasic Dodging: Motion, Distance, and Timing, Precision Dodging for Specific Image Areas, Creating Seamless Transitions and Avoiding Halos
- Chapter 5: Mastering Burning TechniquesBasic Burning: Exposure, Masks, and Control, Selective Burning for Targeted Enhancement, Blending Burned Areas Naturally Into Your Print
- Chapter 6: Paper Selection and Exposure StrategyUnderstanding Paper Grades and Their Impact, Fiber-Based Versus RC Papers for Dodging and Burning, Planning Your Base Exposure for Optimal Results
- Chapter 7: Planning and DocumentationCreating a Dodging and Burning Plan Before You Print, Marking and Annotating Your Negatives, Documenting Your Work for Consistency and Improvement
- Chapter 8: Common Mistakes and How to Avoid ThemOver-Dodging and Over-Burning: When Less Is More, Preventing Uneven Tones and Visible Transitions, Technical Errors and How to Correct Them
- Chapter 9: Advanced Applications and Creative VisionRescuing Underexposed and Overexposed Areas, Using Dodging and Burning for Creative Emphasis, Developing Your Personal Style and Vision
- ConclusionYour Path to Darkroom Mastery, Next Steps in Your Printing Journey
- Appendix: Quick Reference GuideTroubleshooting Common Problems, Recommended Tools and Suppliers, Glossary of Darkroom Terms
Introduction
There is a moment in the darkroom that every serious printer knows. You pull a fresh print from the developer tray, hold it under the inspection light, and feel a quiet frustration settle in. The negative was good. The composition was strong. But the print looks flat, muddy, or unbalanced. The sky is blown out, the shadows are blocked up, and the subject you worked so hard to capture seems to disappear into the surrounding tones. That moment is not a failure of photography. It is an invitation to learn one of the most powerful skills in all of printmaking: dodging and burning.
Dodging and burning are the techniques of selectively controlling how much light reaches different parts of your photographic paper during exposure. By holding back light from certain areas (dodging) or adding extra light to others (burning), you gain precise control over the tonal values across your entire print. These are not tricks or shortcuts. They are fundamental darkroom skills that have been used by master printers for well over a century, from Ansel Adams crafting his iconic landscapes to contemporary fine art photographers producing exhibition-quality work today. The difference between a competent print and a truly great one almost always comes down to how skillfully these techniques are applied.
This book focuses specifically on dodging and burning in the context of medium format photography. That distinction matters enormously. Medium format negatives, whether from a 6x4.5cm, 6x6cm, 6x7cm, or larger camera, carry significantly more information than 35mm film. The larger film area captures finer grain, richer tonal gradations, and more detail in both highlights and shadows. That extra information gives you more to work with in the darkroom. It makes dodging and burning more effective, more forgiving, and ultimately more rewarding. If you have invested in medium format equipment, learning to fully exploit that advantage in the darkroom is the logical and necessary next step.
This guide is written for photographers who already have some experience with medium format cameras and basic darkroom printing. You do not need to be an expert, but familiarity with enlargers, paper, chemistry, and basic exposure will help you get the most from what follows. The goal here is not to repeat beginner darkroom instruction. The goal is to take your existing skills and push them toward a level of control and intentionality that produces prints you are genuinely proud of. Every chapter builds on the last, moving from foundational concepts through practical technique and into advanced creative application.
Why Dodging and Burning Matter in Medium Format Photography
Photography has always involved a fundamental tension between what the camera sees and what the human eye perceives. Your eye is remarkably adaptive. Standing in a landscape with a bright sky and shadowed foreground, your visual system constantly adjusts, allowing you to see detail in both areas simultaneously. Film and paper cannot do this. They have a fixed dynamic range, and when a scene exceeds that range, something has to give. Either the highlights blow out, the shadows block up, or both. Dodging and burning are the tools you use to manage that tension after the fact, in the darkroom, with full creative control.
The importance of these techniques becomes even clearer when you consider what black and white photography actually is. Without color to guide the viewer's eye, tonal relationships carry the entire visual weight of an image. A face that is slightly too dark disappears into the background. A sky that prints too light loses all drama and texture. A foreground that is too heavy pulls attention away from your subject. Every tonal decision you make in the darkroom is a compositional decision. Dodging and burning are not just technical corrections. They are acts of visual storytelling.
Medium format photography amplifies all of this. Consider a 6x7cm negative compared to a 35mm frame. The medium format negative has roughly 4.5 times the surface area. That means more silver halide crystals capturing light, finer apparent grain, and a smoother tonal gradation from deep shadow to bright highlight. When you project that negative onto paper through an enlarger, you are working with a richer, more detailed image. The transitions between tones are more gradual, which means your dodging and burning tools can blend more naturally. Mistakes are less obvious. Subtle adjustments have more visible impact. The medium format advantage is real, and it pays off most clearly in the darkroom.
Consider a practical example. Imagine printing a portrait taken outdoors on a slightly overcast day. The subject's face is well-exposed, but the background sky is significantly brighter. On a 35mm negative, the sky detail may be partially lost due to grain and limited tonal range. On a medium format negative of the same scene, the sky retains more gradation, more cloud texture, and more recoverable detail. In the darkroom, you can burn that sky down to a rich, dramatic tone while keeping the face at its correct exposure. The result is a print that looks nothing like a snapshot and everything like a deliberate, crafted image.
There is also a psychological dimension to why these techniques matter. Prints that have been carefully dodged and burned carry a quality that viewers sense even when they cannot name it. The tones feel intentional. The eye moves through the image in a guided way. Certain areas draw attention while others recede. This is not accidental. It is the result of a printer who understood their image, planned their approach, and executed it with skill. That quality is what separates prints that hang on walls from prints that sit in drawers.
Finally, it is worth acknowledging that dodging and burning are irreplaceable even in an era when digital tools exist. Many photographers work in both analog and digital environments, and some may wonder whether darkroom techniques are still worth learning. The answer is yes, for several reasons. The physical process of working with light, paper, and chemistry develops an intuitive understanding of tonal relationships that directly improves your digital work as well. The constraints of the darkroom force deliberate, thoughtful decisions. And the prints themselves, made by hand with analog tools, carry a presence and depth that is genuinely difficult to replicate digitally.
Key insight: Dodging and burning are not corrections for bad negatives. They are the primary tools for translating a good negative into a great print. The distinction matters because it changes how you approach every session at the enlarger.
Understanding why these techniques matter is the first step. The next is understanding exactly what you will learn and how this book will help you get there.
What You'll Learn in This Book
This book covers dodging and burning comprehensively, from the underlying principles to advanced creative applications. It is organized to build your knowledge progressively, so each chapter prepares you for the next. Whether you read it straight through or use it as a reference while working in the darkroom, you will find practical, specific guidance at every stage of the process.
The first section of the book establishes the foundations you need before touching a dodging tool. Chapter 1 covers the history and core principles of selective exposure control, explaining why these techniques work and how they interact with the physics of light and paper. Chapter 2 addresses something that many darkroom books skip over: how to prepare your negatives properly in the field and in development so that dodging and burning can actually do their job. This is critical. No amount of darkroom skill can rescue a fundamentally underexposed or overdeveloped negative. Getting the negative right is the prerequisite for everything else.
The middle section of the book is where the hands-on technique lives. You will learn about the full range of tools available for dodging and burning, including:
- Your hands and fingers, which are more versatile than most beginners realize
- Commercial dodging paddles and wands in various shapes and sizes
- Custom-cut cardboard masks for burning specific areas
- Vignetting cards and shaped apertures for creative effects
- Tissue paper and diffusion materials for soft, graduated transitions
Chapters 4 and 5 go deep into the actual techniques of dodging and burning respectively. You will learn how motion, distance from the paper, and timing all interact to produce different results. You will learn how to create seamless transitions that are invisible in the final print, and how to avoid the telltale halos and hard edges that mark amateur work. Each technique is explained with specific, step-by-step guidance and illustrated with concrete examples drawn from real printing scenarios.
Chapter 6 addresses paper selection and exposure strategy, which are inseparable from dodging and burning. The grade of paper you choose, whether fiber-based or resin-coated, and how you set your base exposure all determine the range of adjustments available to you. A print that is correctly exposed for dodging and burning looks different from one that is simply exposed for a good overall result. Understanding this distinction will change how you approach every test strip and contact sheet.
Chapter 7 covers planning and documentation, which are the habits that separate consistent printers from those who get lucky occasionally. You will learn how to analyze a negative before printing, create a written dodging and burning plan, and document your results so you can reproduce them exactly. This is especially important when printing editions or returning to a negative months later. The documentation system introduced in this chapter is simple, practical, and immediately usable.
Chapter 8 is dedicated to mistakes, because understanding what goes wrong is just as important as knowing what to do right. Over-burning, uneven transitions, visible tool edges, and inconsistent timing are all common problems with specific, preventable causes. This chapter walks through each one with clear explanations and practical solutions. If you have ever ruined a print and not known exactly why, this chapter will give you the diagnostic framework to figure it out.
The final chapter moves into advanced and creative territory. You will learn techniques for rescuing negatives with serious exposure problems, using dodging and burning to create dramatic visual emphasis, and developing a personal printing style that reflects your creative vision. This is where the technical skills you have built throughout the book become tools for genuine artistic expression.
What this book does not cover: Digital dodging and burning in Photoshop or Lightroom. This is a darkroom book, focused entirely on analog techniques with physical tools and photographic paper. If you are looking for digital instruction, this is not the right resource. If you are looking to master the analog craft, you are in exactly the right place.
By the time you finish this book, you will have a complete, practical toolkit for dodging and burning with medium format negatives. More importantly, you will have the conceptual framework to analyze any print problem and know exactly what to do about it.
How to Use This Guide for Maximum Results
A book about darkroom technique is only useful if it connects directly to what you do in the darkroom. Reading about dodging and burning without practicing it is like reading about swimming without getting in the water. The goal of this section is to help you use this guide in a way that produces real, measurable improvement in your prints as quickly as possible.
The most effective approach is to read each chapter and then immediately apply what you have learned in a printing session before moving on. Do not try to absorb the entire book before touching your enlarger. The concepts in each chapter are designed to be tested and reinforced through practice. When you read about motion technique in Chapter 4, go to the darkroom and practice it on a test print. When you read about planning in Chapter 7, sit down with a negative and actually write out a plan before you print. The gap between reading and doing should be as small as possible.
Here is a suggested workflow for using this book effectively:
- Read the chapter in full, noting any techniques or concepts that are new to you.
- Select a negative that is relevant to what you just read. For example, after reading Chapter 4 on dodging, choose a negative with a shadow area that needs lightening.
- Make a base print without any dodging or burning, so you have a reference point.
- Apply the technique from the chapter, making notes on what you did and how long you spent on each area.
- Compare the results side by side with your base print and evaluate what worked and what did not.
- Repeat with adjustments until you are satisfied, then document your final approach.
This iterative process is how darkroom skills are actually built. Each printing session teaches you something that no amount of reading can fully convey. The feel of a dodging tool moving through the light beam, the way a burned area gradually deepens as you hold the card in place, the subtle difference between a seamless transition and a visible edge: these are things you learn through your hands and eyes, not through text alone. The book gives you the framework. The darkroom gives you the skill.
Keep a printing journal alongside this book. A simple notebook works perfectly. For each printing session, record the negative you worked with, the paper grade and type, your base exposure, and every dodging and burning step you took. Include the tool used, the area affected, the additional exposure time, and your assessment of the result. This journal will become one of your most valuable resources over time. When you return to a negative six months later, your notes will tell you exactly how to reproduce the print you made before. When something goes wrong, your notes will help you diagnose the cause.
Pay particular attention to the examples and case studies throughout the book. These are not hypothetical. They are drawn from real printing scenarios with specific negatives, specific problems, and specific solutions. When you encounter a similar situation in your own work, these examples give you a starting point. You will not always follow them exactly, because every negative is different, but they provide a reference framework that saves significant time and wasted paper.
Do not skip Chapter 2, even if you feel confident about your field exposure and development technique. Many experienced photographers discover, after reading that chapter, that their negatives have been consistently slightly overdeveloped or that their metering approach has been creating unnecessary challenges in the darkroom. The connection between what happens in the field and what is possible in the darkroom is tighter than most photographers realize. A small adjustment to your development time or your metering approach can make a significant difference in how much dodging and burning your prints require.
If you are new to medium format printing specifically, take some time before starting Chapter 1 to make a series of straight prints from several of your negatives. Print them without any dodging or burning, just a good base exposure, and study them carefully. Ask yourself which areas are too light, which are too dark, and what the ideal tonal relationship between different parts of the image would look like. This exercise trains your eye to see prints analytically rather than just aesthetically. That analytical vision is the foundation of everything that follows.
Finally, be patient with yourself. Dodging and burning are skills that develop over time. Your first attempts will probably be imperfect. You may over-dodge an area and create a washed-out patch. You may burn a sky unevenly and see a visible line where the extra exposure stopped. These are normal parts of the learning process, and they are exactly the kinds of mistakes that Chapter 8 will help you understand and correct. Every experienced printer has a stack of failed prints somewhere. The difference between those who improve and those who plateau is simply the willingness to analyze what went wrong and try again with that knowledge.
A practical note on materials: Throughout this book, specific paper grades, developer dilutions, and exposure times are given as examples. These are starting points, not universal prescriptions. Your enlarger, your chemistry, your darkroom temperature, and your specific paper batch will all affect the results. Always test before committing to a final print, and adjust the examples to fit your specific setup.
The darkroom is one of the few places left where craft, patience, and physical skill combine to produce something genuinely handmade. Dodging and burning are at the heart of that craft. This book is your guide to mastering them. The rest is up to you and the light.
This is the end of the free sample. The full book has 9 chapters.
Want this book written for you?
Tell us your goals and background, and get your own version of this book, tailored by AI to you.


Benefits of AI-tailored books
- Read one book, not ten:
- all the Photography knowledge you need, gathered into a single book.
- Save days of learning:
- tell us your goals, choose your topics, and the whole book is built around them.
- Learn effortlessly:
- Photography book written for your specific background and expertise.
- Understand at a glance:
- includes charts, tables, timelines, checklists, decision trees, and more.
- Stay current:
- written the day you order it, not years ago.
- Trust what you read:
- every book is checked for accuracy, with real research when your subject needs it.
Create your unique book in 3 steps
- 1. Select your focus
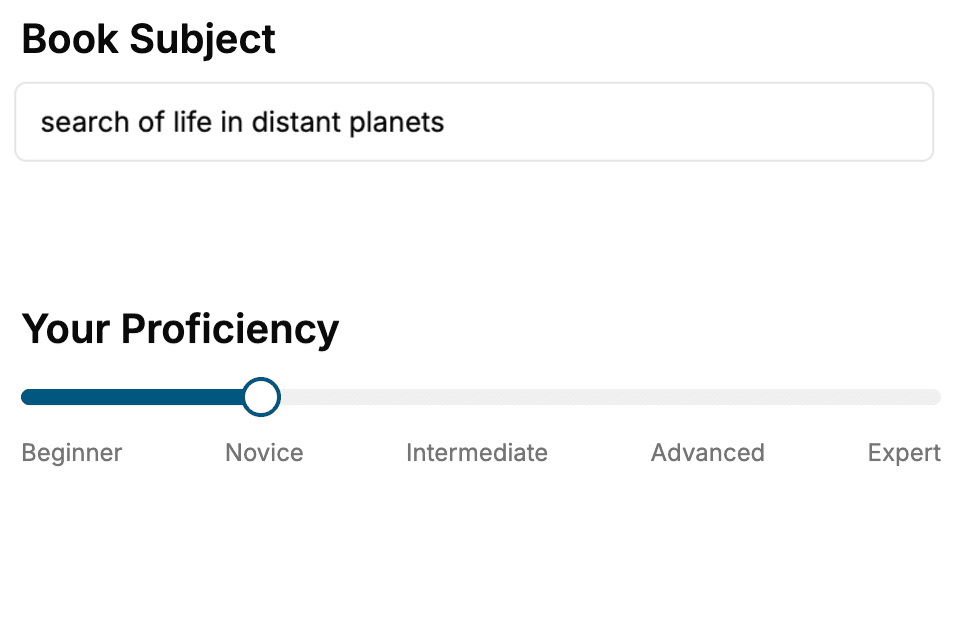
Select the focus of your Photography book and share your background
- 2. Personalize your book
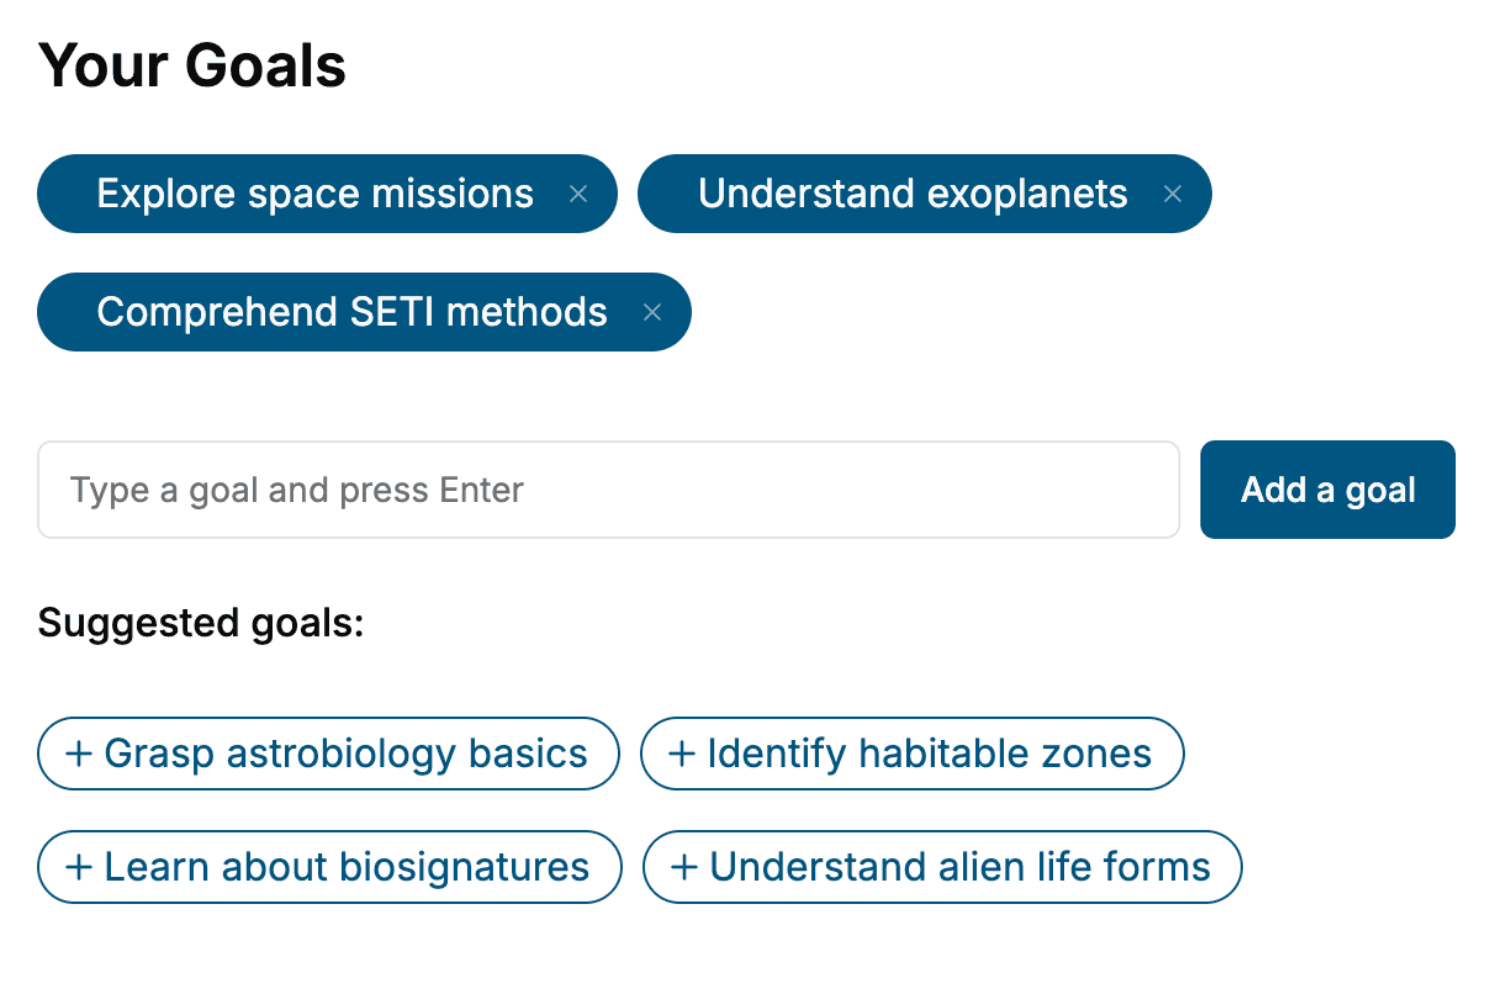
Specify your goals and choose sub-topics to include
- 3. Get your tailored book
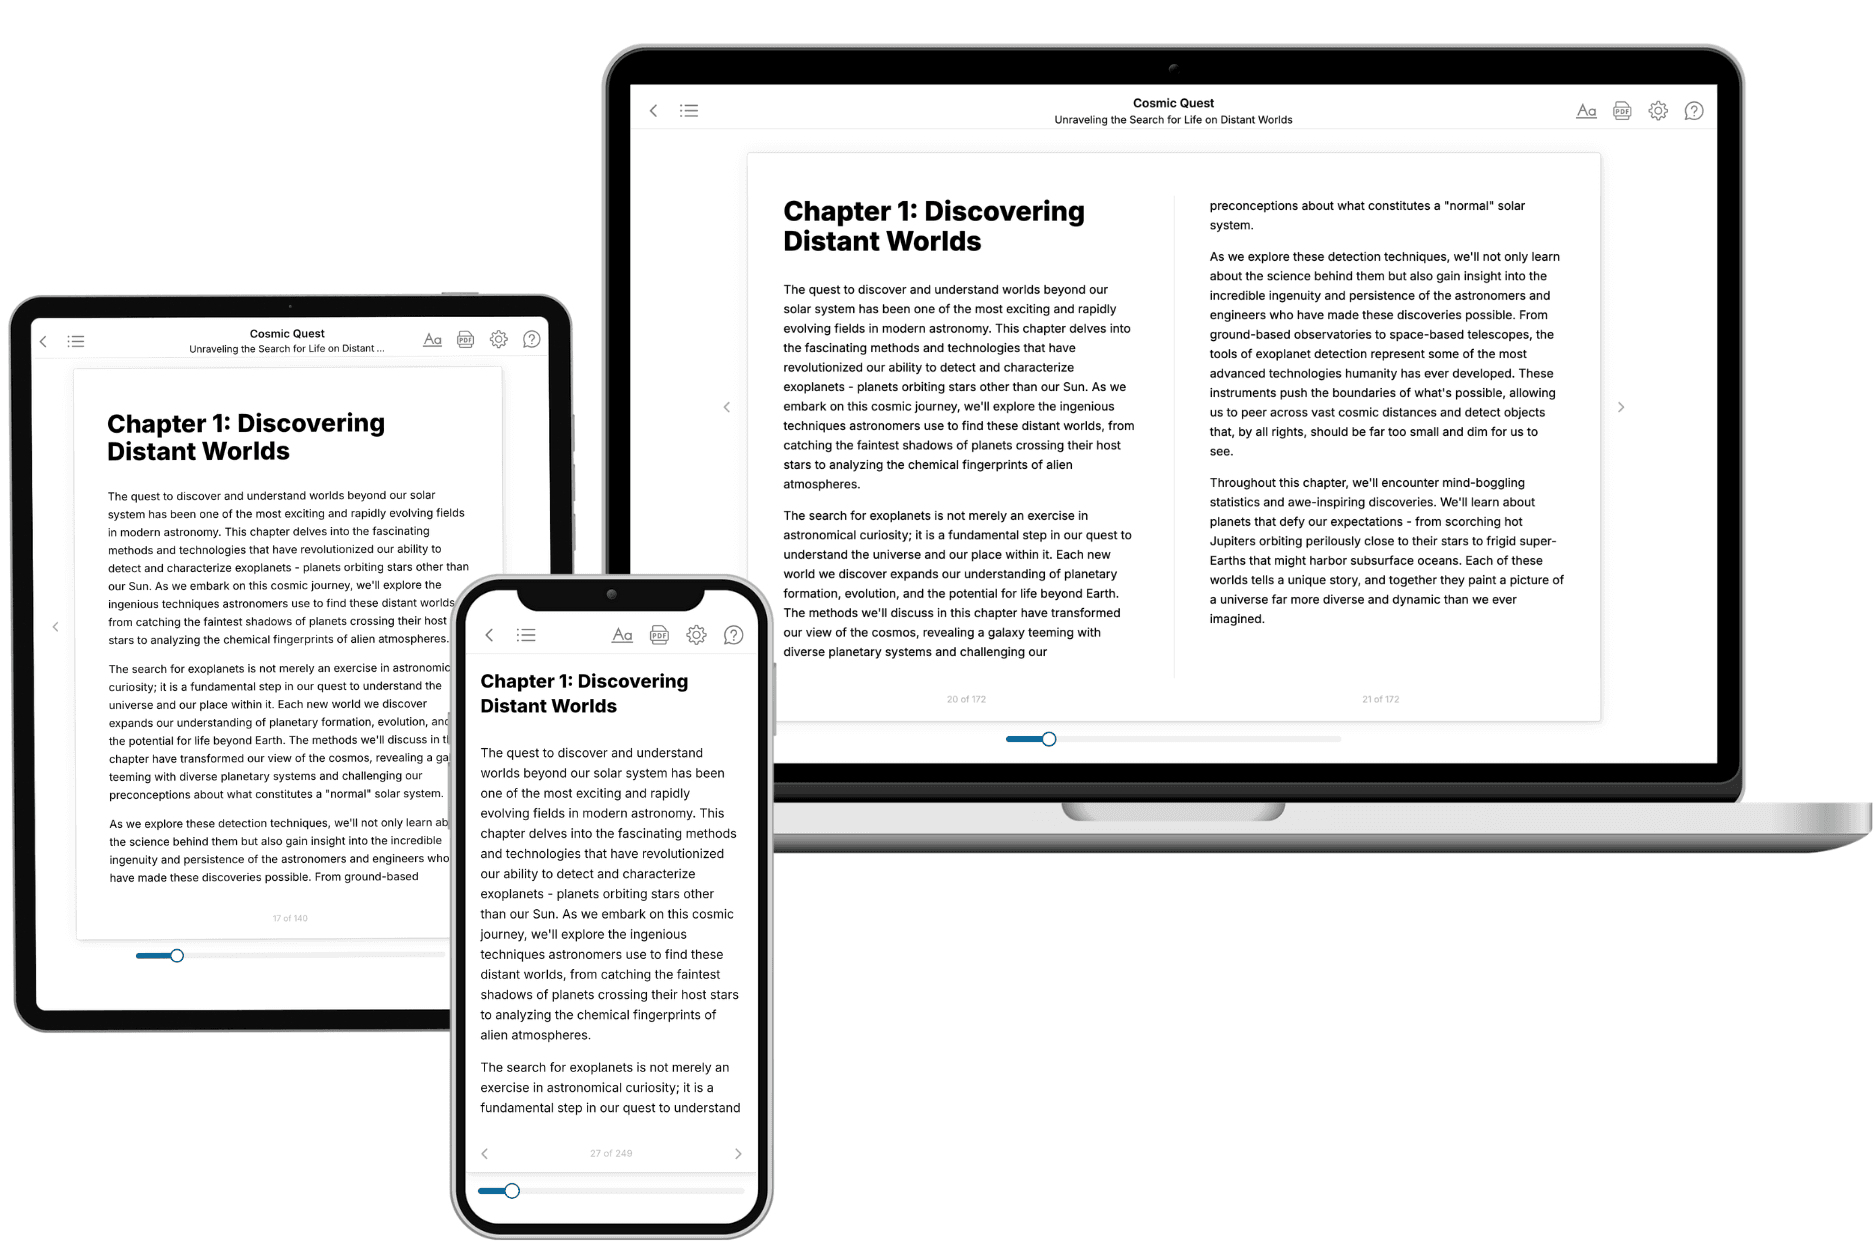
Your book is ready in 10 minutes. Read it online, download as EPUB or PDF, or send to Kindle.
Frequently asked questions
- What is TailoredRead?
TailoredRead creates complete, full-length nonfiction ebooks, written specifically for you. Tell us what you want to learn and why, and TailoredRead writes you a complete ebook on it, with charts, tables, and diagrams throughout. Read it online, on Kindle, or on any e-reader, or download it as a PDF or EPUB. Every book is written fresh the day you order it.
- How is the book tailored to me?
Before anything is written, you answer a few short questions about your goals, your background, and the topics you care about. Your book is then planned around your answers: written at your level, focused on your goals, and covering the topics you chose, instead of the one-size-fits-all book a store sells everyone.
- Will it read like generic AI content?
No. Your book isn't a chat transcript: it's planned chapter by chapter before a single word is written, told in a clear book voice, and explains ideas visually with charts, tables, and diagrams. After writing, every book goes through an editorial pass that polishes chapters so the book reads consistent from start to finish. Judge for yourself: browse thousands of sample books on our Explore Books page.
- How accurate is the content?
Our AI first checks whether your subject needs live research. Niche and fast-moving subjects are researched before writing, and the book plan and chapters are grounded in what it finds. After writing, every book goes through a quality pass that checks its facts and consistency, and researched books list their sources in a Notes section at the back.
- How long is the book?
You choose the length: Comprehensive (250-300 pages), Detailed (150-200 pages), Essential (70-100 pages), or Short (30-50 pages).
- Does the book include visuals?
Yes. Every book includes charts, tables, and diagrams: timelines, checklists, step-by-step guides, decision trees, comparison tables, matrices, and bar charts. A typical book includes dozens of these visual elements.
- Can I read it on Kindle? What formats can I download?
Yes. Every book can be read in our online reader or downloaded as a PDF or EPUB. The EPUB can be opened with Kindle, Apple Books, Kobo, and any e-reader. The Commercial and Author licenses also include an editable Word (DOCX) and Markdown download.
- How much does it cost?
About the price of a regular ebook. The exact price depends on your book's length and complexity, from $2 for the shortest books to $35 for the most comprehensive, and it's shown when you review your book, before you commit to anything. Each book is a one-time purchase, yours to keep, no subscription. Licenses that let you share, teach, or publish your book range from $35.99 to $49.99.
- Can I preview the book before purchasing?
Before you pay, you'll see what your book will cover: the title, a detailed description, the estimated length, and the complete chapter-by-chapter table of contents, so you know what you're getting before you decide. The full text itself is written after you purchase.
- How long does it take to create a book?
About 10 minutes. You can start reading the opening chapters while the rest is still being written.