Drawing the Human Figure
Master Realistic Pencil Techniques from Anatomy to Expression
What if the difference between an amateur sketch and a portrait people recognize isn't talent—it's understanding the system?
222 pages10 chaptersSep 14, 2026Drawing
About this book
This book teaches you the exact methods professional artists use to draw realistic human figures, broken down into learnable steps you can practice immediately. You'll start with the anatomical landmarks that make faces and bodies proportional, then master the shading techniques that make drawings look three-dimensional. Each module builds on the previous one, so you're not just learning isolated skills—you're developing a complete system for realistic figure drawing. Whether you want to draw convincing portraits, capture dynamic poses, or develop a style people recognize as yours, this book gives you the practical techniques and deliberate practice framework to get there. No mystical talent required—just clear methods and consistent application.
Table of contents
- IntroductionWhy Figure Drawing Matters, How to Use This Book for Maximum Progress, Essential Tools and Materials, Your Learning Path: From Basics to MasteryRead below
- Module 1: Gesture and Movement FundamentalsUnderstanding Gesture as the Foundation, Quick Gesture Exercises: Building Speed and Confidence, Capturing Pose Dynamics and Energy, Gesture Practice Framework for Consistent Improvement
- Module 2: Anatomical Landmarks and ProportionsHead Proportions and Landmark Placement, Placing Facial Features with Precision, Understanding Body Proportions and Structure, Landmark Practice Drills for Accuracy
- Module 3: Tone, Value, and Shading FundamentalsBuilding Your Personal Tone Value Scales, Understanding Light Logic and Shadow Placement, Shading Fundamentals: From Light to Dark, Value Control Exercises for Consistent Tone
- Module 4: Graphite Pencil Techniques and Tool MasteryPencil Selection and Pressure Control, Mark-Making Methods and Stroke Techniques, Blending Tool Mastery: Stumps, Tissues, and Fingers, Eraser Highlight Methods and Correction Techniques
- Module 5: Portrait Fundamentals and LikenessProportional Relationships for Likeness, Portrait Likeness Methods: Beyond Basic Features, Eye Rendering Techniques for Impact, Portrait Practice Progression: Simple to Complex
- Module 6: Rendering Realistic Facial FeaturesRendering Noses and Mouths with Dimension, Ear Structure and Placement, Hair Texture Rendering: Form Over Strands, Skin Tone Variation and Subtle Shading
- Module 7: Expression and Emotion CaptureFacial Expression Anatomy and Muscle Movement, Conveying Emotion Through Subtle Feature Shifts, Eye Gaze Direction and Emotional Connection, Expression Practice Studies and Variation Exercises
- Module 8: Full Figure Drawing and CompositionFigure Composition and Spatial Arrangement, Rendering Hands and Feet Convincingly, Clothing and Fabric Fold Logic, Full Figure Practice Projects and Integration
- Module 9: Developing Your Consistent Drawing StyleIdentifying Your Artistic Preferences and Strengths, Building Your Visual Reference Library, Creating Your Deliberate Practice System, Style Consistency Exercises and Feedback Loops
- Module 10: Advanced Techniques and IntegrationCombining Techniques for Complex Drawings, Problem-Solving Strategies for Common Challenges, Finishing Techniques and Final Details
- ConclusionYour Next Steps in Your Drawing Journey, Maintaining Momentum and Continuous Growth
- Glossary of Drawing Terms
- Further Reading and Resources
Introduction
A blank sheet of paper and a mechanical pencil have more in common with a set of engineering drawings than most beginners realize. Both depend on measurement, structure, and a sequence of decisions that build on each other. This module sets the terms for everything that follows in this book: what figure drawing actually trains in your hand and eye, how to move through the chapters so skills compound instead of scatter, which tools deserve space on your desk, and the order in which the coming chapters will build your ability. None of this requires natural talent. It requires a system, applied consistently.
Module Outcomes:
- Explain why figure drawing is a trainable system of skills rather than an innate gift
- Describe how to sequence practice sessions to reinforce earlier chapters while learning new ones
- Identify the core pencils, papers, and blending tools needed to start practicing immediately
- Map the ten-chapter learning path and understand how each stage depends on the one before it
Use this module before starting any chapter, and return to it whenever practice sessions feel unfocused or progress feels slow. It is especially relevant if you are transitioning from a technical or analytical background, since it translates the book's teaching approach into terms that reward structured thinking. Anyone who has tried to draw a face from memory and produced something that looks wrong but couldn't say why will benefit from the framing given here. It also matters if you have collected drawing supplies without a clear plan for using them, since the tools section gives you a minimal, justified list instead of an overwhelming one.
The chapters that follow move from movement, to structure, to light, to tool control, to likeness, to detail, to emotion, to full composition, and finally to personal style and integration. Each one assumes you have absorbed the chapter before it, so skipping ahead to "get to the good part" (faces, usually) tends to backfire. Treat this introduction as the map you check before a hike, not a formality to skim past.
Why Figure Drawing Matters
Figure drawing is often treated as a mysterious talent that some people are simply born with and others are not. That belief discourages more capable artists than any technical obstacle ever could. In reality, drawing a convincing human figure is a skill built from several separate, learnable subsystems: capturing motion, measuring proportion, controlling value, and manipulating a physical tool with precision. Each of these can be isolated, practiced, and improved independently before being combined. The perception of "natural talent" in skilled artists is usually just the visible result of thousands of hours spent training these subsystems separately, then integrating them.
Consider two people sketching the same standing figure. One has never studied anatomy and draws by eye, guessing at where the shoulders sit relative to the hips. The other has internalized the body proportion canon, a system of measurement using head-length units to place major landmarks consistently. The second artist's figure will read as structurally sound even if the linework is rougher, because the underlying skeleton of proportion is correct. Viewers rarely notice good proportion consciously, but they notice bad proportion instantly, even without being able to explain what feels wrong. This asymmetry is exactly why landmark-based structure gets taught before surface detail in this book.
The human eye and brain are unusually sensitive to faces specifically. Research on face perception has shown that recognition depends heavily on the spatial relationships between features rather than the features themselves in isolation[1]. This is why a portrait can be technically messy in its rendering of skin or hair and still be recognized instantly, or conversely can render every pore perfectly and still fail to look like the subject. Likeness is a proportional problem before it is a rendering problem, and that ordering shapes the sequence of chapters ahead.
There is also a practical argument for treating figure drawing as a system rather than an art. An engineering background is actually an advantage here, not a mismatch. Measurement, iteration, error-checking, and incremental refinement are the same habits that make a good draftsman good, and they transfer directly to gesture accuracy, landmark placement, and value control. Where a purely intuitive artist might rely on "feel" and struggle to diagnose what went wrong in a failed drawing, a systems-minded artist can isolate the failure to a specific stage, whether that is a mismeasured landmark, an inconsistent light source, or a pressure control problem with the pencil.
Skill in figure drawing also compounds unusually well because most subskills reappear across contexts. The same hatching and cross-hatching control used to shade a sphere in early practice reappears when rendering a cheekbone, a folded sleeve, or a shadowed hand. The same gesture line that captures a runner's motion also underlies the pose of a seated portrait subject. This means early, unglamorous practice, like shading spheres or sketching stick figures in motion, is not a detour from "real" drawing. It is the direct foundation for every later chapter, and skipping it costs far more time later than it saves now.
Finally, figure drawing matters because it is one of the few skills where progress is highly visible to the artist and to others. A drawing from month one and a drawing from month six can be placed side by side, and the improvement is undeniable in a way that is harder to demonstrate in more abstract skills. That visible feedback loop is motivating, but only if practice is structured enough to produce real improvement rather than the repetition of the same uncorrected habits. The chapters ahead are built specifically to give that structure.
How to Use This Book for Maximum Progress
Lesson Outcomes:
- Sequence chapter reading and drawing practice so each new skill reinforces earlier ones
- Set up a repeatable practice session structure with realistic time budgets
- Apply a basic feedback loop to catch and correct recurring mistakes
Reading a chapter and drawing from it are two different activities, and both are necessary. Reading without drawing produces theoretical knowledge that evaporates the moment a pencil touches paper, because proportion judgment and pressure control are physical skills, not conceptual ones. Drawing without reading produces repeated, uncorrected mistakes, because you cannot fix an error you do not have a framework to recognize. The most effective approach is to read a chapter's opening section fully, attempt its practice tasks immediately afterward, then return to the chapter text to check specific points against your result.
A useful analogy from engineering is the difference between reading a specification document and running a physical test. The specification tells you what tolerance is acceptable; the test tells you whether your part meets it. In drawing terms, the chapter on head proportions is the specification. Measuring your own attempted head drawing against the head-length unit and plumb line described there is the test. Skipping the test and assuming the specification alone produced a correct result is exactly the mistake that keeps intermediate artists stuck at the same level for years.
Time budgeting matters more than most beginners expect. A single focused twenty-minute session, with a specific goal like "place five facial landmarks correctly on three different head angles," produces more improvement than a two-hour unfocused session of "just drawing." This is because deliberate practice, a concept covered in depth in the chapter on developing your consistent style, depends on a clear target and immediate feedback, not on raw hours logged. Set a specific, measurable goal before starting each session rather than opening with a vague intention to "get better at faces."
Build a habit of comparing your work against a reference immediately after finishing a drawing, not days later when memory of the attempt has faded. Overlay a photo reference and your sketch, or place them side by side, and identify the single biggest discrepancy rather than trying to fix everything at once. If a portrait's eyes are too high, that is usually a symptom of an incorrect landmark placement lower on the face, not an eye-drawing problem specifically. Tracing the error back to its structural source, rather than patching the surface symptom, is the core diagnostic habit this book repeatedly reinforces.
Keep every practice sketch, even the failed ones, dated and organized in a single sketchbook or folder rather than scattered across loose sheets. This visual reference library, expanded on later, becomes the evidence base for tracking real progress and for identifying which mistakes recur across multiple sessions. A mistake that shows up once is noise. A mistake that shows up in six consecutive drawings is a system to fix, and you can only see that pattern if your practice history is kept together and reviewed periodically rather than discarded after each session.
Essential Tools and Materials
Lesson Outcomes:
- Select a minimal, justified set of pencils, erasers, and paper for realistic figure drawing
- Understand what each tool contributes so purchases are deliberate rather than habitual
- Set up a workspace that supports consistent, comparable practice sessions
The tools needed to start are fewer and cheaper than art supply marketing suggests. A small, deliberately chosen set of graphite pencils across a range of hardness grades, a kneaded eraser, a hard plastic eraser, a blending stump, and a pad of reasonably smooth drawing paper covers everything needed for the first several chapters of this book. Pencil grade selection, covered in depth in the chapter on graphite techniques, depends on the graphite-to-clay ratio in each pencil, which determines how dark and how smooth a mark it produces. Buying twenty pencils before understanding this relationship usually means twenty pencils that get used incorrectly.
A practical starter set includes something in the harder range (around 2H to H) for light construction lines that stay faint and erasable, a middle grade (around HB to 2B) for general线 work and moderate shading, and a softer range (around 4B to 6B) for deep shadows and dramatic value contrast. This spread covers the full value scale you will build and use starting in the chapter on tone and value systems. Buying a boxed set with grades from 9H to 9B is not necessary at this stage and can be an unnecessary expense before you know which grades you actually reach for.
The following table summarizes a practical starting kit and what each item contributes, useful as a shopping reference before beginning the practice exercises in later chapters.
| Tool | Grade or Type | Primary Use |
|---|---|---|
| Hard pencil | 2H–H | Faint construction lines, initial gesture and proportion marks |
| Medium pencil | HB–2B | General linework, mid-tone shading |
| Soft pencil | 4B–6B | Deep shadows, dramatic contrast, expressive marks |
| Kneaded eraser | N/A | Lifting highlights, softening lines without residue |
| Plastic eraser | N/A | Precise, hard-edged corrections |
| Blending stump | Small and medium size | Smoothing graphite into even tonal gradients |
| Drawing paper | Medium tooth, 90–160 gsm | Holds graphite well without excessive tooth texture |
Paper choice affects results more than beginners expect. A very smooth paper, like standard printer paper, resists holding graphite evenly and makes blending harder to control, while a heavily toothed paper (rougher surface texture) grabs graphite aggressively and can make fine detail work, like eye rendering, more difficult. A medium-tooth drawing paper, sometimes labeled for graphite or general sketching, strikes a reasonable balance for the exercises throughout this book. It is worth testing a few sheets from different pads early, since paper feel is one of the more personal preferences that will later feed into your style fingerprint.
A blending stump and a kneaded eraser deserve special mention because beginners tend to treat them as accessories rather than as active drawing instruments. A blending stump does not just smooth graphite, it can lift and redistribute tone to build gradients that a pencil stroke alone cannot achieve cleanly. A kneaded eraser, similarly, is not just for correcting mistakes. Its ability to lift a soft, irregular highlight out of existing shading (the kneaded eraser highlight technique) makes it a tool for adding light back into a drawing, not just removing dark. Both get detailed treatment in the graphite techniques chapter, but knowing to buy them now avoids a mid-practice supply gap.
Workspace setup is a smaller but real factor in consistent progress. A stable, angled drawing surface, consistent overhead or desk lighting from one dominant direction, and enough room to keep a reference image visible alongside your paper all reduce variability between sessions. Inconsistent lighting in particular can distort your judgment of value and contrast, undermining the tone value scale work covered in an upcoming chapter before you have even started shading. A simple adjustable desk lamp positioned consistently to one side is a low-cost fix that pays off across every later chapter.
Your Learning Path: From Basics to Mastery
Lesson Outcomes:
- Describe the ten-chapter sequence and the dependency relationships between chapters
- Anticipate which skills each chapter assumes you already have from earlier ones
- Set realistic expectations for how long mastery of each stage typically takes
The path through this book is not arbitrary. It follows the actual dependency structure of figure drawing skill, where each stage supplies a prerequisite for the next. Gesture and movement fundamentals come first because a figure that captures energy and motion before any anatomical detail is added tends to feel alive even when imperfect, while a technically precise figure built without gesture often feels stiff no matter how accurate its proportions are. Skipping gesture to jump straight into detailed anatomy is one of the most common mistakes intermediate artists make, and it produces figures that are correct but lifeless.
Anatomical landmarks and proportions follow gesture because once you can capture a pose's energy, you need a reliable system for placing the skeleton of the figure accurately within that energetic framework. This chapter introduces the head-length unit, the plumb line, and the broader body proportion canon that will be referenced constantly in every later chapter, especially the portrait-focused ones. Tone, value, and shading fundamentals come next because a figure with correct structure still reads as flat and unconvincing without a controlled value scale and consistent light logic to give it three-dimensional form.
Graphite pencil techniques and tool mastery sit fourth in the sequence deliberately, after structure and value logic are understood conceptually, so that tool practice has a clear purpose rather than being abstract mark-making. Once you understand what a core shadow or a cast shadow needs to look like, practicing the pencil grade selection and blending technique to actually produce that effect becomes far more targeted. From there, the book moves into portrait fundamentals and likeness, then detailed rendering of individual facial features, then expression and emotion, following a logical path from broad structure toward increasingly fine detail and increasingly subtle effects.
The following table lays out this progression along with the primary dependency each chapter has on what came before, useful as a quick reference when deciding whether you are ready to move forward or need to revisit an earlier chapter.
| Chapter Focus | Primary Prerequisite |
|---|---|
| Gesture and movement | None, entry point |
| Anatomical landmarks | Gesture line control |
| Tone and value systems | Landmark-based structure |
| Graphite tool mastery | Understanding of value and light logic |
| Portrait fundamentals | Landmarks plus value control |
| Facial feature rendering | Portrait proportion grid |
| Expression and emotion | Facial feature rendering |
| Full figure and composition | All prior structural and rendering skills |
| Developing personal style | Broad technique base across all chapters |
| Advanced integration | Every preceding chapter |
Full figure drawing and composition arrives after the portrait-focused chapters because rendering hands, clothing, and fabric fold logic across an entire figure in space draws on every rendering skill developed on the face, applied at a larger and more complex scale. Developing your consistent drawing style comes second to last deliberately, because a personal style fingerprint only becomes meaningful once you have a full technical vocabulary to draw from. Style built before technical competence tends to be a set of habitual shortcuts rather than a deliberate aesthetic choice, and the difference matters for how your work is eventually recognized.
Advanced techniques and integration close the book because combining every system correctly, and diagnosing what goes wrong when multiple systems interact in a single complex drawing, is only possible once each system has been practiced individually. Expect real competence at each stage to take weeks of consistent, focused practice rather than days, and expect some backtracking to earlier chapters as later ones reveal gaps in foundational skills. That backtracking is not failure. It is the same iterative refinement process used in any technical discipline, applied here to a pencil and a sheet of paper instead of a design spec.
Notes
Introduction
- 1. Vicki Bruce and Andy Young, "Understanding Face Recognition," British Journal of Psychology, 1986
This is the end of the free sample. The full book has 10 chapters.
Want this book written for you?
Tell us your goals and background, and get your own version of this book, tailored by AI to you.


Benefits of AI-tailored books
- Read one book, not ten:
- all the Drawing knowledge you need, gathered into a single book.
- Save days of learning:
- tell us your goals, choose your topics, and the whole book is built around them.
- Learn effortlessly:
- Drawing book written for your specific background and expertise.
- Understand at a glance:
- includes charts, tables, timelines, checklists, decision trees, and more.
- Stay current:
- written the day you order it, not years ago.
- Trust what you read:
- every book is checked for accuracy, with real research when your subject needs it.
Create your unique book in 3 steps
- 1. Select your focus
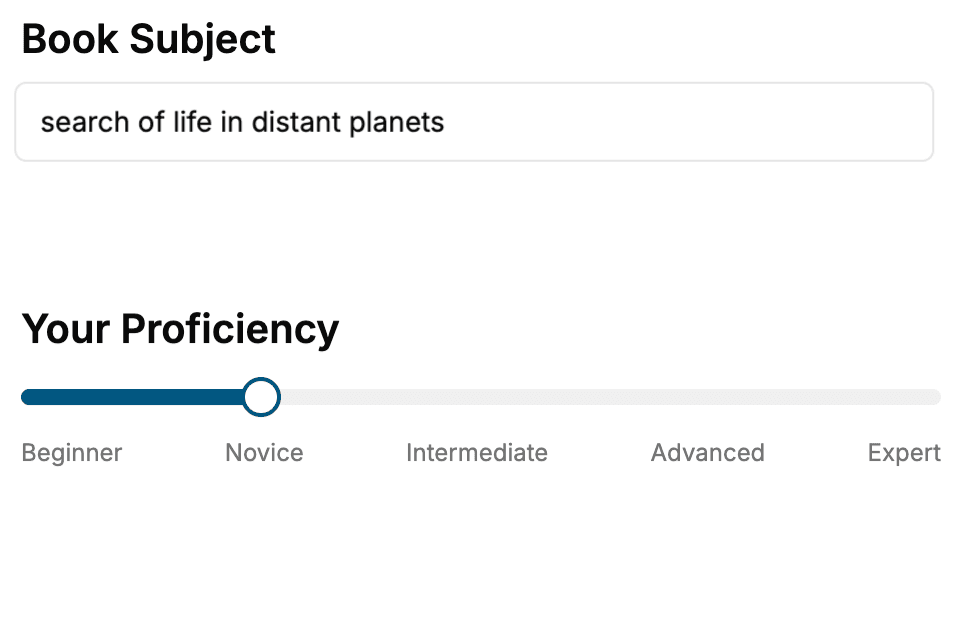
Select the focus of your Drawing book and share your background
- 2. Personalize your book
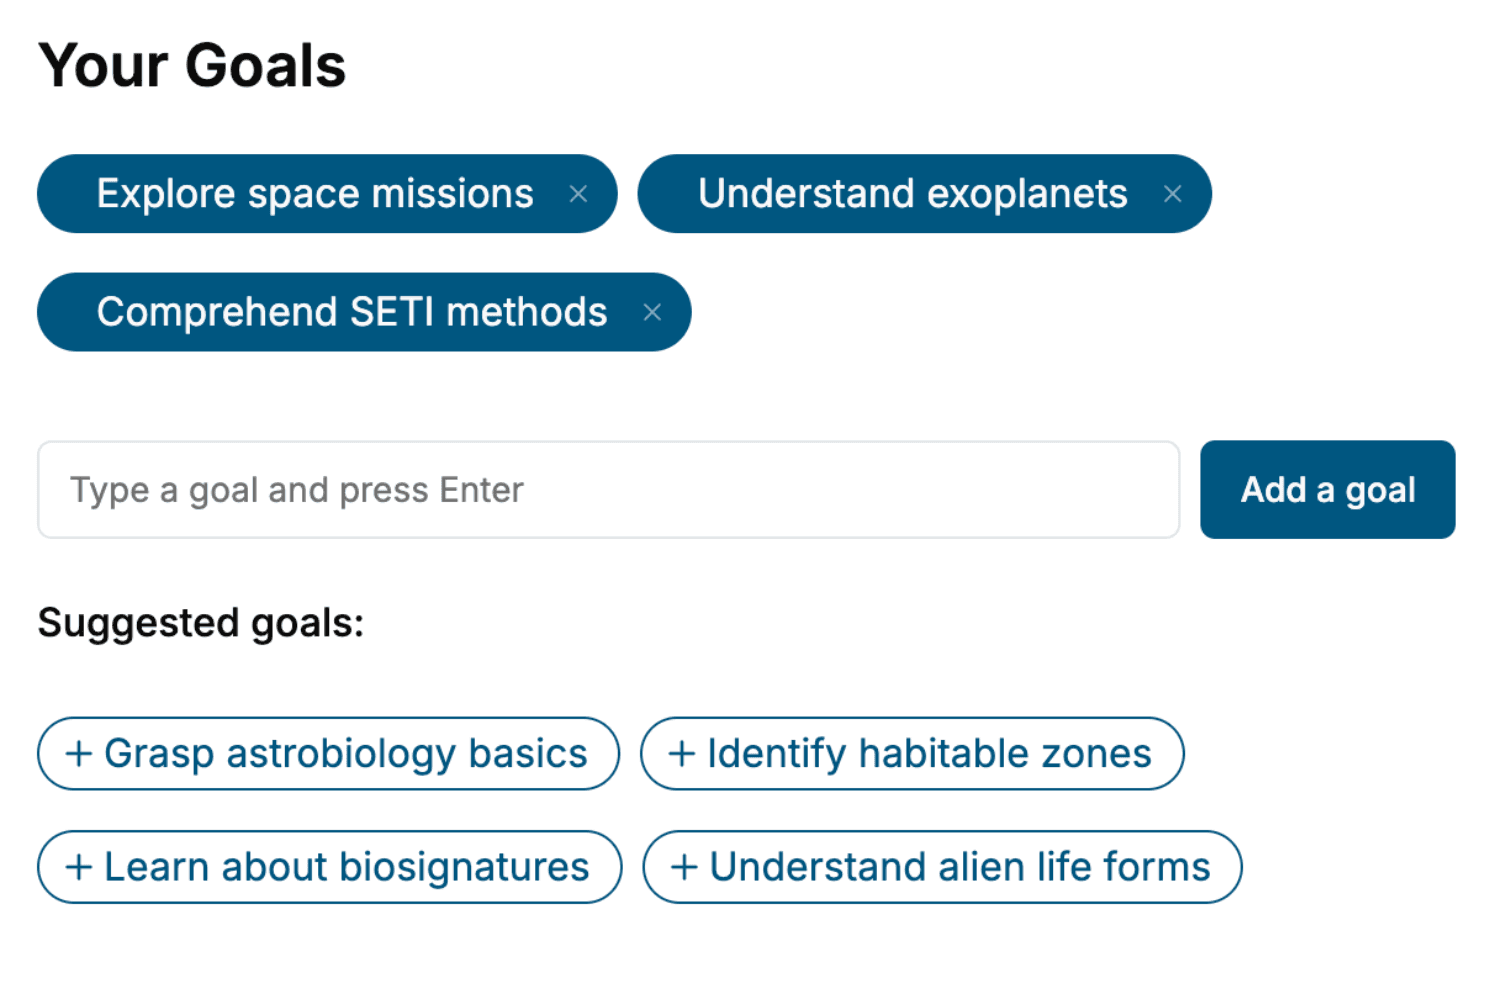
Specify your goals and choose sub-topics to include
- 3. Get your tailored book
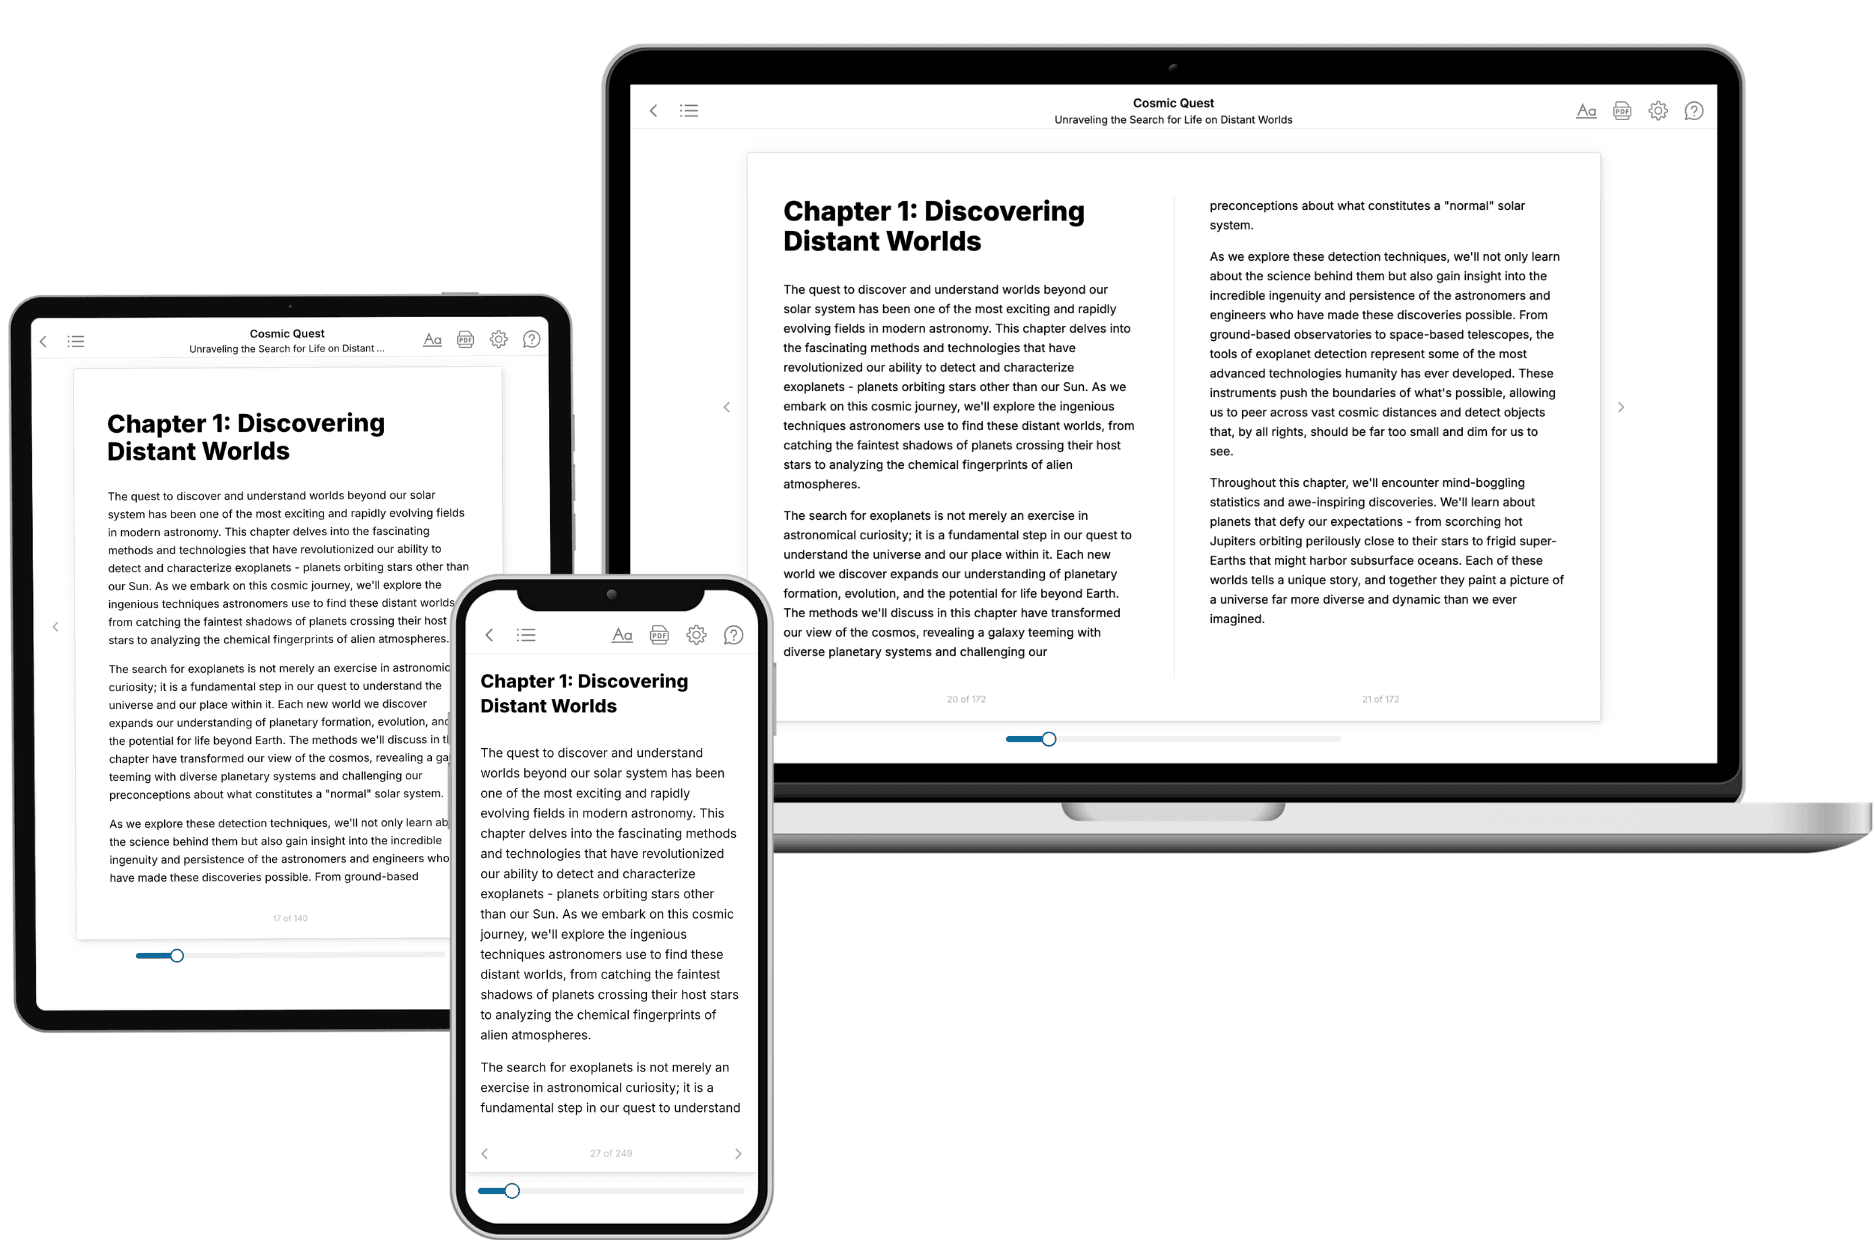
Your book is ready in 10 minutes. Read it online, download as EPUB or PDF, or send to Kindle.
Frequently asked questions
- What is TailoredRead?
TailoredRead creates complete, full-length nonfiction ebooks, written specifically for you. Tell us what you want to learn and why, and TailoredRead writes you a complete ebook on it, with charts, tables, and diagrams throughout. Read it online, on Kindle, or on any e-reader, or download it as a PDF or EPUB. Every book is written fresh the day you order it.
- How is the book tailored to me?
Before anything is written, you answer a few short questions about your goals, your background, and the topics you care about. Your book is then planned around your answers: written at your level, focused on your goals, and covering the topics you chose, instead of the one-size-fits-all book a store sells everyone.
- Will it read like generic AI content?
No. Your book isn't a chat transcript: it's planned chapter by chapter before a single word is written, told in a clear book voice, and explains ideas visually with charts, tables, and diagrams. After writing, every book goes through an editorial pass that polishes chapters so the book reads consistent from start to finish. Judge for yourself: browse thousands of sample books on our Explore Books page.
- How accurate is the content?
Our AI first checks whether your subject needs live research. Niche and fast-moving subjects are researched before writing, and the book plan and chapters are grounded in what it finds. After writing, every book goes through a quality pass that checks its facts and consistency, and researched books list their sources in a Notes section at the back.
- How long is the book?
You choose the length: Comprehensive (250-300 pages), Detailed (150-200 pages), Essential (70-100 pages), or Short (30-50 pages).
- Does the book include visuals?
Yes. Every book includes charts, tables, and diagrams: timelines, checklists, step-by-step guides, decision trees, comparison tables, matrices, and bar charts. A typical book includes dozens of these visual elements.
- Can I read it on Kindle? What formats can I download?
Yes. Every book can be read in our online reader or downloaded as a PDF or EPUB. The EPUB can be opened with Kindle, Apple Books, Kobo, and any e-reader. The Commercial and Author licenses also include an editable Word (DOCX) and Markdown download.
- How much does it cost?
About the price of a regular ebook. The exact price depends on your book's length and complexity, from $2 for the shortest books to $35 for the most comprehensive, and it's shown when you review your book, before you commit to anything. Each book is a one-time purchase, yours to keep, no subscription. Licenses that let you share, teach, or publish your book range from $35.99 to $49.99.
- Can I preview the book before purchasing?
Before you pay, you'll see what your book will cover: the title, a detailed description, the estimated length, and the complete chapter-by-chapter table of contents, so you know what you're getting before you decide. The full text itself is written after you purchase.
- How long does it take to create a book?
About 10 minutes. You can start reading the opening chapters while the rest is still being written.