Mastering Acrylic Glazing and Layering
Advanced Techniques for Depth, Light, and Professional Color Control
Imagine completing a painting where every layer contributes to a luminous, cohesive whole—where shadows recede naturally, highlights sing with conviction, and colors harmonize with apparent effortlessness.
207 pages9 chaptersAug 17, 2026Acrylics Painting
About this book
This is the result of mastering advanced acrylic glazing and layering techniques. This comprehensive guide takes you beyond basic acrylic painting to explore the sophisticated methods that distinguish professional work. You'll discover how transparent glaze layering creates depth and luminosity, how precise opacity control transforms color mixing, and how strategic underpainting with monochrome bases establishes the tonal foundation for everything that follows. Through detailed exploration of shadow depth techniques, highlight placement strategy, and brush-specific glazing methods, you'll develop the technical mastery to execute your artistic vision with confidence. Learn how acrylic glaze consistency directly impacts your results, how underpainting brushwork guides composition, and how advanced color mixing techniques create harmonious relationships that appear effortless. Whether you're refining your approach or fundamentally transforming your technical practice, this book provides the knowledge and frameworks to elevate your acrylic painting to professional standards.
Table of contents
- IntroductionWhy Glazing and Layering Matter in Advanced Acrylic Painting, What You'll Learn in This Book, How to Use This Guide for Maximum GrowthRead below
- Chapter 1: Understanding Acrylic Glaze FundamentalsWhat Makes a True Glaze: Transparency and Medium Ratios, Acrylic Glaze Consistency: Finding Your Ideal Thickness, Glazing Mediums and Their Unique Properties, How Glazes Behave on Different Surfaces and Underpaints
- Chapter 2: Mastering Transparent Glaze LayeringCore Principles of Transparent Layering, Building Depth Through Sequential Glaze Application, How Transparent Layers Interact and Mix Optically, Preventing Muddy Colors Through Strategic Layering
- Chapter 3: Color Mixing and Opacity ControlUnderstanding Pigment Opacity and Transparency, Controlling Opacity When Mixing Colors, Medium Ratios and Their Effect on Color Intensity, Creating Harmonious Color Relationships Through Opacity Control
- Chapter 4: Underpainting: Building Your Tonal FoundationThe Strategic Purpose of Monochrome Underpainting, Establishing Accurate Tonal Values in Your Underpainting, Creating an Effective Monochrome Base Layer, Brushwork Techniques for Expressive Underpainting
- Chapter 5: Shadow Depth and Atmospheric PerspectiveShadow Fundamentals: Temperature and Value, Layered Glazing Techniques for Shadow Depth, Creating Atmospheric Recession Through Shadow Glazing, Advanced Color Mixing for Realistic Shadows
- Chapter 6: Highlight Placement and Light RenderingStrategic Highlight Placement for Convincing Form, Understanding Light Direction and Surface Reflectivity, Value Relationships Between Highlights and Surrounding Areas, Techniques for Applying Highlights Over Glazed Layers
- Chapter 7: Glazing Brush Techniques and Application MethodsSelecting the Right Brush for Glazing Work, Loading and Conditioning Brushes for Optimal Glaze Application, Directional Strokes and Their Visual Effects, Blending, Feathering, and Texture Creation with Glazes
- Chapter 8: Advanced Composition Through Layering StrategyPlanning Your Composition for Layered Execution, Creating Visual Hierarchy Through Glaze Intensity and Placement, Guiding Viewer Attention with Strategic Layering, Establishing Spatial Relationships Through Glazing Sequences
- Chapter 9: Practical Workflows and TroubleshootingSetting Up Your Workspace for Efficient Glazing, Diagnosing and Solving Common Glazing Problems, Managing Drying Times and Layering Sequences, Quality Control and Evaluating Your Layers
- ConclusionIntegrating These Techniques Into Your Artistic Practice, Continued Growth and Experimentation
- Glossary of Terms
- Further Reading and Resources
Introduction
A painting built entirely with opaque color reaches a ceiling fairly quickly. You mix the tone you want, place it, and what you see is what you get. There is nothing underneath pushing back, nothing built up in stages that catches light differently than a single flat pass ever could. Acrylic painters trained on opaque technique often hit a wall around the same point: their color feels correct but lifeless, their shadows look painted rather than felt, and their highlights sit on the surface instead of glowing from within it. This book exists to move you past that wall, using the specific mechanics of transparent glazing and deliberate layering.
Consider two versions of the same still life: a copper pot in raking light. Painted with a single mixed opaque brown-orange, the pot reads as a flat, if competent, shape. Painted with a monochrome underpainting establishing every tonal value first, then built up through five or six thin transparent glazes of shifting warm and cool color, the same pot appears to have actual metal thickness and a light source pushing through the air around it. The pigment amounts used may be nearly identical. The difference is entirely procedural, rooted in sequence, ratio, and timing rather than raw color choice.
That procedural difference is what separates intermediate acrylic work from professional-level work, and it is learnable in a structured way. Glazing is not a mysterious talent some painters simply have. It is a set of physical relationships, between pigment particles, binder, water, and light, that behave predictably once you understand them. A glaze that is too thick loses its transparency and behaves like thinned opaque paint. A glaze applied before the previous layer has cured lifts and blends unintentionally. A glaze built from an overly opaque pigment refuses to let the underlayer show through no matter how much medium you add. None of this is guesswork once you know the underlying mechanics, and that is precisely what this book unpacks, layer by layer.
This introduction sets the terms for everything that follows. It explains why glazing and layering deserve dedicated, rigorous study rather than being treated as an occasional finishing trick. It previews the specific skills built across the coming chapters, from glaze fundamentals through composition and troubleshooting. And it offers a practical approach to working through the material so that reading translates into changed studio habits rather than just accumulated theory. None of it depends on exotic materials or unusual equipment. It depends on precision, patience, and a willingness to repeat small technical exercises until they become reliable habits under your brush.
Why Glazing and Layering Matter in Advanced Acrylic Painting
Acrylic paint dries fast, which is often sold to beginners as its main advantage over oil. For glazing work, that speed is a double-edged trait. It allows you to stack many transparent layers in a single studio session instead of waiting days between coats, but it also punishes hesitation and imprecision, since a glaze that goes wrong sets permanently within minutes rather than staying workable for hours. Painters who never move past opaque, single-layer technique never encounter this trade-off directly, which is part of why glazing skill is so often the dividing line between competent and exceptional acrylic work. The speed that makes acrylic difficult to glaze is the same speed that, once mastered, makes acrylic glazing faster than the equivalent oil technique.
Transparency itself does something optical paint mixing on a palette cannot replicate. When you mix red and blue on a palette, you get a physical, opaque purple, uniform and flat. When you glaze a transparent blue over a dried red layer, light passes through the blue, reflects off the red underneath, and passes back through the blue again before reaching the eye. This is optical color mixing, and it produces a shimmering, layered purple with visual depth a palette-mixed purple cannot match, because the eye is perceiving two distinct color events stacked in space rather than one averaged color. This single mechanical fact underlies most of what separates luminous acrylic painting from flat acrylic painting.
Historically, this is not a new insight invented for acrylic. Old Master oil painters used glazing extensively, applying thin transparent layers of color, often called velaturas, over carefully built monochrome or grisaille underpaintings to achieve the glowing depth seen in Renaissance and Baroque portraiture. Titian, Rembrandt, and Vermeer all relied on this layered structure rather than direct, single-pass color application. Acrylic did not exist as an artist medium until the twentieth century, but the optical principle it borrows from oil glazing is identical: transparency plus sequence produces depth that opacity plus mixing cannot. Understanding this lineage helps clarify that glazing is not a modern acrylic gimmick but a proven structural approach to painting light.
The practical consequence for your studio work is that every major visual quality professional-level acrylic paintings share, luminosity, atmospheric depth, convincing shadow, glowing highlight, traces back to how layers were built, not merely to what colors were chosen. Two painters can use an identical palette and produce wildly different results because one built color through six calibrated glazes over a tonal foundation, while the other mixed and applied opaque color directly. The techniques in this book target that structural gap directly, treating glazing and layering as the primary lever for improvement rather than color theory or brush skill alone, though both of those matter and are addressed within the layering framework itself.
There is also a compositional dimension to glazing that becomes more apparent with experience. Glaze intensity and placement function as tools for directing a viewer's eye, in much the same way value contrast does in traditional composition. A more saturated, more heavily glazed passage naturally draws attention, while an area left with fewer glaze layers recedes visually. This means glazing decisions are never purely about rendering an individual object correctly. They are simultaneously compositional decisions about hierarchy and spatial relationship across the entire canvas, a connection explored in depth in the chapter on advanced composition through layering strategy.
Skipping glazing fundamentals to jump straight to finished paintings is the most common reason intermediate painters plateau. It is tempting to treat glazing as a decorative final pass, a light wash added over an otherwise finished opaque painting, and some painters do use it that way with reasonable results. But that approach captures only a fraction of what layering can accomplish. Full mastery requires building the entire painting, from underpainting through final highlight, around the logic of transparent layers, which is why this book treats glazing not as chapter nine's finishing touch but as chapter one's foundational premise, carried structurally through every subsequent technique discussed.
What You'll Learn in This Book
The chapters ahead follow the actual order a layered acrylic painting is built, rather than an abstract topic list. This matters because glazing techniques are sequence-dependent. Learning highlight placement before understanding monochrome underpainting would be like learning to frost a cake before learning to bake it, technically possible to explain out of order, but far harder to internalize as a coherent process. The structure below reflects the build order used in professional studio practice, moving from foundational material properties through underpainting, shadow, light, brush technique, composition, and finally workflow management.
The opening chapters establish material fundamentals you will rely on throughout the book. You will learn what actually makes a glaze a glaze, meaning the specific medium-to-paint ratios and transparency thresholds that distinguish a true glaze from simply thinned paint. You will learn how glaze consistency changes depending on pigment density and desired effect, and how different glazing mediums, from matte to gloss to specialized retarding formulas, behave differently on the canvas. You will also study how glazes react differently depending on the surface and underpaint beneath them, since a glaze over a rough gesso ground behaves nothing like the same glaze over a smoothly sanded acrylic underpainting.
From there, the book moves into the mechanics of stacking those glazes. You will learn the sequential logic behind building depth through successive transparent layers, understanding how each layer interacts optically with the ones beneath it, and, critically, how to avoid the single most common glazing failure: muddy, lifeless color caused by layering the wrong hues in the wrong order or applying too many uncontrolled glazes without a plan. Alongside this, a full chapter on color mixing and opacity control teaches you to manage pigment opacity ratings deliberately, so that every color decision you make accounts for how much of the underlayer will show through and how that transparency affects perceived color harmony.
The middle section of the book addresses underpainting, shadow, and light as an integrated system rather than separate topics. You will build a monochrome underpainting that establishes accurate tonal values and serves as the structural skeleton for every glaze applied afterward, learning specific brushwork approaches that support rather than fight your eventual composition. Building on that foundation, you will study shadow depth and atmospheric perspective, learning how layered, cooler, darker glazes create convincing shadow and spatial recession in a way flat, single-application shadow color never can. The companion chapter on highlight placement teaches the reverse operation: how to apply light convincingly over already-glazed surfaces, accounting for light direction, surface reflectivity, and the value relationships that make a highlight read as believable rather than pasted on.
The closing chapters turn from individual techniques toward craft and integration. A dedicated chapter on brush technique covers selection, loading, and directional stroke work as the physical delivery system for everything discussed earlier, since even a perfectly planned glaze sequence fails if the brushwork applying it is careless or inconsistent. Following that, a chapter on advanced composition shows how glaze intensity, placement, and sequencing function as compositional tools in their own right, capable of establishing visual hierarchy and spatial relationships across an entire canvas. The final technical chapter addresses the unglamorous but essential realities of studio workflow: setting up efficiently, managing drying times across multiple layers, diagnosing common glazing problems when they occur, and evaluating your own layers with a quality-control eye before calling a painting finished.
Across all of these chapters, the throughline is consistent. Every technique connects back to the same core relationship between transparency, sequence, and light. Once that relationship is internalized, the individual skills, underpainting, shadow glazing, highlight placement, brush handling, stop feeling like a list of separate tricks to memorize and start feeling like variations on one coherent working method. That shift, from a checklist mentality to an integrated method, is the actual marker of advanced technical skill this book is built to produce.
How to Use This Guide for Maximum Growth
Reading about glaze consistency and actually developing a feel for it in your hand are two different kinds of knowledge, and only the second one improves your paintings. The most effective way to use this book is to treat each chapter as a paired reading-and-studio unit rather than pure reading material. After finishing a chapter, set aside a short studio session, even thirty minutes, to physically test the specific technique just described, using scrap canvas or canvas paper rather than a piece you are emotionally invested in finishing. Small, low-stakes test panels remove the pressure that causes painters to rush technique in favor of a "good enough" result on a piece they care about.
A practical way to structure this testing is with a running sample board. Keep one or two canvas boards in your studio dedicated purely to technique swatches: a grid of glaze consistency tests, a strip showing three medium-to-paint ratios side by side, a small monochrome underpainting practice panel. Label each swatch directly on the board with the ratio or method used. Over the course of working through this book, that board becomes a personal reference library more valuable than any written note, because it shows you, in your own materials and your own hand, exactly how a given ratio or sequence behaves. Painters consistently underestimate how much this kind of physical reference accelerates skill retention compared to notes alone.
The chapters are sequenced deliberately and benefit from being read in order on a first pass, even for topics that feel familiar. Someone with formal training may already understand pigment opacity in the abstract, for instance, but the specific way this book frames opacity control in relation to glazing sequence, covered in the chapter on color mixing and opacity control, sets up terminology and thinking used again in the shadow and highlight chapters later on. Skipping ahead risks missing that connective thread and having to double back once a later chapter assumes familiarity with an earlier concept. A second pass, after finishing the book once, is the right time to jump directly to whichever chapter addresses your current weakest area.
Because the middle chapters build on each other so tightly, from underpainting through shadow through highlight, consider working a single subject through that entire arc as one extended studio project rather than testing each stage on a different disconnected sketch. Choose something with clear, strong form and directional light: a single piece of fruit, a draped cloth, a simple glass bottle. Build its monochrome underpainting following that chapter's guidance, then apply the shadow-glazing techniques from the following chapter to the same piece, then finish with the highlight-placement techniques from the chapter after that. Seeing one object carried through the full sequence makes the connections between chapters concrete in a way that isolated exercises cannot.
Keep a simple log alongside your studio sessions noting what worked and what did not, along with the specific ratios or products used. Acrylic mediums vary by manufacturer, and a glazing medium ratio that behaves one way with one brand's heavy body acrylics may behave slightly differently with another brand's soft body line. A log lets you calibrate the general principles in this book to your specific materials over time, rather than assuming every ratio mentioned will transfer identically to your particular paints. This is especially relevant in the chapters on glaze consistency and medium types, where exact proportions are given as reliable starting points rather than universal constants.
Finally, resist the temptation to judge early practice attempts against finished professional paintings. A first monochrome underpainting will look uneven. A first sequence of shadow glazes may come out slightly muddy before the specific ordering logic clicks. This unevenness is normal and expected, not a sign the technique does not work. Skill in glazing accumulates through repetition of a fundamentally simple physical action, thin transparent paint applied in a controlled sequence, until judgment about timing and ratio becomes automatic. Treat the checklist below as a quick pre-flight reference to return to before starting any new layered painting, once you have worked through the fundamentals in the chapters ahead.
Before You Begin a Layered Painting
- Confirm your glazing medium and ratio are tested on a scrap swatch first
- Plan your monochrome underpainting values before mixing any color
- Check that the previous layer is fully dry before glazing over it
- Decide your shadow and highlight sequence before applying either
- Keep your sample board nearby for quick consistency reference
This is the end of the free sample. The full book has 9 chapters.
Want this book written for you?
Tell us your goals and background, and get your own version of this book, tailored by AI to you.


Benefits of AI-tailored books
- Read one book, not ten:
- all the Acrylics Painting knowledge you need, gathered into a single book.
- Save days of learning:
- tell us your goals, choose your topics, and the whole book is built around them.
- Learn effortlessly:
- Acrylics Painting book written for your specific background and expertise.
- Understand at a glance:
- includes charts, tables, timelines, checklists, decision trees, and more.
- Stay current:
- written the day you order it, not years ago.
- Trust what you read:
- every book is checked for accuracy, with real research when your subject needs it.
Create your unique book in 3 steps
- 1. Select your focus
Select the focus of your Acrylics Painting book and share your background
- 2. Personalize your book
Specify your goals and choose sub-topics to include
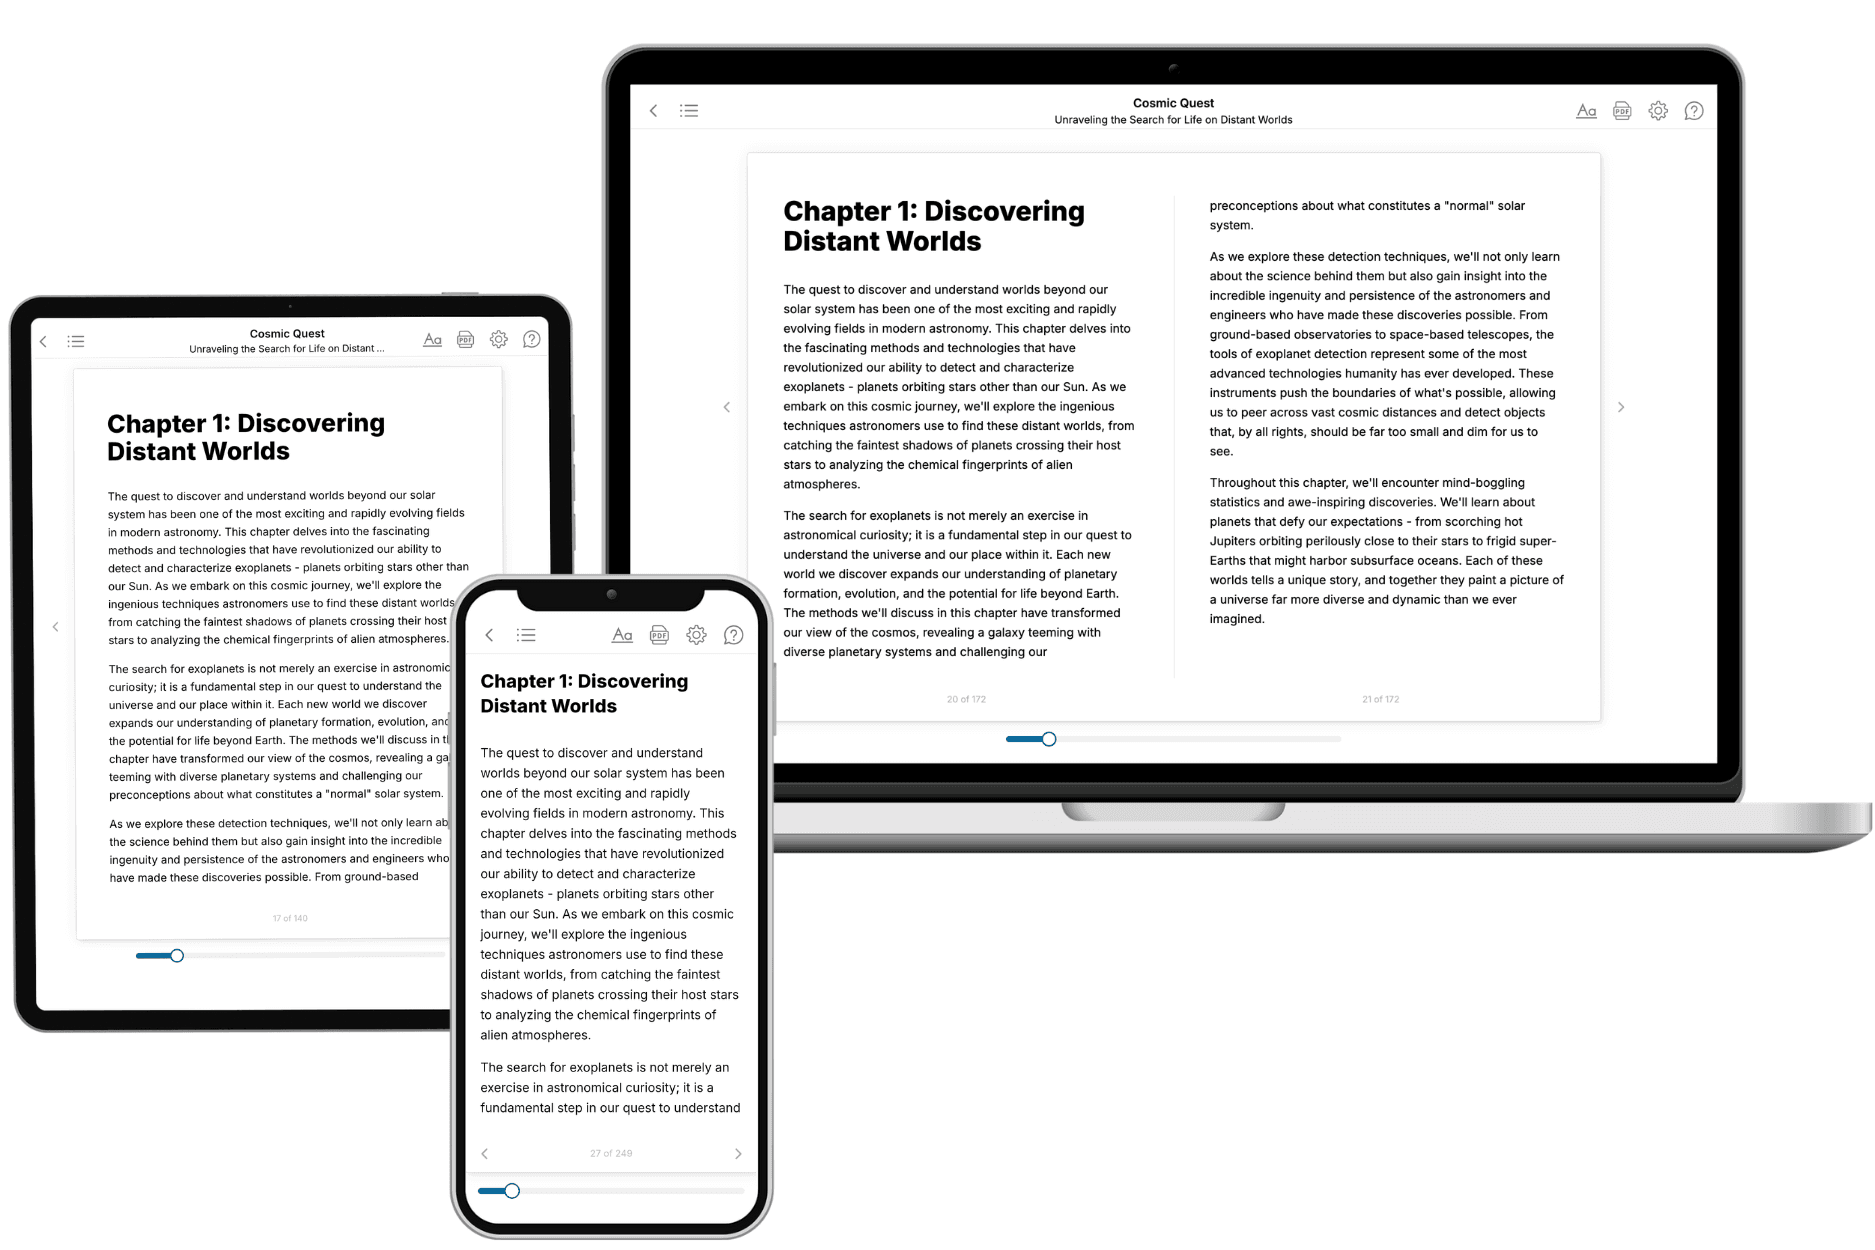
- 3. Get your tailored book
Your book is ready in 10 minutes. Read it online, download as EPUB or PDF, or send to Kindle.
Frequently asked questions
- What is TailoredRead?
TailoredRead creates complete, full-length nonfiction ebooks, written specifically for you. Tell us what you want to learn and why, and TailoredRead writes you a complete ebook on it, with charts, tables, and diagrams throughout. Read it online, on Kindle, or on any e-reader, or download it as a PDF or EPUB. Every book is written fresh the day you order it.
- How is the book tailored to me?
Before anything is written, you answer a few short questions about your goals, your background, and the topics you care about. Your book is then planned around your answers: written at your level, focused on your goals, and covering the topics you chose, instead of the one-size-fits-all book a store sells everyone.
- Will it read like generic AI content?
No. Your book isn't a chat transcript: it's planned chapter by chapter before a single word is written, told in a clear book voice, and explains ideas visually with charts, tables, and diagrams. After writing, every book goes through an editorial pass that polishes chapters so the book reads consistent from start to finish. Judge for yourself: browse thousands of sample books on our Explore Books page.
- How accurate is the content?
Our AI first checks whether your subject needs live research. Niche and fast-moving subjects are researched before writing, and the book plan and chapters are grounded in what it finds. After writing, every book goes through a quality pass that checks its facts and consistency, and researched books list their sources in a Notes section at the back.
- How long is the book?
You choose the length: Comprehensive (250-300 pages), Detailed (150-200 pages), Essential (70-100 pages), or Short (30-50 pages).
- Does the book include visuals?
Yes. Every book includes charts, tables, and diagrams: timelines, checklists, step-by-step guides, decision trees, comparison tables, matrices, and bar charts. A typical book includes dozens of these visual elements.
- Can I read it on Kindle? What formats can I download?
Yes. Every book can be read in our online reader or downloaded as a PDF or EPUB. The EPUB can be opened with Kindle, Apple Books, Kobo, and any e-reader. The Commercial and Author licenses also include an editable Word (DOCX) and Markdown download.
- How much does it cost?
About the price of a regular ebook. The exact price depends on your book's length and complexity, from $2 for the shortest books to $35 for the most comprehensive, and it's shown when you review your book, before you commit to anything. Each book is a one-time purchase, yours to keep, no subscription. Licenses that let you share, teach, or publish your book range from $35.99 to $49.99.
- Can I preview the book before purchasing?
Before you pay, you'll see what your book will cover: the title, a detailed description, the estimated length, and the complete chapter-by-chapter table of contents, so you know what you're getting before you decide. The full text itself is written after you purchase.
- How long does it take to create a book?
About 10 minutes. You can start reading the opening chapters while the rest is still being written.