Mastering Colored Pencil Landscapes
Advanced Techniques for Creating Photorealistic Nature Scenes
Create stunning, photorealistic nature scenes that capture the breathtaking beauty of the natural world with professional precision and artistic mastery.
300 pages16 chaptersSep 18, 2025DrawingCreated by Sherry
About this book
This comprehensive guide takes your colored pencil skills from intermediate to advanced, teaching you the sophisticated techniques used by professional botanical and landscape artists. You'll discover the secrets behind flawless color blending, learn to render water so realistic it seems to flow off the page, and master the subtle atmospheric effects that bring landscapes to life. From the intricate textures of weathered tree bark to the ethereal quality of morning mist, every element of nature becomes achievable through systematic, proven methods. Each technique builds upon the previous, creating a complete system for approaching any natural subject with confidence. You'll learn to see light like an artist, understand the structural patterns that govern plant growth, and develop the patience and precision needed for truly exceptional results. Whether you're drawn to serene forest scenes, dramatic mountain vistas, or intimate botanical studies, this book provides the technical foundation and artistic insight needed to create works that rival photography in their realism. Transform your artistic practice with techniques that professional illustrators and fine artists use to create gallery-worthy pieces that celebrate the incredible diversity and beauty of our natural world.
Table of contents
- IntroductionDeveloping Your Artistic Vision, Essential Materials and Setup, Building Observation Skills, Structured Practice ApproachRead below
- Chapter 1: Color Theory Foundations for Nature ArtUnderstanding Natural Color Relationships, Temperature Variations in Landscapes, Seasonal Color Palettes, Color Mixing Principles with Colored Pencils
- Chapter 2: Layered Color Blending MasteryPressure Control Techniques, Strategic Layering Sequences, Creating Smooth Transitions, Building Color Depth and Richness
- Chapter 3: Light and Shadow FundamentalsUnderstanding Natural Light Sources, Shadow Mapping Methods, Form Modeling with Light, Cast Shadow Principles
- Chapter 4: Atmospheric Perspective TechniquesCreating Distance Effects, Aerial Perspective Principles, Color Temperature Shifts, Value Contrast Reduction
- Chapter 5: Sky Rendering TechniquesSky Gradient Methods, Cloud Formation Types, Sunrise and Sunset Effects, Creating Storm Sky Drama
- Chapter 6: Water Reflection MasteryUnderstanding Reflection Principles, Still Water Techniques, Moving Water Effects, Stream Flow Dynamics
- Chapter 7: Tree Structure and TexturesBranch Structure Drawing, Bark Texture Methods, Leaf Mass Rendering, Seasonal Tree Variations
- Chapter 8: Botanical Accuracy and Leaf StructureUnderstanding Leaf Anatomy, Plant Growth Patterns, Flower Petal Details, Botanical Proportions
- Chapter 9: Rock and Stone FormationsUnderstanding Geological Forms, Rock Texture Rendering, Stone Weathering Patterns, Mountain Range Perspective
- Chapter 10: Grass and Ground TexturesGrass Texture Rendering, Prairie Grassland Scenes, Ground Surface Variations, Meadow and Field Techniques
- Chapter 11: Atmospheric Effects and WeatherMist and Fog Effects, Rain and Storm Rendering, Humidity and Moisture Effects, Seasonal Atmospheric Changes
- Chapter 12: Wildlife Integration in LandscapesWildlife Fur Textures, Animal Proportions in Nature, Habitat Integration, Wildlife Behavior and Poses
- Chapter 13: Forest Depth CreationCreating Layered Forest Planes, Understory Rendering, Dappled Light Effects, Forest Floor Details
- Chapter 14: Coastal Scene CompositionUnderstanding Wave Structure, Beach and Sand Textures, Coastal Vegetation, Seascape Horizons
- Chapter 15: Specialized EnvironmentsDesert Landscape Elements, Alpine Environment Drawing, Wetland Ecosystem Art, Tropical Environments
- Chapter 16: Advanced Finishing TechniquesBurnishing Techniques, Detail Enhancement Methods, Surface Preparation, Final Adjustments and Refinements
- Conclusion
- Glossary
Introduction
The natural world presents an endless canvas of breathtaking beauty, from the delicate veining of a single leaf to the sweeping grandeur of mountain ranges disappearing into misty horizons. Capturing this beauty with colored pencils requires more than basic drawing skills—it demands a deep understanding of how light interacts with natural forms, how colors shift with atmospheric conditions, and how textures reveal the underlying structure of living things. This book bridges the gap between intermediate colored pencil techniques and the advanced mastery needed to create truly photorealistic nature scenes that rival the finest botanical illustrations and landscape paintings.
Your journey as a healthcare professional has already taught you the value of precision, patience, and systematic observation—qualities that translate beautifully into advanced artistic practice. The same attention to detail that serves you in your nursing career will become your greatest asset as you learn to render the intricate patterns of tree bark, the subtle color variations in weathered stone, and the complex interplay of light and shadow that gives dimension to natural forms. This book respects your existing knowledge while challenging you to push beyond comfortable techniques into territory that demands both technical skill and artistic vision.
Unlike basic drawing instruction that focuses on simple shapes and generic techniques, this comprehensive guide treats colored pencil work as a sophisticated medium capable of extraordinary realism. You'll discover why professional botanical artists choose colored pencils for their most demanding work, and how the medium's unique properties—its ability to build luminous color through transparent layers, create impossibly smooth gradations, and capture the finest textural details—make it ideal for nature subjects. Each chapter builds systematically on the previous one, creating a complete methodology for approaching any natural subject with confidence and achieving results that capture not just the appearance, but the very essence of the living world.
Developing Your Artistic Vision
Artistic vision in nature drawing extends far beyond simply copying what you see—it involves developing a personal interpretation of the natural world that combines scientific accuracy with emotional resonance. Your background in healthcare provides a unique advantage here, as you already understand the importance of systematic observation and the interconnected relationships that govern living systems. This foundation will help you see beyond surface appearances to understand the underlying structures that give plants their characteristic growth patterns, the geological forces that shape rock formations, and the atmospheric conditions that create those magical moments when light transforms an ordinary landscape into something extraordinary.
Professional nature artists develop what might be called selective vision—the ability to identify which elements in a complex natural scene deserve emphasis and which should be simplified or subordinated to support the overall composition. Consider how a master landscape artist approaches a forest scene: rather than attempting to render every individual leaf, they focus on capturing the essential character of different tree species, the way light filters through the canopy, and the atmospheric effects that create depth and mood. This selective approach requires you to make conscious decisions about
- Which details enhance the overall impact of your drawing
- How to balance botanical accuracy with artistic interpretation
- Where to place emphasis to guide the viewer's eye through the composition
- How to simplify complex textures without losing their essential character
The development of artistic vision also involves understanding the emotional language of natural forms and learning to use this language intentionally in your work. Different tree species, for example, convey distinct moods and associations: the graceful, drooping branches of a weeping willow suggest melancholy or contemplation, while the sturdy, upright form of an oak communicates strength and permanence. Weather conditions, lighting, and seasonal changes all contribute to the emotional content of a landscape. A misty morning scene evokes mystery and tranquility, while dramatic storm clouds suggest power and movement. Learning to recognize and intentionally incorporate these emotional elements will elevate your work from mere documentation to true artistic expression.
Your artistic vision will also be shaped by your personal connection to different aspects of the natural world. Some artists are drawn to the intimate details of botanical subjects—the delicate structure of flower petals, the intricate patterns of leaf venation, or the subtle color variations in tree bark. Others find inspiration in grand landscapes—sweeping mountain vistas, dramatic seascapes, or the vast expanses of prairie grasslands. There's no right or wrong focus; the key is to identify what genuinely moves you and then develop the technical skills needed to express that passion convincingly. Your healthcare background may naturally draw you toward the life sciences aspects of nature art, finding fascination in the way plants adapt to their environments or how geological processes create the landscapes we find beautiful.
Developing artistic vision also requires exposure to the work of master artists who have explored similar territory. Study the botanical illustrations of artists like Margaret Mee, who spent decades documenting the flora of the Amazon rainforest, or the landscape work of David Hockney, whose pool paintings demonstrate how careful observation can reveal unexpected beauty in familiar subjects. Notice how these artists balance accuracy with interpretation, how they use color and composition to create mood, and how they handle the technical challenges of their chosen medium. This study isn't about copying their approaches, but about understanding the range of possibilities available to you as you develop your own artistic voice.
The cultivation of artistic vision is an ongoing process that deepens with experience and exposure. Keep a visual journal where you record not just sketches, but also notes about lighting conditions, color observations, and emotional responses to different natural settings. Over time, you'll begin to notice patterns in what attracts your attention and moves you artistically. This self-awareness will guide your choice of subjects and help you develop a consistent artistic voice that reflects your unique perspective on the natural world. Remember that artistic vision isn't something you either have or don't have—it's a skill that develops through practice, observation, and thoughtful reflection on your own creative process.
Finally, understand that developing artistic vision requires patience and acceptance of the learning process. Your early attempts at advanced techniques may not immediately match your artistic aspirations, and this gap between vision and current skill level is both normal and valuable. It provides the motivation to continue growing and the direction for focused practice. Each drawing you complete, whether successful or not, contributes to your developing vision by teaching you something new about your medium, your subject matter, or your own artistic preferences. Embrace this journey of discovery, knowing that your unique combination of healthcare experience, intermediate drawing skills, and personal passion for nature provides a solid foundation for developing truly distinctive artistic vision.
Essential Materials and Setup
The quality of your materials directly impacts your ability to achieve photorealistic results, making careful selection of supplies crucial for advanced colored pencil work. Professional-grade colored pencils differ significantly from student-quality options in their pigment concentration, lightfastness, and blending capabilities. For nature work, you'll need pencils that can create both bold, saturated colors and subtle, transparent layers. Prismacolor Premier pencils offer excellent blendability and rich color saturation, while Faber-Castell Polychromos provide superior lightfastness and harder cores that maintain sharp points for detailed work. Many professional artists use both brands strategically: Prismacolor for areas requiring smooth blending and rich darks, and Polychromos for fine details and areas where color stability is critical.
Your paper choice will dramatically affect both your working process and final results. For photorealistic nature work, you need a surface that can handle multiple layers of colored pencil while maintaining a smooth finish. Strathmore 500 Series Bristol Board in smooth finish provides an excellent foundation for detailed work, allowing for precise control and smooth color application. For larger landscape pieces, consider Fabriano Artistico Hot Press Watercolor Paper, which offers durability for extensive layering while providing enough tooth to hold multiple color applications. The paper's weight should be at least 140lb to prevent warping under the pressure of intensive colored pencil work. Always test new papers with your specific pencil brands, as different combinations can produce surprisingly different results.
Your workspace setup significantly impacts both the quality of your work and your physical comfort during long drawing sessions. Position your drawing surface at a slight angle—approximately 15-20 degrees—to reduce hand fatigue and improve your viewing angle. A professional drawing board with adjustable angle, or even a simple lap desk, can make extended work sessions much more comfortable. Lighting is absolutely critical for color accuracy: invest in a high-quality daylight-balanced LED lamp that provides consistent, shadow-free illumination. The Daylight Company's Slimline LED lamps are popular among professional artists for their color accuracy and adjustable positioning. Position your light source to minimize shadows cast by your hand while working.
Essential tools beyond pencils and paper include several categories of specialized equipment that will expand your technical capabilities:
- Blending tools: Colorless blender pencils, blending stumps, and soft tissues for different blending effects
- Sharpening equipment: Electric pencil sharpener for consistent points, craft knife for custom point shapes, and sandpaper blocks for fine point control
- Erasers: Kneaded erasers for gentle lifting, white vinyl erasers for clean removal, and electric erasers for precise corrections
- Protective materials: Glassine paper or tissue to protect completed areas, masking tape for clean edges, and fixative for preserving finished work
Color organization becomes increasingly important as you work with larger sets of pencils and tackle complex subjects with subtle color variations. Develop a systematic approach to organizing your pencils that allows quick access to the colors you need. Many artists arrange pencils by color family (all blues together, all greens together) rather than numerical order, as this makes intuitive color selection much faster. Consider creating custom color charts that show how your specific pencils appear on your chosen paper—colors can look quite different on the pencil barrel than they do when applied to your working surface. These charts become invaluable references when planning color schemes and selecting pencils for specific effects.
Reference material organization deserves special attention, as nature work often requires extensive visual reference. Develop a system for collecting and organizing photographs, sketches, and color notes from your outdoor observations. Digital photography is invaluable, but remember that camera sensors don't always capture colors accurately, particularly in challenging lighting conditions. Supplement photographs with color sketches and written notes about atmospheric conditions, lighting quality, and your emotional response to the scene. Consider investing in a portable sketching kit that allows you to capture quick color studies outdoors—these field studies often contain more accurate color information than photographs and provide valuable practice in rapid observation and color mixing.
Storage and preservation of your work requires thoughtful planning, especially as you begin creating pieces that represent significant time investments. Colored pencil work is particularly susceptible to smudging and color transfer, so proper storage is essential. Invest in a flat file or portfolio case that allows you to store work flat without stacking pieces directly on top of each other. Use glassine or acid-free tissue paper to separate pieces, and consider applying workable fixative to completed areas as you progress through a piece. Keep detailed records of the materials used for each piece, including paper type, pencil brands, and any special techniques employed—this information becomes invaluable for troubleshooting problems or replicating successful approaches in future work.
Finally, consider the ergonomic aspects of your setup to prevent the repetitive strain injuries that can plague artists who work in detailed media. Use pencil grips or build up pencil barrels with tape to reduce hand fatigue. Take regular breaks to stretch your hands, arms, and neck. Position your reference materials at eye level to avoid neck strain from constantly looking down. Your healthcare background gives you an advantage in understanding the importance of proper ergonomics—apply this knowledge to create a workspace that supports both your artistic goals and your physical well-being. Remember that the initial investment in quality materials and proper setup pays dividends in both the quality of your work and your enjoyment of the creative process.
Building Observation Skills
Advanced nature drawing demands a level of observational skill that goes far beyond casual looking—it requires the systematic analysis of form, light, color, and texture that transforms seeing into understanding. Your medical training has already developed many of these skills: the ability to notice subtle changes, to see patterns and relationships, and to observe with both analytical precision and holistic awareness. These same skills, when applied to natural subjects, will enable you to capture not just the appearance of a tree or rock formation, but the underlying principles that give it its characteristic form and behavior. The key is learning to apply this analytical approach systematically to artistic observation.
Effective observation begins with understanding the difference between passive seeing and active looking. Passive seeing is what we do most of the time—our eyes register information, but our brain processes it automatically, filtering out details that don't seem immediately relevant. Active looking, by contrast, is a conscious, systematic process of visual analysis that seeks to understand rather than simply recognize. When observing a tree, for example, active looking involves analyzing its overall gesture and proportions, understanding how its branching pattern reflects its species and growing conditions, noticing how light reveals its three-dimensional form, and observing how its colors shift with atmospheric conditions and seasonal changes.
Develop a systematic approach to observational analysis that you can apply consistently to any natural subject. Begin with the largest, most general characteristics and gradually work toward specific details:
- Overall gesture and proportion: What is the subject's basic shape and how do its parts relate to each other?
- Major value patterns: Where are the lightest and darkest areas, and how do they create the illusion of three-dimensional form?
- Color relationships: What are the dominant colors, and how do they shift in different areas due to light, shadow, and atmospheric effects?
- Surface characteristics: What textures are present, and how do they affect the way light interacts with the surface?
- Environmental context: How does the subject relate to its surroundings, and how do atmospheric conditions affect its appearance?
Color observation requires particular attention in nature work, as natural colors are rarely pure or simple. What appears to be "green" foliage, for example, typically contains a complex mixture of warm and cool greens, with influences from reflected light, atmospheric perspective, and the underlying local color of the plant material. Train yourself to see these color complexities by practicing comparative color analysis. When looking at a leaf, don't just identify it as "green"—compare it to other greens in the scene, notice how it differs in the light versus the shadow, observe how its color changes as it recedes into the distance, and identify the subtle warm or cool influences that give it its particular character.
Light observation forms the foundation of realistic rendering, as light is what reveals form, creates mood, and establishes the spatial relationships within your composition. Learn to identify and analyze different types of natural light and their characteristics. Direct sunlight creates strong contrasts and warm highlights, while overcast conditions produce soft, even illumination with subtle value transitions. Golden hour light bathes everything in warm tones and creates long, dramatic shadows, while blue hour light shifts the entire color palette toward cool tones and creates mysterious, atmospheric effects. Each lighting condition requires different approaches to color mixing and value control.
Texture observation involves understanding not just how surfaces appear, but why they appear that way. The rough texture of oak bark results from the tree's growth patterns and weathering over time. The smooth surface of a river stone reflects years of water action that has worn away rough edges. The delicate, translucent quality of flower petals results from their cellular structure and the way light passes through thin plant tissue. Understanding these underlying causes helps you render textures more convincingly because you're drawing from knowledge rather than just copying surface appearances. This analytical approach prevents the common mistake of creating textures that look artificial or applied rather than integral to the form.
Develop your observational skills through regular practice exercises that focus on specific aspects of visual analysis. Spend time creating value studies using only graphite or a single colored pencil, focusing entirely on how light reveals form without the distraction of color decisions. Practice color temperature studies where you analyze and record the warm and cool shifts in a single subject under different lighting conditions. Create texture studies that focus on small areas of complex surfaces, learning to see and render the patterns that create the illusion of different materials. These focused exercises build the visual vocabulary you'll need for complex, finished pieces.
Finally, understand that observational skills develop over time and benefit from both breadth and depth of experience. Expose yourself to a wide variety of natural subjects and conditions—different seasons, times of day, weather conditions, and geographical locations all provide unique learning opportunities. At the same time, develop depth by returning repeatedly to the same subjects under different conditions. A tree you observe throughout the seasons will teach you more about plant structure and behavior than dozens of trees observed only once. Keep detailed observational notes and sketches that record not just what you see, but what you learn from the seeing. Over time, these accumulated observations will give you the deep understanding of natural forms that distinguishes truly masterful nature art from mere copying.
Structured Practice Approach
Mastering advanced colored pencil techniques requires a systematic approach to practice that builds skills progressively while maintaining motivation through achievable goals and measurable progress. Your healthcare background has already taught you the value of systematic skill development—the way medical procedures are broken down into component steps, practiced individually, and then integrated into smooth, confident performance. This same approach applies to artistic skill development, where complex techniques like photorealistic rendering are built from mastery of fundamental skills that are practiced, refined, and gradually combined into increasingly sophisticated applications.
Structure your practice sessions around specific technical goals rather than attempting to create finished pieces during every session. Technical practice sessions focus on developing specific skills without the pressure of creating a complete, successful artwork. For example, dedicate entire sessions to practicing smooth color gradations, working through different color combinations and pressure variations until you can create seamless transitions consistently. Other sessions might focus entirely on texture rendering, working through different approaches to bark, stone, or water surfaces until you develop a reliable vocabulary of textural techniques. This focused approach allows you to experiment freely, make mistakes without consequence, and develop muscle memory for essential techniques.
Implement a progressive complexity system that gradually increases the difficulty of your practice subjects while building on previously mastered skills. Begin with simple forms that allow you to focus on technique without being overwhelmed by complex compositions or challenging subject matter. A single leaf provides an excellent starting point for practicing color layering, edge control, and surface texture without the complexity of an entire plant. Once you've mastered individual leaves, progress to simple branch segments, then to small plant studies, and eventually to complex landscape compositions. This progression ensures that you're always working at an appropriate challenge level—difficult enough to promote growth, but not so difficult as to be discouraging.
Develop a systematic approach to analyzing and learning from both successful and unsuccessful practice attempts. After each practice session, spend time evaluating your work objectively:
- Technical assessment: Which techniques worked well, and which need further development?
- Problem identification: What specific challenges did you encounter, and what might have caused them?
- Solution planning: What adjustments could you make in materials, technique, or approach to address identified problems?
- Progress recognition: What improvements can you identify compared to previous attempts at similar subjects or techniques?
Create a reference library of your own practice work that serves as both a record of your progress and a resource for future projects. Photograph or scan your practice pieces, organizing them by subject matter, technique, or date. Include notes about materials used, techniques employed, and lessons learned. This documentation serves multiple purposes: it provides concrete evidence of your improving skills, helps you remember successful approaches for future use, and allows you to identify patterns in your strengths and areas needing development. Many professional artists maintain such libraries throughout their careers, referring back to successful solutions when facing similar challenges in new work.
Balance technical skill development with creative exploration by alternating between structured practice sessions and more open-ended creative work. While technical practice is essential for building the skills needed for photorealistic work, purely technical exercises can become monotonous and may not engage your creative instincts. Plan regular sessions where you work on subjects that genuinely interest you, applying your developing skills to create pieces that have personal meaning. These creative sessions provide motivation for continued technical development and help you understand how individual techniques contribute to overall artistic expression.
Establish realistic timelines and expectations for skill development, understanding that mastery of advanced techniques requires sustained effort over months and years rather than weeks. Professional-level colored pencil skills develop gradually, with periods of rapid improvement alternating with plateaus where progress seems slower. Your healthcare experience has likely taught you that complex skills require time to develop and that consistent practice is more valuable than sporadic intensive efforts. Plan your artistic development with the same long-term perspective you would apply to developing expertise in any professional field.
Consider incorporating master study exercises into your practice routine, where you attempt to recreate small sections of work by accomplished nature artists. This isn't about copying for its own sake, but about understanding how master artists solve technical problems and achieve specific effects. Choose studies that focus on techniques you're trying to develop—if you're working on water reflections, study how accomplished artists handle the complex interplay of reflected images, surface texture, and transparency. Analyze their color choices, layering sequences, and edge treatments. These studies provide insights into professional-level problem-solving that can accelerate your own technical development.
Finally, maintain detailed practice records that track your development over time and help you plan future learning goals. Keep a practice journal that records not just what you worked on, but what you learned, what challenges you encountered, and what you want to focus on next. Set specific, measurable goals for each practice period—not just "get better at trees," but "develop smooth color transitions in leaf masses" or "master the layering sequence for realistic bark texture." Review your progress regularly, celebrating achievements and adjusting your practice focus based on your developing skills and interests. This systematic approach to practice ensures that your time investment yields maximum improvement and maintains your motivation for continued growth.
This is the end of the free sample. The full book has 16 chapters.
Want this book written for you?
Tell us your goals and background, and get your own version of this book, tailored by AI to you.


Benefits of AI-tailored books
- Read one book, not ten:
- all the Drawing knowledge you need, gathered into a single book.
- Save days of learning:
- tell us your goals, choose your topics, and the whole book is built around them.
- Learn effortlessly:
- Drawing book written for your specific background and expertise.
- Understand at a glance:
- includes charts, tables, timelines, checklists, decision trees, and more.
- Stay current:
- written the day you order it, not years ago.
- Trust what you read:
- every book is checked for accuracy, with real research when your subject needs it.
Create your unique book in 3 steps
- 1. Select your focus
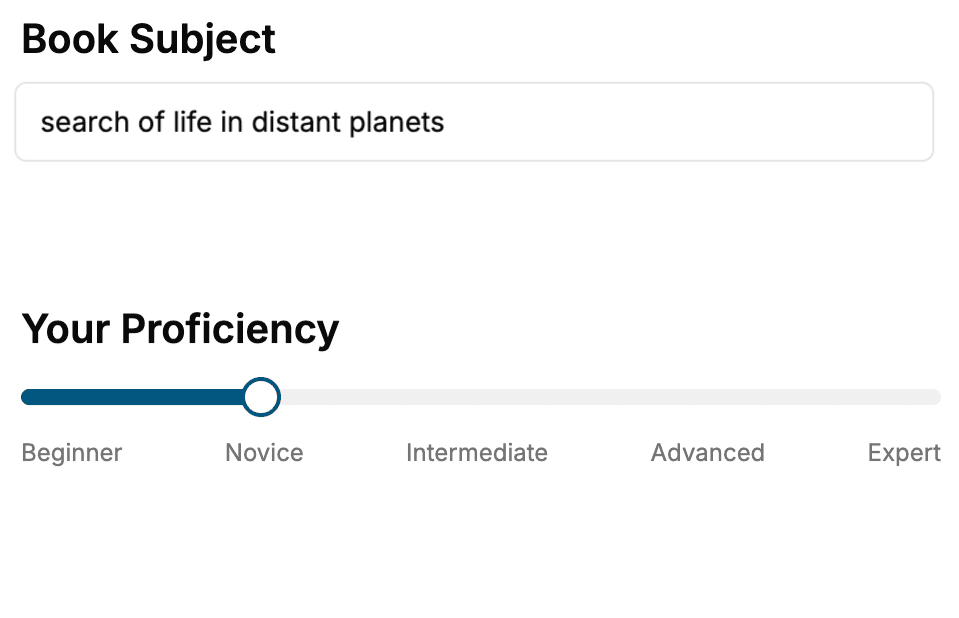
Select the focus of your Drawing book and share your background
- 2. Personalize your book
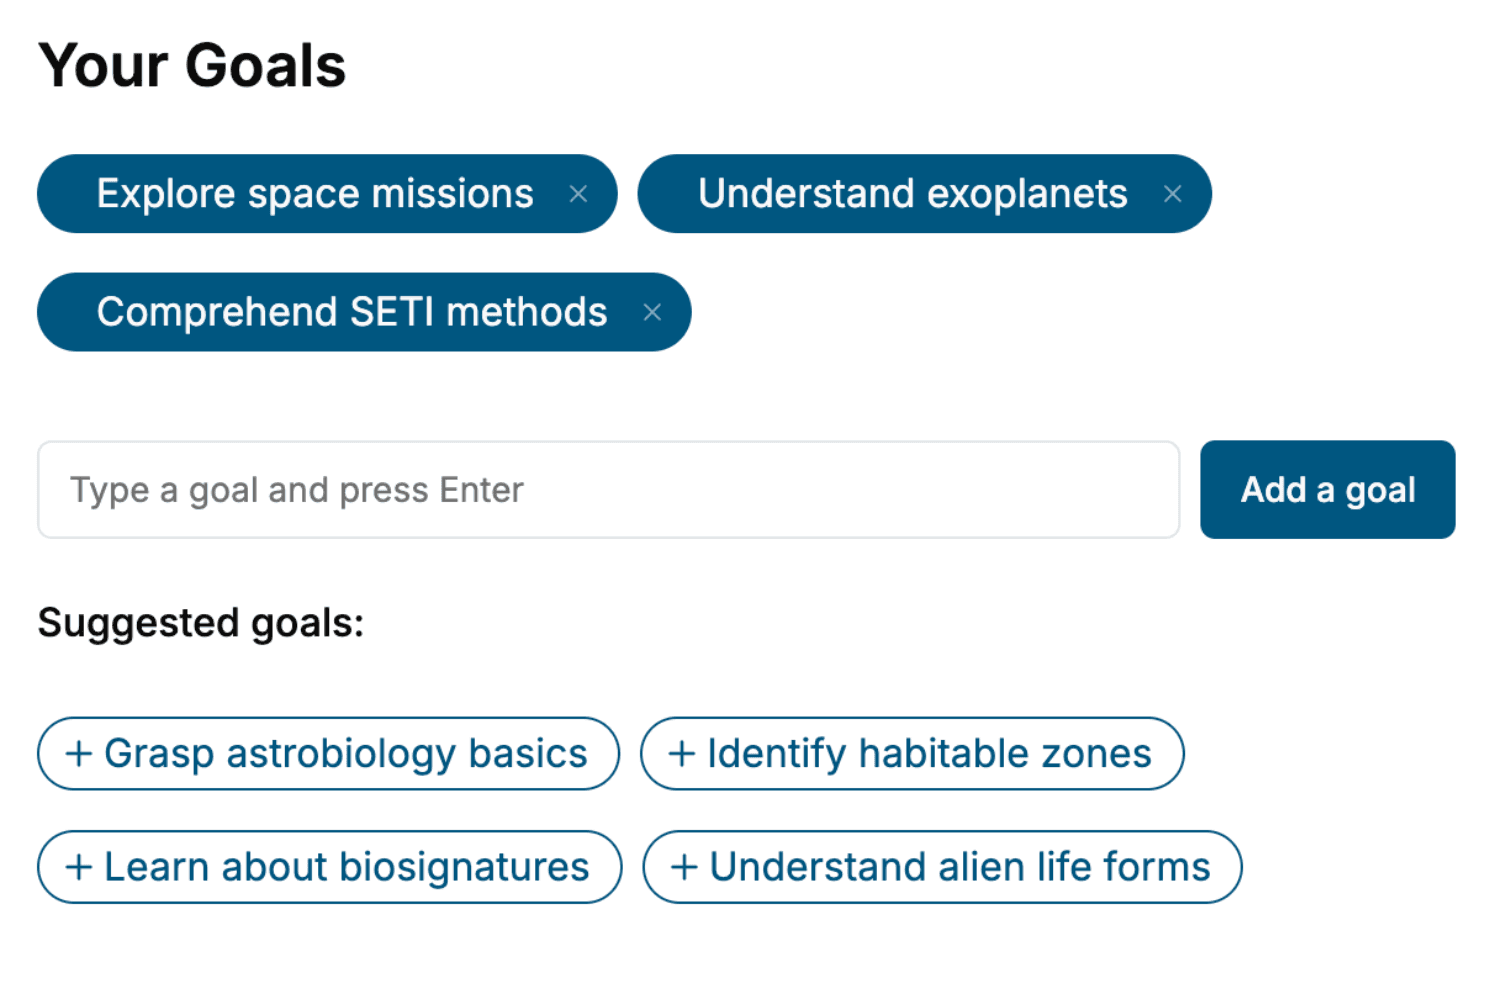
Specify your goals and choose sub-topics to include
- 3. Get your tailored book
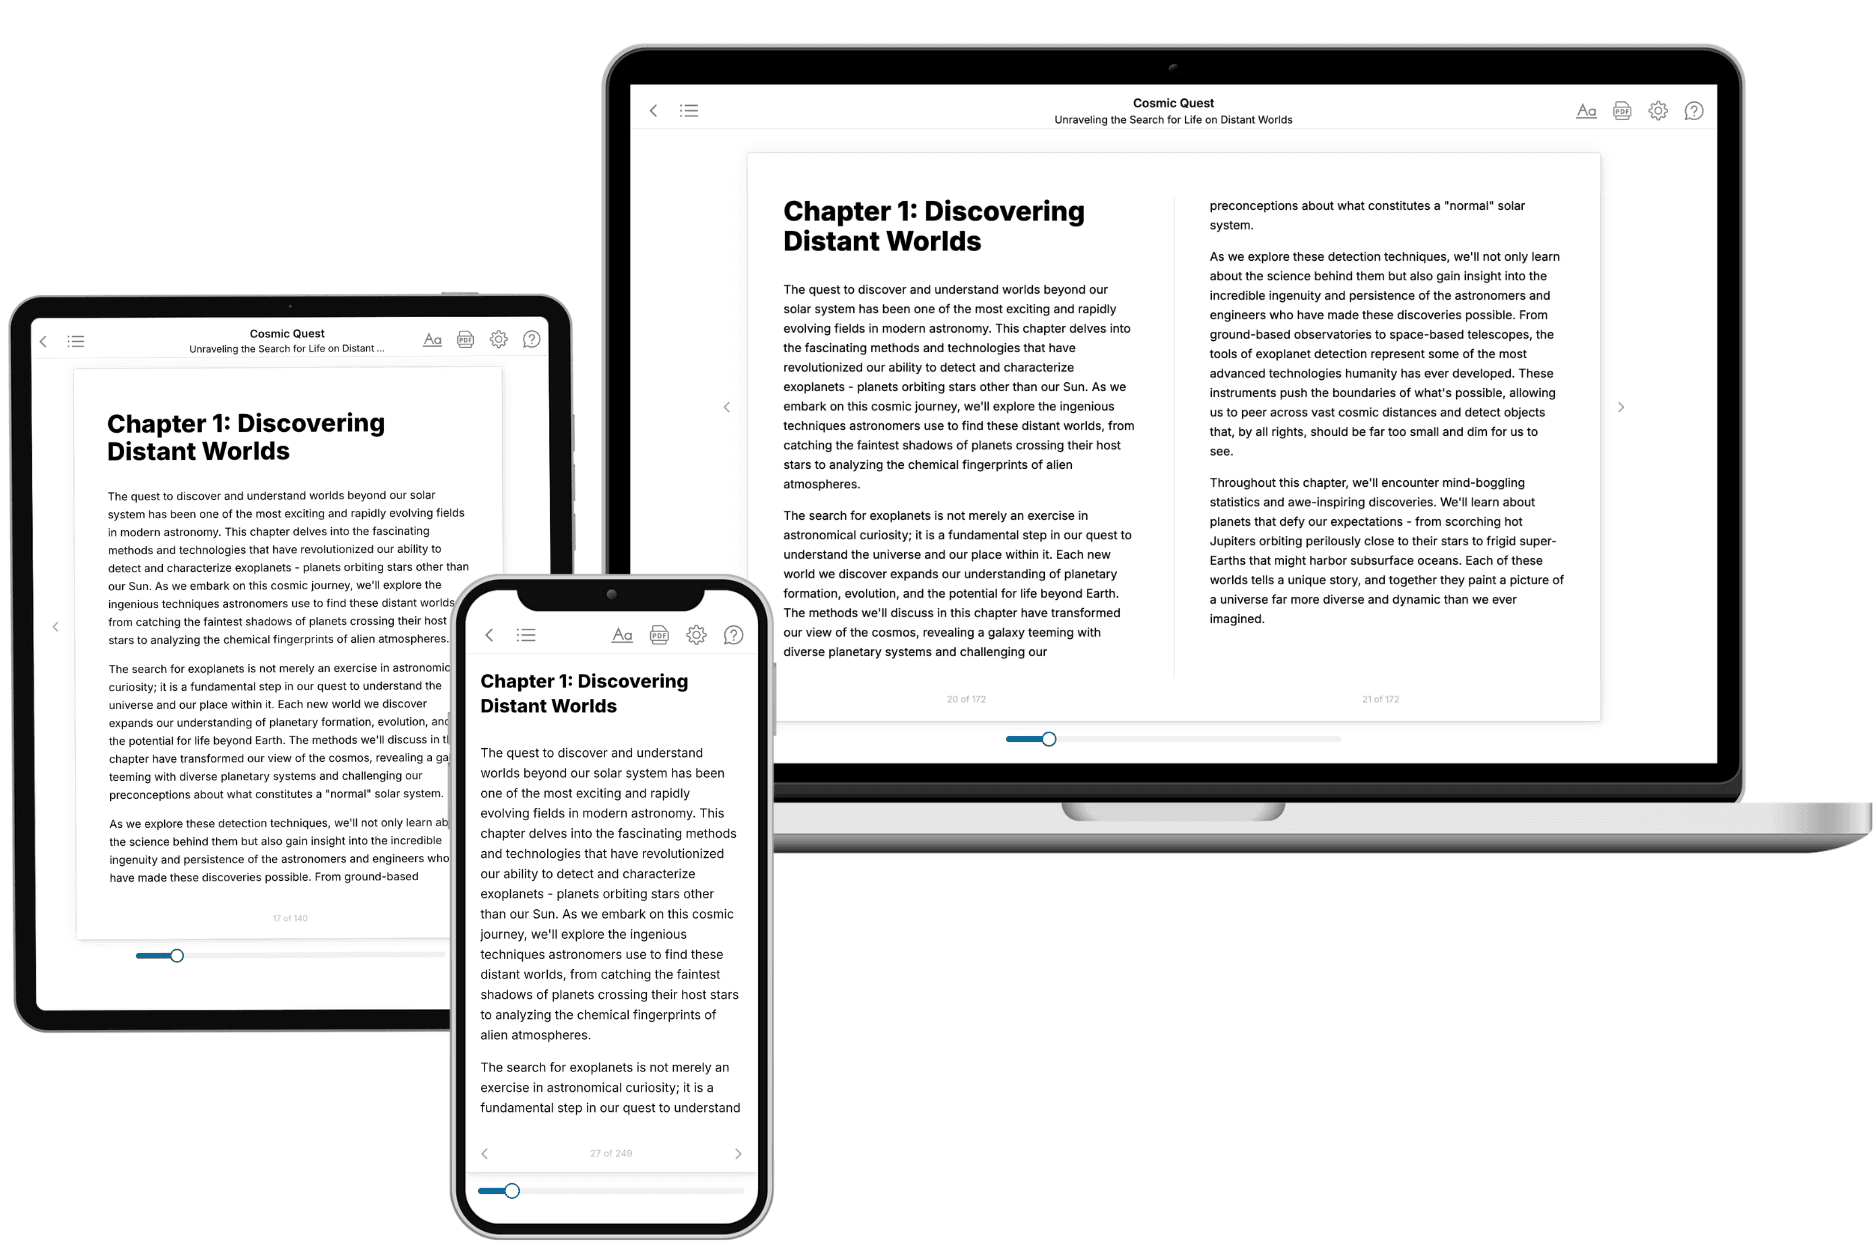
Your book is ready in 10 minutes. Read it online, download as EPUB or PDF, or send to Kindle.
Frequently asked questions
- What is TailoredRead?
TailoredRead creates complete, full-length nonfiction ebooks, written specifically for you. Tell us what you want to learn and why, and TailoredRead writes you a complete ebook on it, with charts, tables, and diagrams throughout. Read it online, on Kindle, or on any e-reader, or download it as a PDF or EPUB. Every book is written fresh the day you order it.
- How is the book tailored to me?
Before anything is written, you answer a few short questions about your goals, your background, and the topics you care about. Your book is then planned around your answers: written at your level, focused on your goals, and covering the topics you chose, instead of the one-size-fits-all book a store sells everyone.
- Will it read like generic AI content?
No. Your book isn't a chat transcript: it's planned chapter by chapter before a single word is written, told in a clear book voice, and explains ideas visually with charts, tables, and diagrams. After writing, every book goes through an editorial pass that polishes chapters so the book reads consistent from start to finish. Judge for yourself: browse thousands of sample books on our Explore Books page.
- How accurate is the content?
Our AI first checks whether your subject needs live research. Niche and fast-moving subjects are researched before writing, and the book plan and chapters are grounded in what it finds. After writing, every book goes through a quality pass that checks its facts and consistency, and researched books list their sources in a Notes section at the back.
- How long is the book?
You choose the length: Comprehensive (250-300 pages), Detailed (150-200 pages), Essential (70-100 pages), or Short (30-50 pages).
- Does the book include visuals?
Yes. Every book includes charts, tables, and diagrams: timelines, checklists, step-by-step guides, decision trees, comparison tables, matrices, and bar charts. A typical book includes dozens of these visual elements.
- Can I read it on Kindle? What formats can I download?
Yes. Every book can be read in our online reader or downloaded as a PDF or EPUB. The EPUB can be opened with Kindle, Apple Books, Kobo, and any e-reader. The Commercial and Author licenses also include an editable Word (DOCX) and Markdown download.
- How much does it cost?
About the price of a regular ebook. The exact price depends on your book's length and complexity, from $2 for the shortest books to $35 for the most comprehensive, and it's shown when you review your book, before you commit to anything. Each book is a one-time purchase, yours to keep, no subscription. Licenses that let you share, teach, or publish your book range from $35.99 to $49.99.
- Can I preview the book before purchasing?
Before you pay, you'll see what your book will cover: the title, a detailed description, the estimated length, and the complete chapter-by-chapter table of contents, so you know what you're getting before you decide. The full text itself is written after you purchase.
- How long does it take to create a book?
About 10 minutes. You can start reading the opening chapters while the rest is still being written.