Mastering Klipper, G-code, and Jinja2
The Complete Guide to Advanced 3D Printer Configuration and Automation
Take your 3D printing to the next level by mastering the powerful combination of Klipper firmware, G-code programming, and Jinja2 templating.
207 pages10 chaptersMay 10, 20263D PrintingCreated by Todd
About this book
This comprehensive guide bridges the gap between basic printer operation and advanced customization, providing you with the knowledge to configure your printer exactly as you need it. You'll learn how Klipper's distributed architecture delivers superior motion control, how to write and optimize G-code commands for precise printer behavior, and how to leverage Jinja2 templates to create intelligent, reusable macros that automate complex procedures. Through practical examples and step-by-step explanations, you'll discover how to troubleshoot configuration issues, implement custom features, and optimize print quality. Whether you're upgrading from stock firmware or seeking to unlock your printer's full potential, this book provides the essential knowledge and practical skills to confidently work with these interconnected technologies and transform your printing experience.
Table of contents
- IntroductionWhy Klipper, G-code, and Jinja2 Matter, How to Use This Book, What You Need to Know Before StartingRead below
- Chapter 1: Klipper Firmware FundamentalsWhat Is Klipper and How Does It Work, Understanding Klipper's Distributed Architecture, Klipper vs. Traditional Firmware: Key Differences, Installation and Initial Setup
- Chapter 2: G-code EssentialsG-code Syntax and Structure, Movement Commands: G0, G1, and Positioning, Temperature Control and Heating Commands, Essential G-code Commands for 3D Printing
- Chapter 3: Introduction to Jinja2 TemplatingJinja2 Syntax and Core Concepts, Variables, Filters, and Expressions, Control Structures: Loops and Conditionals
- Chapter 4: Configuring KlipperUnderstanding the printer.cfg File, Configuring Stepper Motors and Axes, Setting Up Heaters and Temperature Sensors, Configuring the Extruder and Hotend
- Chapter 5: Creating Macros and AutomationMacro Fundamentals and Syntax, Building Simple Macros with G-code, Leveraging Jinja2 in Macros for Dynamic Behavior, Using Parameters and Variables in Macros
- Chapter 6: Advanced Macro TechniquesImplementing Conditional Logic in Macros, Using Loops and Iteration for Repetitive Tasks, Nesting and Composing Complex Macros
- Chapter 7: Print Start and End SequencesDesigning Effective Print Start Sequences, Automated Bed Leveling and Mesh Probing, Creating Reliable Print End and Cleanup Sequences, Real-World Start and End Macro Examples
- Chapter 8: Optimization and TuningTuning Motion Parameters for Quality, Pressure Advance and Extrusion Tuning, Thermal Management and Temperature Optimization
- Chapter 9: Troubleshooting and DebuggingDiagnosing Common Configuration Issues, Understanding and Fixing G-code Errors, Debugging Jinja2 Template Problems, Using Logs and Diagnostic Tools
- Chapter 10: Practical Projects and Use CasesImplementing Filament Change Macros, Automated Nozzle Cleaning and Maintenance, Multi-Material Printing Workflows
- ConclusionYour Path to Mastery, Next Steps and Continued Learning
- Appendix: Quick ReferenceG-code Command Reference, Jinja2 Syntax Quick Reference, Additional Resources and Community
Introduction
There is a moment that almost every serious 3D printing enthusiast experiences. You have been running your printer for months, maybe years. The prints are decent, but something feels like a ceiling. You tweak settings in your slicer, you adjust temperatures, you level the bed by hand for the hundredth time, and yet the machine still feels like a black box doing its own thing. That feeling is not a sign that you have reached the limits of your printer. It is a sign that you have reached the limits of your current tools. Klipper, G-code, and Jinja2 are the tools that break through that ceiling.
This book is about taking control. Not in a vague, motivational sense, but in a very literal, technical sense. When you understand how Klipper firmware communicates with your printer hardware, how G-code commands translate into physical motion, and how Jinja2 templates turn static scripts into intelligent, reusable macros, you stop being a passenger in your printing workflow and start being the driver. Every aspect of how your printer behaves, from the moment it starts heating up to the moment it parks the nozzle after a finished print, becomes something you can shape and refine.
The three technologies covered in this book are deeply connected. Klipper is the firmware that runs your printer and interprets commands. G-code is the language those commands are written in. Jinja2 is the templating engine that makes those commands dynamic and intelligent. Learning any one of them in isolation gives you partial power. Learning all three together, and understanding how they interact, gives you the full picture. That is exactly what this book is designed to do: build your understanding layer by layer, from fundamentals to advanced techniques, with practical examples at every step.
Whether you are upgrading a budget printer to Klipper for the first time, or you already have Klipper running but want to write smarter macros and automate your workflow, this book meets you where you are. The chapters are structured so that foundational concepts come first, with each section building on the last. By the time you reach the advanced macro chapters and practical projects, the earlier material will feel like second nature. The goal is not just to give you configurations to copy and paste, but to give you the understanding to write your own, troubleshoot your own problems, and adapt to whatever your specific printer and workflow demand.
Why Klipper, G-code, and Jinja2 Matter
Traditional 3D printer firmware like Marlin runs entirely on the printer's microcontroller. That microcontroller, typically an 8-bit or 32-bit chip, has to handle everything at once: motion planning, temperature control, user interface, and communication. This creates real constraints. The processor is doing so many things simultaneously that complex calculations, like the math required for input shaping or advanced pressure advance algorithms, either run slowly or cannot run at all. Klipper solves this by splitting the workload. The heavy computation happens on a separate host computer (usually a Raspberry Pi), while the microcontroller focuses only on precise, real-time step execution. The result is measurably better motion control and far more flexibility in configuration.[1]
G-code has been the standard language of CNC machines and 3D printers for decades. It originated in the 1950s as part of MIT research into numerical control machining, and it has evolved into the universal language that connects slicers, firmware, and physical hardware.[2] Understanding G-code means you are not dependent on your slicer to make every decision. You can write custom start and end scripts, insert specific commands at precise moments in a print, and understand exactly what your printer is doing at any given time. That knowledge is invaluable for troubleshooting and for pushing print quality beyond what slicer defaults can achieve.
Jinja2 is the piece of the puzzle that most 3D printing guides overlook entirely. It is a templating language originally developed for web applications in Python, but Klipper adopted it as the engine for macro scripting.[3] Without Jinja2, macros are just static sequences of G-code commands. With Jinja2, those macros become dynamic. They can check the current nozzle temperature before deciding whether to purge. They can accept parameters from the slicer and adjust behavior accordingly. They can loop through a series of positions to probe a bed mesh. The difference between a static macro and a Jinja2-powered macro is the difference between a recorded script and an actual program.
Consider a concrete example. A basic print start macro without Jinja2 might look like this: heat the bed to 60°C, heat the nozzle to 200°C, home all axes, and start printing. That works fine if you always print PLA at those exact temperatures. But what if you switch to PETG and need 85°C on the bed and 235°C on the nozzle? You either edit the macro every time or maintain multiple macros for different materials. With Jinja2, you write one macro that accepts temperature parameters from your slicer's start G-code, reads those values, and uses them automatically. One macro handles every material you print.
The combination of these three technologies also has a significant impact on print quality in ways that are easy to measure. Klipper's input shaping feature, which uses accelerometer data to compensate for printer resonance, can dramatically reduce ringing artifacts on printed parts. Pressure advance, another Klipper feature, compensates for the delay between extruder movement and actual filament pressure at the nozzle, resulting in sharper corners and more consistent extrusion. These are not marginal improvements. Users switching from Marlin to Klipper frequently report being able to print at significantly higher speeds without quality loss, with some community benchmarks showing speed increases of 50% or more while maintaining equivalent or better surface quality.[4]
Beyond print quality, there is the matter of workflow efficiency. A well-designed set of Klipper macros can automate your entire pre-print routine: homing, bed leveling, nozzle purging, and temperature stabilization, all triggered by a single command from your slicer. Post-print cleanup, filament changes, and maintenance routines can all be scripted and executed with a button press. The time savings add up quickly, especially if you run your printer frequently. More importantly, automation reduces the chance of human error. A macro that always runs the same bed leveling sequence before every print is more reliable than a human who sometimes forgets.
There is also a community dimension worth mentioning. Klipper has one of the most active and collaborative communities in the 3D printing world. The Voron Design project, which produces some of the most capable open-source 3D printer designs available, is built around Klipper as its default firmware. The community shares configurations, macros, and troubleshooting knowledge openly. Understanding the underlying technologies means you can actually read, understand, and adapt the configurations others share, rather than copying them blindly and hoping they work. That understanding is what separates someone who uses Klipper from someone who truly masters it.
Ultimately, Klipper, G-code, and Jinja2 matter because they give you a level of control and understanding that stock firmware and slicer defaults simply cannot provide. They transform your printer from a device you operate into a system you configure, tune, and automate. That shift in perspective changes everything about how you approach 3D printing, from how you diagnose problems to how you design your workflow to how you think about what your printer is actually capable of.
How to Use This Book
This book is organized to take you from foundational understanding to practical mastery in a logical sequence. The early chapters cover the core concepts of each technology individually. Klipper's architecture and installation come first, followed by G-code syntax and commands, then Jinja2 templating basics. The middle chapters bring these together through Klipper configuration and macro creation. The later chapters focus on advanced techniques, optimization, troubleshooting, and real-world projects. The appendix provides quick-reference material you will return to regularly even after finishing the book.
If you are new to Klipper entirely, reading the chapters in order is strongly recommended. Each chapter assumes familiarity with the concepts introduced in the previous ones. Skipping ahead to the macro chapters without understanding G-code basics, for example, will make the Jinja2 examples harder to follow because you will not have the context for what the G-code commands inside those macros are actually doing. The sequential structure is intentional and will save you time in the long run.
If you already have Klipper running and have some experience with basic configuration, you have more flexibility. The following guide can help you find your entry point:
- Comfortable with Klipper basics, new to G-code: Start with Chapter 2 (G-code Essentials) and work forward from there.
- Comfortable with G-code, new to Jinja2 and macros: Start with Chapter 3 (Introduction to Jinja2 Templating) and then move to Chapter 5 (Creating Macros and Automation).
- Have basic macros working, want to go deeper: Jump to Chapter 6 (Advanced Macro Techniques) and Chapter 7 (Print Start and End Sequences).
- Experiencing specific problems: Chapter 9 (Troubleshooting and Debugging) is designed to be used as a reference at any point.
- Looking for specific project implementations: Chapter 10 (Practical Projects and Use Cases) can be read independently once you have the foundational chapters under your belt.
Throughout the book, you will find code blocks containing real Klipper configuration snippets, G-code commands, and Jinja2 macro examples. These are not simplified illustrations. They are actual, working code that you can use directly in your own configuration files, with appropriate adjustments for your specific hardware. Every code example is accompanied by an explanation of what each part does and why it is written that way. The goal is always understanding, not just copying.
Pay particular attention to the sections marked with important notes and common mistakes. These highlight the places where people most frequently run into problems, either because the behavior is counterintuitive or because a small error can cause confusing symptoms. Klipper's error messages are generally helpful, but knowing in advance where the pitfalls are will save you significant debugging time.
The troubleshooting chapter (Chapter 9) deserves special mention. It is organized around symptoms rather than causes, which means you can look up what you are seeing (for example, "macro runs but produces unexpected movement") and find a structured diagnostic process. Keep this chapter bookmarked. Even experienced Klipper users return to systematic troubleshooting approaches when something unexpected happens, because the interaction between firmware, configuration, and macros can produce subtle bugs that are not immediately obvious.
The appendix at the end of the book contains quick-reference tables for the most commonly used G-code commands and Jinja2 syntax elements. Once you have worked through the main chapters, these tables become a fast lookup resource during active configuration work. You will not need to flip back through chapters to remember the syntax for a specific command. The appendix also includes a curated list of community resources, documentation links, and forums where you can continue learning and get help with specific problems.
One practical suggestion: have your printer's configuration file open while you read. The concepts in this book become much more concrete when you can immediately see how they apply to your own setup. When a chapter discusses stepper motor configuration, look at your own stepper settings. When a chapter introduces a macro technique, try writing a simple version of it in your own config. Active engagement with the material, rather than passive reading, is what turns knowledge into skill.
What You Need to Know Before Starting
This book is written for intermediate 3D printing enthusiasts. That means it assumes a certain baseline of knowledge and experience, and it is worth being specific about what that baseline looks like. If you are missing some of these foundations, the book will still be useful, but you may need to supplement it with some additional reading in specific areas. The good news is that none of the prerequisites require deep expertise. They are the kind of knowledge that comes from a few months of active 3D printing experience.
On the 3D printing side, you should be comfortable with the following concepts before starting:
- Basic printer operation: You know how to load filament, start a print, and monitor a print in progress.
- Slicer usage: You have used a slicer like PrusaSlicer, Cura, or OrcaSlicer to prepare models for printing and understand concepts like layer height, infill, and supports.
- Bed leveling: You understand why bed leveling matters and have done it manually or with an assisted process at least a few times.
- Basic troubleshooting: You have dealt with common issues like bed adhesion problems, stringing, or under-extrusion and have some intuition for what causes them.
- Printer hardware familiarity: You know the basic components of your printer: the hotend, extruder, stepper motors, heated bed, and control board.
On the technical side, a small amount of comfort with computers and text-based tools will help significantly. You do not need to be a programmer, but the following will make the material much easier to follow:
- Text file editing: You are comfortable opening and editing plain text files. Klipper's configuration is done entirely in text files, and knowing how to use a text editor (any editor, from Notepad to VS Code) is essential.
- Basic command line familiarity: You have used a terminal or command prompt at least occasionally. You do not need to be fluent, but commands like
cd,ls, andsudoshould not be completely foreign. - SSH basics: If you are running Klipper on a Raspberry Pi (the most common setup), you will connect to it over SSH. Knowing how to open an SSH connection from your computer is important for the installation chapter.
You do not need prior experience with Klipper specifically. The book covers Klipper from the ground up in Chapter 1. You also do not need programming experience. Jinja2 templating involves logic that resembles programming, but the book introduces every concept from scratch with clear explanations. Many people who have never written a line of code have successfully learned to write sophisticated Klipper macros, because the syntax is relatively approachable and the feedback loop (run the macro, see what happens) is immediate and concrete.
In terms of hardware, you will need a 3D printer that is compatible with Klipper firmware. Klipper supports a very wide range of printers and control boards, including popular options like the Creality Ender 3 series, Prusa printers, Voron designs, and many others. The Klipper documentation maintains a list of supported microcontrollers and boards.[5] You will also need a host computer to run the Klipper host software. A Raspberry Pi 3B or newer is the most common choice and is what the installation chapter assumes, though other single-board computers and even old laptops can work.
A few specific tools will make your experience with this book much smoother. First, consider installing Mainsail or Fluidd as your Klipper web interface. Both are browser-based dashboards that give you a visual interface for controlling your printer, editing configuration files, and running macros. They also display Klipper's console output in real time, which is invaluable for debugging. The installation chapter covers setting these up alongside Klipper itself.
Recommended setup before starting Chapter 1: A printer with a compatible control board, a Raspberry Pi 3B or newer with a microSD card (8GB minimum, 16GB recommended), a reliable power supply for the Pi, and a way to connect the Pi to your printer's control board (usually a USB cable). Having these ready means you can follow along with the installation steps in real time rather than reading them abstractly.
If you are not sure whether your printer is compatible with Klipper, the best first step is to check the Klipper GitHub repository and community forums. The Klipper community is large and active, and there is a good chance someone has already documented the process for your specific printer model. The resources section in the appendix includes links to the most useful community spaces. Do not let uncertainty about compatibility stop you from reading the foundational chapters. The concepts of G-code and Jinja2 are valuable regardless of your specific hardware, and the configuration principles apply broadly even if the specific pin assignments and board settings differ.
Finally, approach this material with patience and a willingness to experiment. Klipper configuration is iterative. You will make changes, test them, find that something does not work as expected, and adjust. That cycle is not a sign of failure. It is the normal process of learning a system with many interacting parts. The troubleshooting chapter exists precisely because even experienced users go through this cycle regularly. Every configuration problem you solve teaches you something about how the system works, and that accumulated understanding is what eventually makes you genuinely proficient. The goal is not to get everything right on the first try. The goal is to understand what you are doing well enough to know how to fix it when something goes wrong.
This is the end of the free sample. The full book has 10 chapters.
Want this book written for you?
Tell us your goals and background, and get your own version of this book, tailored by AI to you.


Benefits of AI-tailored books
- Read one book, not ten:
- all the 3D Printing knowledge you need, gathered into a single book.
- Save days of learning:
- tell us your goals, choose your topics, and the whole book is built around them.
- Learn effortlessly:
- 3D Printing book written for your specific background and expertise.
- Understand at a glance:
- includes charts, tables, timelines, checklists, decision trees, and more.
- Stay current:
- written the day you order it, not years ago.
- Trust what you read:
- every book is checked for accuracy, with real research when your subject needs it.
Create your unique book in 3 steps
- 1. Select your focus
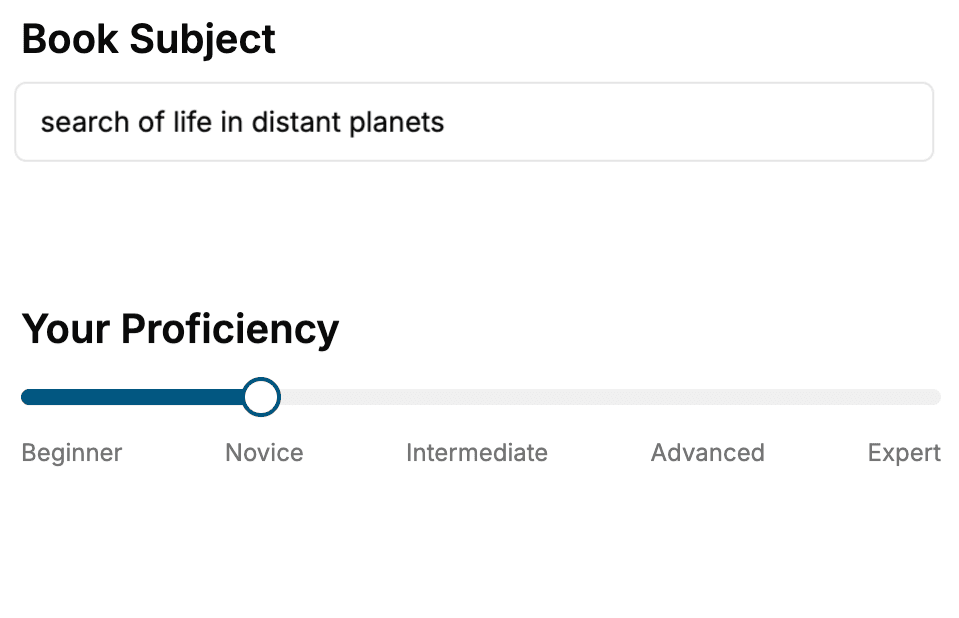
Select the focus of your 3D Printing book and share your background
- 2. Personalize your book
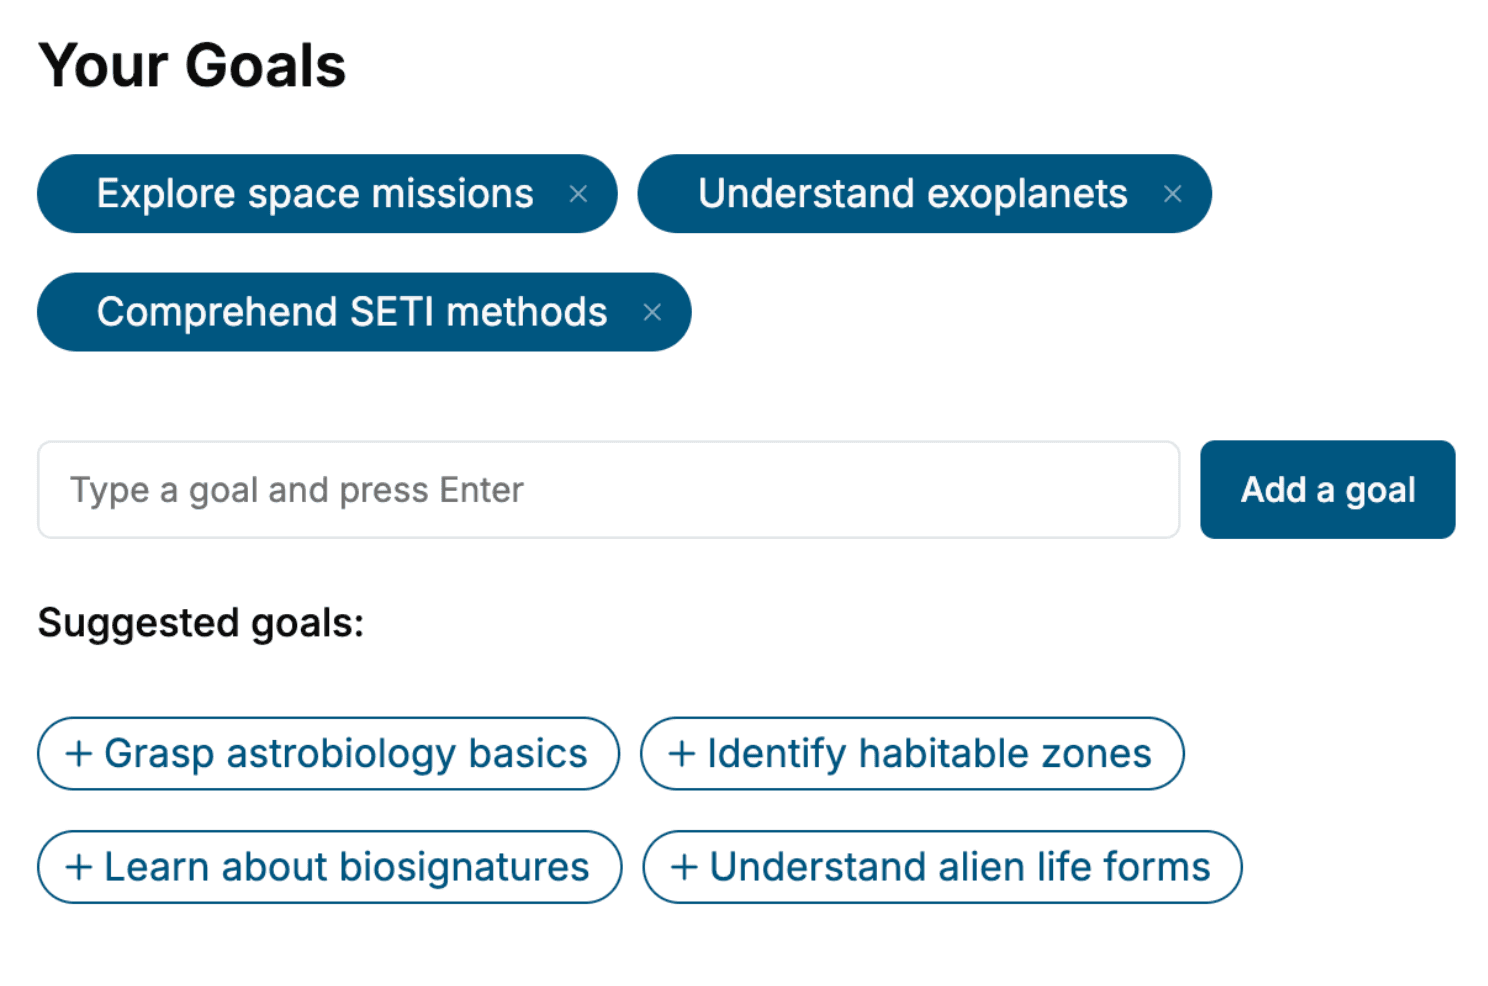
Specify your goals and choose sub-topics to include
- 3. Get your tailored book
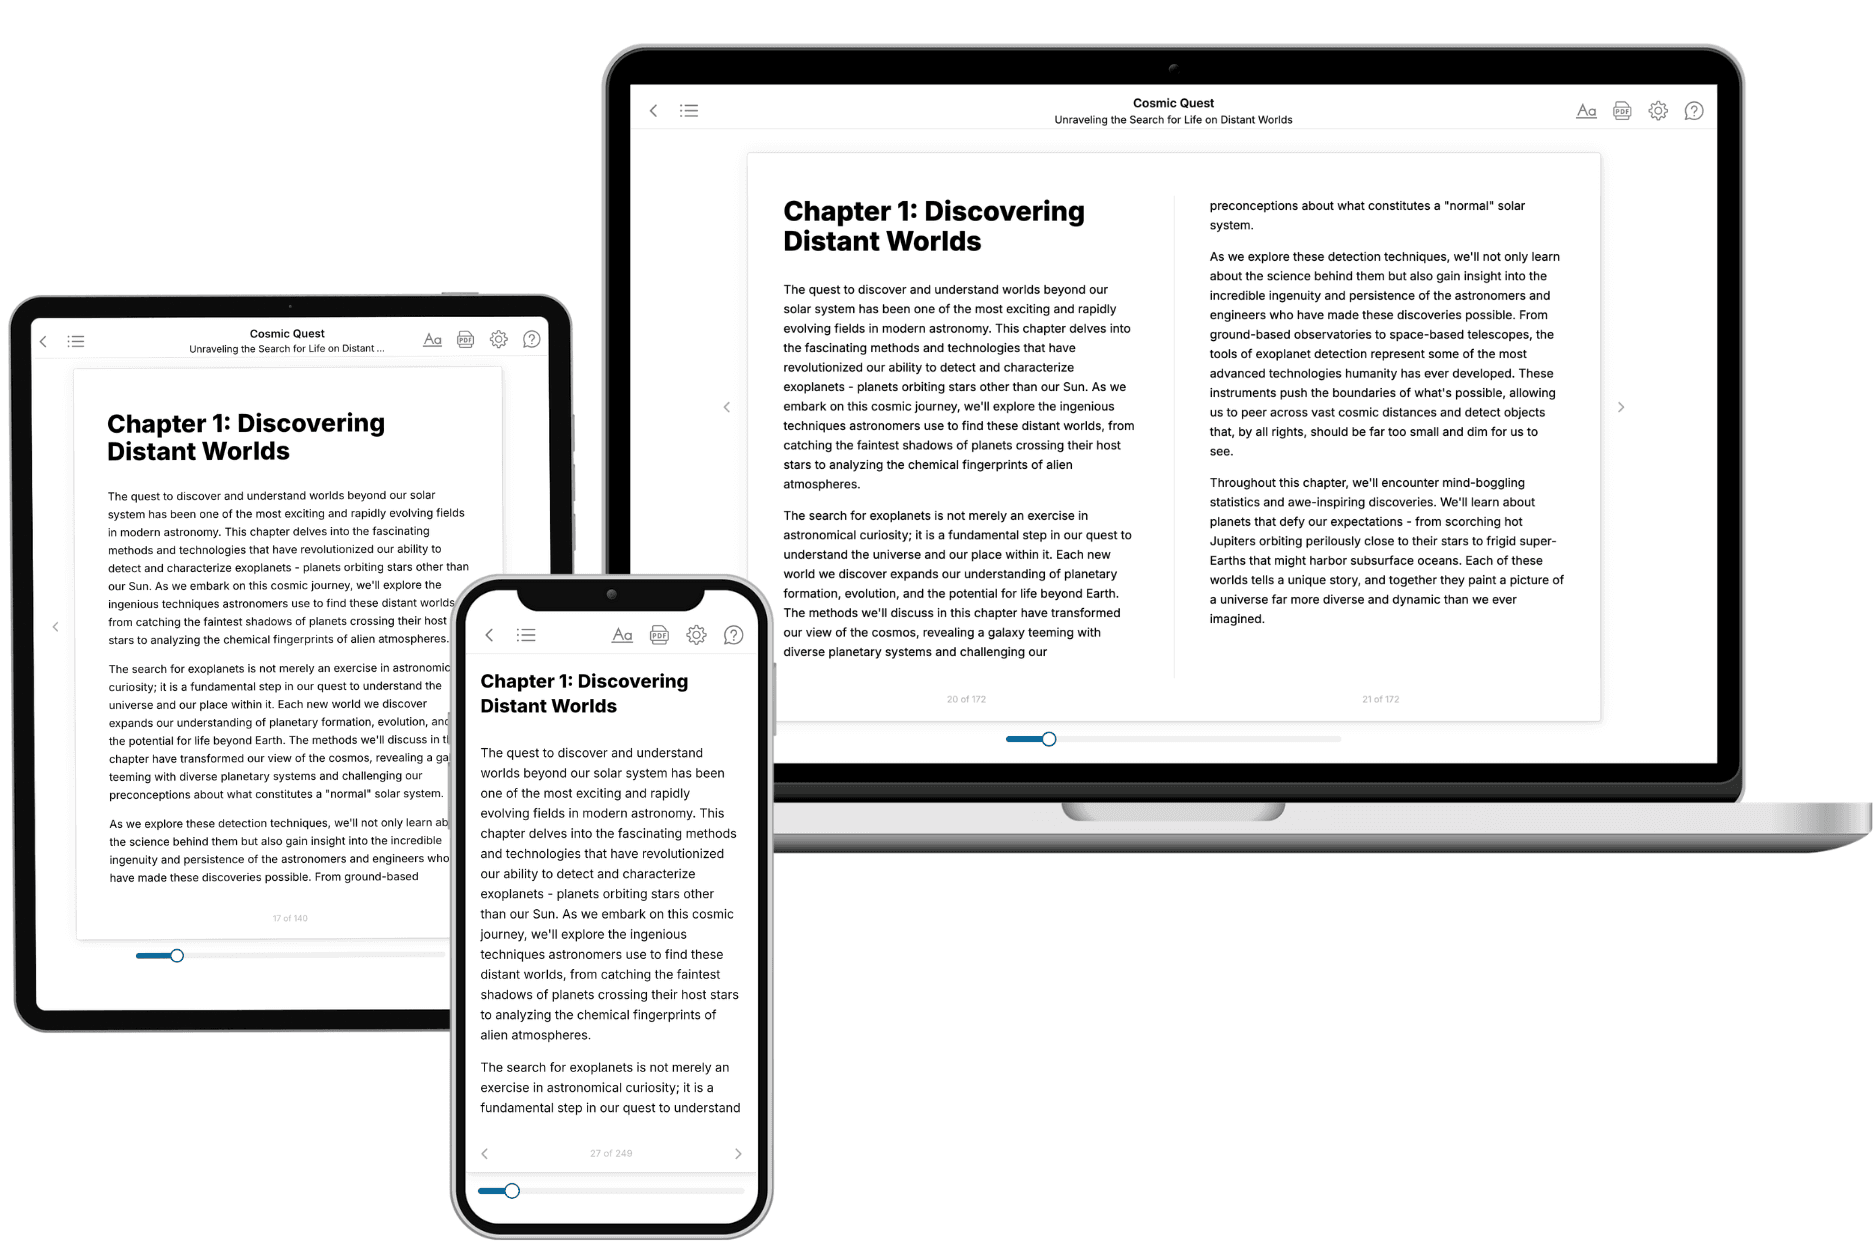
Your book is ready in 10 minutes. Read it online, download as EPUB or PDF, or send to Kindle.
Frequently asked questions
- What is TailoredRead?
TailoredRead creates complete, full-length nonfiction ebooks, written specifically for you. Tell us what you want to learn and why, and TailoredRead writes you a complete ebook on it, with charts, tables, and diagrams throughout. Read it online, on Kindle, or on any e-reader, or download it as a PDF or EPUB. Every book is written fresh the day you order it.
- How is the book tailored to me?
Before anything is written, you answer a few short questions about your goals, your background, and the topics you care about. Your book is then planned around your answers: written at your level, focused on your goals, and covering the topics you chose, instead of the one-size-fits-all book a store sells everyone.
- Will it read like generic AI content?
No. Your book isn't a chat transcript: it's planned chapter by chapter before a single word is written, told in a clear book voice, and explains ideas visually with charts, tables, and diagrams. After writing, every book goes through an editorial pass that polishes chapters so the book reads consistent from start to finish. Judge for yourself: browse thousands of sample books on our Explore Books page.
- How accurate is the content?
Our AI first checks whether your subject needs live research. Niche and fast-moving subjects are researched before writing, and the book plan and chapters are grounded in what it finds. After writing, every book goes through a quality pass that checks its facts and consistency, and researched books list their sources in a Notes section at the back.
- How long is the book?
You choose the length: Comprehensive (250-300 pages), Detailed (150-200 pages), Essential (70-100 pages), or Short (30-50 pages).
- Does the book include visuals?
Yes. Every book includes charts, tables, and diagrams: timelines, checklists, step-by-step guides, decision trees, comparison tables, matrices, and bar charts. A typical book includes dozens of these visual elements.
- Can I read it on Kindle? What formats can I download?
Yes. Every book can be read in our online reader or downloaded as a PDF or EPUB. The EPUB can be opened with Kindle, Apple Books, Kobo, and any e-reader. The Commercial and Author licenses also include an editable Word (DOCX) and Markdown download.
- How much does it cost?
About the price of a regular ebook. The exact price depends on your book's length and complexity, from $2 for the shortest books to $35 for the most comprehensive, and it's shown when you review your book, before you commit to anything. Each book is a one-time purchase, yours to keep, no subscription. Licenses that let you share, teach, or publish your book range from $35.99 to $49.99.
- Can I preview the book before purchasing?
Before you pay, you'll see what your book will cover: the title, a detailed description, the estimated length, and the complete chapter-by-chapter table of contents, so you know what you're getting before you decide. The full text itself is written after you purchase.
- How long does it take to create a book?
About 10 minutes. You can start reading the opening chapters while the rest is still being written.