Mastering Orca Slicer
Advanced Techniques for Precision Parts and Production-Ready Designs
You're about to discover how to transform your 3D printing from a hobbyist pursuit into a precision manufacturing capability.
176 pages7 chaptersMay 29, 20263D Printing
About this book
This guide walks you through the advanced features of Orca Slicer that separate amateur prints from professional-grade components. You'll learn systematic calibration methods that ensure dimensional accuracy within tight tolerances, master the art of designing supports for complex geometries, and understand how to optimize every setting for your specific materials and printer. Through practical techniques and real-world examples, you'll gain the knowledge to design intricate mechanical parts that actually function as intended, meet production specifications, and withstand rigorous quality standards. Whether you're creating replacement parts, prototypes, or finished products, this book provides the technical foundation and practical strategies needed to achieve consistently excellent results with confidence and precision.
Table of contents
- IntroductionWhy Precision Matters in 3D Printing, Understanding Orca Slicer's Capabilities, Your Learning Path to MasteryRead below
- Chapter 1: Foundations of Dimensional AccuracyUnderstanding Accuracy vs. Precision, Tolerance Fundamentals for Mechanical Parts, Identifying Common Sources of Dimensional Error
- Chapter 2: Calibration EssentialsNozzle and Bed Leveling Techniques, Extrusion Rate and Flow Calibration, Temperature Optimization for Material Consistency
- Chapter 3: Advanced Slicing Software FeaturesVariable Layer Heights for Complex Geometries, Adaptive Infill Patterns and Density Control, Designing Custom Support Structures
- Chapter 4: Designing Complex Geometric PartsStrategic Part Orientation and Placement, Wall Thickness and Structural Integrity, Preserving Fine Features and Details
- Chapter 5: Material Selection and BehaviorUnderstanding Material Properties and Characteristics, Managing Shrinkage and Warping, Material-Specific Orca Slicer Settings
- Chapter 6: Production-Ready Quality StandardsQuality Verification and Inspection Methods, Post-Processing for Professional Finishes, Managing Tolerance Stacking in Assemblies
- Chapter 7: Troubleshooting and OptimizationDiagnosing and Preventing Common Print Failures, Iterative Testing and Design Refinement, Fine-Tuning Settings for Optimal Results
- ConclusionYour Path to Mastery, Embracing Continuous Improvement
- Glossary of Terms
- Further Reading and Resources
Introduction
There is a specific moment that most intermediate 3D printing enthusiasts recognize immediately. You've spent hours designing a part, carefully set up your printer, watched the print complete without any obvious failures, and then tried to fit it into an assembly or test it against a specification. It doesn't fit. Or it fits, but barely. Or it fits today but not after the next print from the same file. That frustrating gap between what you designed and what you actually hold in your hand is exactly what this book is about closing. Precision is not a luxury in 3D printing. It is the difference between a part that works and one that doesn't.
Orca Slicer has emerged as one of the most capable slicing tools available to desktop 3D printing users. It builds on a strong open-source foundation and adds a layer of advanced controls that were previously only accessible through manual configuration file editing or expensive professional software. But capability alone doesn't produce precision. Knowing which settings to adjust, why they matter, and how they interact with your specific printer and materials is what separates consistently excellent results from occasional lucky prints. This book is designed to give you that knowledge in a structured, practical way.
This guide is written for someone who already understands the basics. You've printed successfully before. You know what layer height means, you've dealt with bed adhesion issues, and you're comfortable navigating a slicer interface. What you're looking for now is the next level: the systematic approach to calibration, the advanced features that handle complex geometries, the quality standards that make parts production-ready, and the troubleshooting mindset that turns failures into improvements. Every chapter in this book builds toward that goal, giving you both the conceptual understanding and the hands-on techniques to get there.
Throughout these pages, you'll find concrete examples, specific settings, and step-by-step processes rather than vague general advice. The goal is not just to explain what Orca Slicer can do, but to show you how to use it purposefully for real-world results. Whether you're producing replacement mechanical components, functional prototypes, or finished parts that need to meet tight specifications, the techniques here apply directly to your work. Let's start by understanding why precision deserves this level of attention in the first place.
Why Precision Matters in 3D Printing
Precision in 3D printing is not just about aesthetics or bragging rights. It is a functional requirement the moment your printed part needs to interact with anything else in the physical world. A bracket that holds a shelf needs to match the screw hole spacing. A replacement gear needs to mesh correctly with its neighbors. A housing for an electronic component needs to fit the PCB without forcing or rattling. When dimensions are off by even half a millimeter, these interactions fail. In mechanical assemblies, that failure can cascade through an entire system.
Consider a practical example. Suppose you're printing a custom enclosure for a small motor controller. The PCB measures 68.5mm by 45.2mm. If your print comes out at 69.8mm by 46.1mm due to uncalibrated extrusion and thermal expansion, the board won't seat properly. You might force it in and crack the housing, or leave it loose and risk vibration damage. Neither outcome is acceptable in a production context. This kind of dimensional drift is extremely common in uncalibrated printers, and it's entirely preventable with the right approach.[1]
Precision also matters for structural integrity. A wall that is supposed to be 2.0mm thick but prints at 1.6mm has lost a significant portion of its designed strength. In load-bearing parts, this can mean the difference between a component that survives its intended use and one that fails unexpectedly. The relationship between designed dimensions and actual printed dimensions is not just a quality concern. It is a safety and reliability concern for any part that will be used in a real application.
Beyond individual parts, precision becomes even more critical when you're working with assemblies. Tolerance stacking is the phenomenon where small errors in multiple parts combine into a larger cumulative error. If each of five components in an assembly is off by 0.2mm in the same direction, the assembly as a whole can be off by 1.0mm or more. Understanding and managing this effect is one of the core skills covered in this book, and it requires a level of dimensional control that only comes from systematic calibration and careful slicing decisions.
There is also an economic argument for precision. Reprinting a failed part costs time, material, and energy. In a hobbyist context, that might mean an afternoon lost. In a small production context, it can mean missed deadlines and wasted resources. Getting it right the first time, or at least within a predictable and manageable number of iterations, is a practical goal that precision-focused techniques directly support. The investment in learning proper calibration and advanced slicing pays back quickly in reduced waste and higher success rates.
Finally, precision is what makes 3D printing genuinely useful as a manufacturing tool rather than just a prototyping novelty. The technology has matured to the point where desktop printers can produce parts that meet engineering specifications, but only when operated with the right knowledge and discipline. That is the promise this book is built around: giving you the tools to use your printer as a real manufacturing asset, not just a gadget that occasionally produces something useful.
A useful mindset shift: Stop thinking of your printer as a device that "makes things" and start thinking of it as a machine tool that requires calibration, process control, and systematic operation. Every machine tool produces better results when operated with precision and discipline. Your 3D printer is no different.
The chapters ahead will give you the specific knowledge to act on this mindset. But it starts here, with a clear understanding of why precision is worth pursuing seriously. Once you internalize that goal, every calibration step and every advanced setting becomes purposeful rather than optional.
Understanding Orca Slicer's Capabilities
Orca Slicer is a fork of Bambu Studio, which itself is derived from PrusaSlicer and the broader Slic3r lineage. What makes Orca Slicer stand out is its focus on advanced calibration tools and fine-grained control over print parameters. It is free, open-source, and actively developed by a community that prioritizes precision and usability. For anyone serious about producing high-quality parts, it offers a feature set that rivals commercial slicers at no cost.[2]
One of Orca Slicer's most valuable features for precision work is its built-in calibration suite. Rather than relying on external tools or manual calculations, you can run structured calibration tests directly from the software. These include:
- Flow rate calibration for accurate extrusion volume
- Pressure advance (or linear advance) tuning for sharp corners and consistent line widths
- Temperature tower generation for finding optimal print temperatures
- Retraction testing to minimize stringing and oozing
- First layer calibration for consistent bed adhesion and Z-offset
- Tolerance testing for fitting parts together accurately
These tools are not just convenient. They represent a structured, repeatable methodology for dialing in your printer and materials. Instead of guessing at settings or copying profiles from the internet, you can generate empirical data specific to your hardware and filament. This is the foundation of consistent, precision printing, and it's built directly into the software you'll be using throughout this book.
Beyond calibration, Orca Slicer offers advanced slicing controls that directly affect part quality. Variable layer height allows you to use finer layers only where detail demands it, saving print time while preserving accuracy on critical surfaces. Adaptive infill patterns let you concentrate material density in high-stress areas without adding unnecessary weight or print time elsewhere. Custom support structures give you precise control over where and how supports are placed, which is critical for complex geometries that would otherwise be difficult or impossible to print cleanly.
The software also provides detailed control over perimeter and infill interactions, seam placement, bridge settings, and overhang compensation. Each of these parameters affects dimensional accuracy in specific ways. For example, seam placement determines where the outer wall starts and stops on each layer. A poorly placed seam creates a visible ridge and a slight dimensional bump that can affect fit. Orca Slicer lets you control seam position precisely, including placing it in a specific location that minimizes its impact on critical surfaces.
Orca Slicer supports a wide range of printers, from popular consumer machines like the Bambu Lab X1C and Prusa MK4 to open-source platforms like Voron and RatRig. It handles multi-material printing, has strong community-contributed printer profiles, and is updated regularly with new features and bug fixes. For the purposes of this book, the techniques described apply broadly across supported printers, with notes where specific hardware differences are relevant.
It's worth being clear about what Orca Slicer is not. It is a slicing tool, not a CAD application. The quality of your input geometry matters enormously. A poorly designed STL file with non-manifold geometry, thin walls below the minimum printable thickness, or features that ignore the realities of FDM printing will not be saved by even the best slicer settings. This book addresses the slicing side of the equation in depth, but it also covers the design decisions you need to make before you ever open the slicer, because those decisions are inseparable from the final result.
The interface in Orca Slicer is organized around a central 3D viewport with a settings panel on the right and a process panel that separates global print settings from object-specific overrides. This structure is important because it allows you to apply different settings to different parts of the same print, a capability that is essential for complex, multi-feature parts. Understanding this architecture early will help you navigate the more advanced techniques covered in later chapters.
Your Learning Path to Mastery
This book is structured as a progressive learning journey. Each chapter builds on the ones before it, moving from foundational concepts through increasingly advanced techniques. You don't need to read it cover to cover before you start applying what you learn, but the sequence is intentional. Skipping ahead to advanced support structures without understanding calibration, for example, will limit how much you can benefit from those techniques. The foundation matters.
Here is a brief map of what each chapter covers and how it connects to the overall goal:
- Chapter 1: Foundations of Dimensional Accuracy establishes the conceptual framework. You'll learn the difference between accuracy and precision, understand what tolerances mean in a practical context, and identify the most common sources of dimensional error in FDM printing. This chapter gives you the vocabulary and mental models you'll use throughout the rest of the book.
- Chapter 2: Calibration Essentials moves into hands-on practice. You'll work through nozzle and bed leveling, extrusion rate calibration, and temperature optimization. These are the core calibration tasks that every precision print depends on, and this chapter gives you a systematic process for completing them reliably.
- Chapter 3: Advanced Slicing Software Features dives into Orca Slicer's most powerful tools. Variable layer heights, adaptive infill, and custom support structures are covered in detail, with specific guidance on when and how to use each one for maximum effect.
- Chapter 4: Designing Complex Geometric Parts addresses the decisions you make before slicing. Part orientation, wall thickness analysis, and feature preservation are all covered with practical examples drawn from real mechanical design challenges.
- Chapter 5: Material Selection and Behavior covers the material side of the equation. Different filaments behave differently, and understanding those differences is essential for choosing the right material and dialing in the right settings for each application.
- Chapter 6: Production-Ready Quality Standards raises the bar to professional-grade output. Quality verification methods, post-processing techniques, and tolerance stacking management are all addressed here, giving you the tools to produce parts that meet real specifications.
- Chapter 7: Troubleshooting and Optimization closes the loop by addressing what happens when things go wrong. Diagnosing print failures, iterative refinement processes, and fine-tuning strategies are all covered, turning problems into learning opportunities.
Each chapter includes specific, actionable techniques rather than general principles alone. You'll find settings recommendations with actual values, step-by-step calibration procedures, and real-world examples that illustrate how the concepts apply in practice. The goal is to give you something you can use immediately, not just something to think about.
One important note about the approach taken throughout this book: the emphasis is always on understanding why a setting or technique works, not just what to do. This matters because 3D printing involves too many variables for any single set of instructions to cover every situation. When you understand the underlying principles, you can adapt to new materials, new printers, and new design challenges without needing a new recipe for every scenario. That adaptability is what mastery actually looks like in practice.
You'll also notice that this book treats calibration as an ongoing process rather than a one-time setup task. Printers drift over time. Nozzles wear. Filament batches vary. Environmental conditions change. A printer that was perfectly calibrated six months ago may have drifted enough to affect precision parts today. Building a habit of regular calibration checks, and knowing which checks matter most for which types of work, is one of the most valuable skills you can develop as a precision printer.
A practical starting point: Before diving into Chapter 1, take a few minutes to print a simple dimensional test cube (20mm x 20mm x 20mm) on your current setup and measure it with calipers. Record the actual dimensions. This gives you a baseline to compare against as you work through the calibration chapters. Most uncalibrated printers will show deviations of 0.2mm to 0.8mm on a simple cube. By the time you've completed Chapter 2, that number should be well under 0.1mm.
The path to mastery in 3D printing is not a straight line. There will be failed prints, unexpected results, and settings that work perfectly for one material but not another. That is normal, and it is part of the process. What changes as you develop expertise is not that failures stop happening, but that you understand them faster, fix them more efficiently, and learn more from each one. This book is designed to accelerate that learning curve by giving you the frameworks and knowledge to interpret what you're seeing and respond effectively.
One of the most common patterns among intermediate printers who plateau is that they stop experimenting because they've found settings that work "well enough." Well enough is a reasonable goal for casual printing, but it is not the standard this book is aimed at. Production-ready parts require a higher bar, and reaching that bar requires a willingness to push past comfortable settings and test systematically. The techniques in this book will give you the confidence to do that, because you'll understand what you're testing and why.
Finally, it's worth acknowledging that the specific printer and materials you're working with will influence how you apply the techniques here. Orca Slicer supports a wide range of hardware, and while the core principles are universal, some settings and calibration values will differ between a Bambu Lab P1S and a Creality Ender 5 Plus. Where hardware-specific differences are significant, they are noted. In general, the approach is to explain the principle clearly enough that you can apply it to your specific setup, whatever that happens to be.
By the time you reach the conclusion of this book, the goal is not just that you know more about Orca Slicer. The goal is that you think differently about 3D printing: as a precision manufacturing process that rewards systematic thinking, careful calibration, and continuous improvement. That shift in perspective is what separates hobbyist printing from production-quality work, and it is entirely within reach. Let's get started.
Notes
Introduction
- 1. Dimensional accuracy in FDM printing is heavily influenced by extrusion multiplier, thermal expansion, and first-layer calibration. Studies show deviations of 0.3-1.5mm are common in uncalibrated consumer printers. Source: Turner, B.N., Strong, R., & Gold, S.A. (2014). A review of melt extrusion additive manufacturing processes. Rapid Prototyping Journal, 20(3), 192-204.
- 2. Orca Slicer is and supports a wide range of FDM printers including those from Bambu Lab, Prusa, Creality, Voron, and many others
This is the end of the free sample. The full book has 7 chapters.
Want this book written for you?
Tell us your goals and background, and get your own version of this book, tailored by AI to you.


Benefits of AI-tailored books
- Read one book, not ten:
- all the 3D Printing knowledge you need, gathered into a single book.
- Save days of learning:
- tell us your goals, choose your topics, and the whole book is built around them.
- Learn effortlessly:
- 3D Printing book written for your specific background and expertise.
- Understand at a glance:
- includes charts, tables, timelines, checklists, decision trees, and more.
- Stay current:
- written the day you order it, not years ago.
- Trust what you read:
- every book is checked for accuracy, with real research when your subject needs it.
Create your unique book in 3 steps
- 1. Select your focus
Select the focus of your 3D Printing book and share your background
- 2. Personalize your book
Specify your goals and choose sub-topics to include
- 3. Get your tailored book
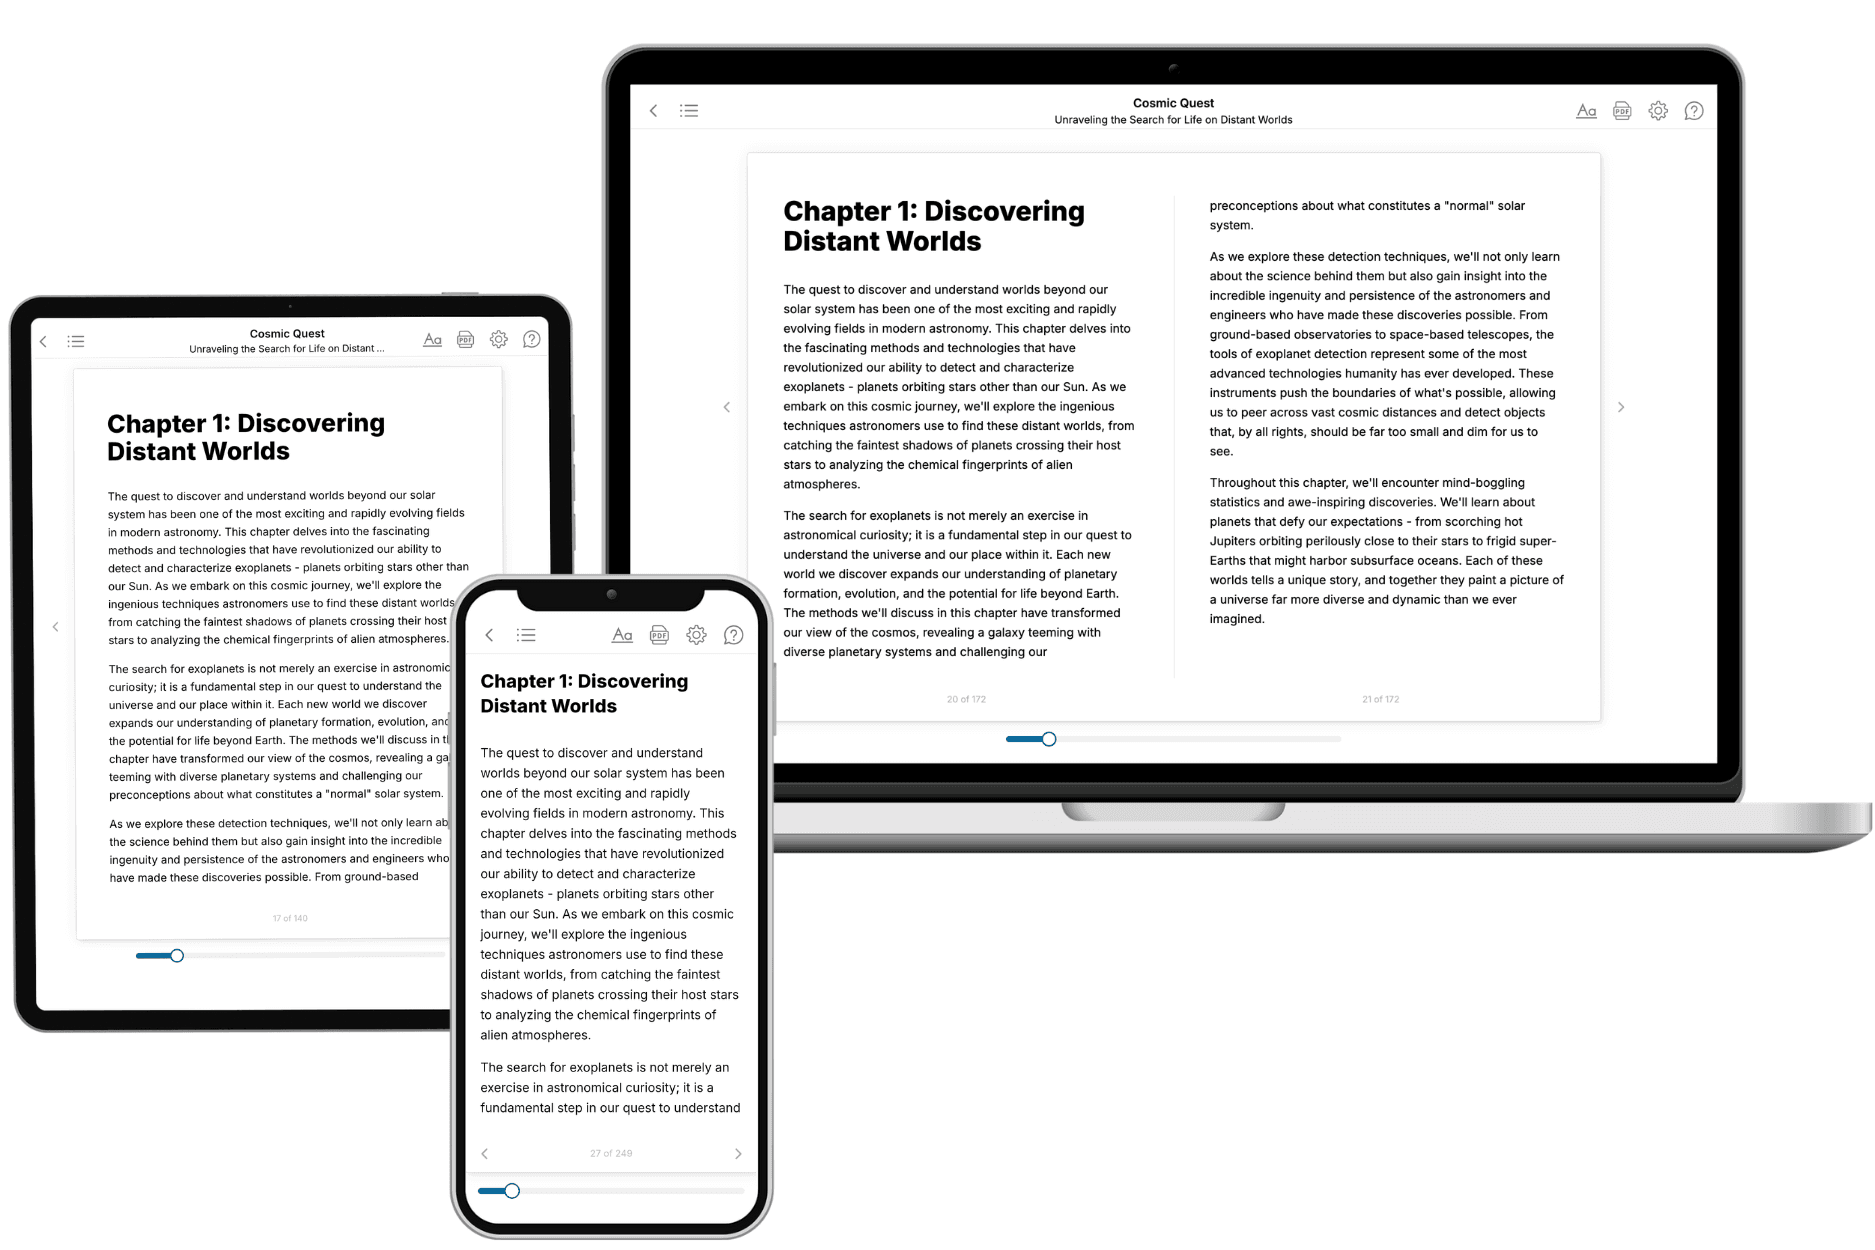
Your book is ready in 10 minutes. Read it online, download as EPUB or PDF, or send to Kindle.

Frequently asked questions
- What is TailoredRead?
TailoredRead creates complete, full-length nonfiction ebooks, written specifically for you. Tell us what you want to learn and why, and TailoredRead writes you a complete ebook on it, with charts, tables, and diagrams throughout. Read it online, on Kindle, or on any e-reader, or download it as a PDF or EPUB. Every book is written fresh the day you order it.
- How is the book tailored to me?
Before anything is written, you answer a few short questions about your goals, your background, and the topics you care about. Your book is then planned around your answers: written at your level, focused on your goals, and covering the topics you chose, instead of the one-size-fits-all book a store sells everyone.
- Will it read like generic AI content?
No. Your book isn't a chat transcript: it's planned chapter by chapter before a single word is written, told in a clear book voice, and explains ideas visually with charts, tables, and diagrams. After writing, every book goes through an editorial pass that polishes chapters so the book reads consistent from start to finish. Judge for yourself: browse thousands of sample books on our Explore Books page.
- How accurate is the content?
Our AI first checks whether your subject needs live research. Niche and fast-moving subjects are researched before writing, and the book plan and chapters are grounded in what it finds. After writing, every book goes through a quality pass that checks its facts and consistency, and researched books list their sources in a Notes section at the back.
- How long is the book?
You choose the length: Comprehensive (250-300 pages), Detailed (150-200 pages), Essential (70-100 pages), or Short (30-50 pages).
- Does the book include visuals?
Yes. Every book includes charts, tables, and diagrams: timelines, checklists, step-by-step guides, decision trees, comparison tables, matrices, and bar charts. A typical book includes dozens of these visual elements.
- Can I read it on Kindle? What formats can I download?
Yes. Every book can be read in our online reader or downloaded as a PDF or EPUB. The EPUB can be opened with Kindle, Apple Books, Kobo, and any e-reader. The Commercial and Author licenses also include an editable Word (DOCX) and Markdown download.
- How much does it cost?
About the price of a regular ebook. The exact price depends on your book's length and complexity, from $2 for the shortest books to $35 for the most comprehensive, and it's shown when you review your book, before you commit to anything. Each book is a one-time purchase, yours to keep, no subscription. Licenses that let you share, teach, or publish your book range from $35.99 to $49.99.
- Can I preview the book before purchasing?
Before you pay, you'll see what your book will cover: the title, a detailed description, the estimated length, and the complete chapter-by-chapter table of contents, so you know what you're getting before you decide. The full text itself is written after you purchase.
- How long does it take to create a book?
About 10 minutes. You can start reading the opening chapters while the rest is still being written.