Model Aircraft Design Essentials
Master Aerodynamics and Build High-Performance Aircraft
Most people think building a model aircraft is just about assembling parts and hoping it flies.
36 pages2 chaptersJan 24, 2026Aviation EngineeringCreated by David
About this book
The reality is that understanding aerodynamic principles separates successful designs from expensive crashes. This book teaches you the science behind flight in practical, hands-on terms—no advanced calculus required. You'll learn how airfoils generate lift, why drag matters more than you think, and how to position your center of gravity for stable flight. Each concept connects directly to real design decisions you'll make: choosing wing shapes, calculating proportions, and optimizing fuselage geometry. Whether you're building your first glider or designing a high-performance RC aircraft, these principles apply. You'll gain the confidence to make informed design choices, troubleshoot flight problems, and continuously improve your builds. This is aerodynamics for makers—practical, visual, and immediately applicable to your next project.
Table of contents
- Chapter 1: Aerodynamic FoundationsHow Lift Is Actually Generated, Understanding Drag and Its ImpactRead below
- Chapter 2: Wing Design PrinciplesSelecting the Right Airfoil for Your Mission, Wing Aspect Ratio and Efficiency, Practical Drag Reduction Techniques, Center of Gravity and Aircraft Stability
Chapter 1: Aerodynamic Foundations
Flight seems almost magical when you watch a model aircraft soar effortlessly through the sky. Yet behind every successful flight lies a set of physical principles that govern how air interacts with surfaces. Understanding these principles transforms you from someone who follows instructions to someone who makes informed design decisions. When you grasp why aircraft fly rather than just accepting that they do, you gain the ability to troubleshoot problems, optimize performance, and innovate beyond existing designs. This chapter strips away the mystery and reveals the fundamental forces at work.
The two most critical aerodynamic forces affecting your model aircraft are lift and drag. Lift opposes gravity and keeps your aircraft airborne, while drag opposes forward motion and consumes energy. Every design choice you make influences the balance between these forces. A wing that generates tremendous lift might also create excessive drag, reducing speed and flight duration. Conversely, a sleek design with minimal drag might not generate sufficient lift to stay aloft. Your goal as a designer is to maximize lift while minimizing drag for your specific mission requirements, whether that's endurance, speed, or maneuverability.
Many beginners approach aerodynamics with apprehension, assuming it requires advanced mathematics or engineering degrees. The truth is that you can understand and apply aerodynamic principles using basic concepts and visual thinking. You don't need to calculate complex equations to recognize that a streamlined shape moves through air more efficiently than a blunt one. You don't need fluid dynamics software to understand that wing area affects lift generation. This chapter focuses on practical, intuitive understanding that directly informs your building decisions. By the end, you'll have a working knowledge of how air behaves around your aircraft and how to shape your designs accordingly.
How Lift Is Actually Generated
The most common misconception about lift is that wings simply deflect air downward, and Newton's third law pushes the wing upward in response. While air deflection does contribute to lift, this explanation misses the primary mechanism: pressure differences created by airflow over the wing's upper and lower surfaces. When air flows over a properly shaped wing, it moves faster over the curved upper surface than the flatter lower surface. According to Bernoulli's principle, faster-moving air creates lower pressure. This pressure difference—lower pressure above, higher pressure below—generates an upward force we call lift[1]. Understanding this mechanism helps you appreciate why wing shape matters so profoundly.
The shape of your wing's cross-section, called an airfoil, determines how effectively it generates lift. An airfoil features a rounded leading edge where air first contacts the wing, a curved upper surface called the camber, and a tapered trailing edge where airflow rejoins. As air approaches the leading edge, it splits into two streams. The upper stream must travel a longer path over the curved surface, accelerating to rejoin the lower stream at the trailing edge. This acceleration reduces pressure above the wing. Meanwhile, the lower surface can be relatively flat or even slightly curved, maintaining higher pressure. The resulting pressure differential creates lift perpendicular to the wing surface.
The angle of attack—the angle between the wing's chord line and the oncoming airflow—dramatically affects lift generation. Increasing the angle of attack forces air to deflect more sharply over the upper surface, intensifying the pressure difference and generating more lift. However, this relationship has limits. At excessive angles, typically between 12 and 18 degrees for most airfoils, airflow can no longer follow the wing's upper surface smoothly. The flow separates, creating turbulent eddies and destroying the pressure difference. This condition, called a stall, causes a sudden and dramatic loss of lift. Your aircraft doesn't stay aloft at the same angle of attack throughout flight; pilots constantly adjust it to maintain desired lift as speed and conditions change.
Consider a practical example: a typical trainer model aircraft with a flat-bottom airfoil flying at 20 miles per hour. At a 5-degree angle of attack, the wing generates sufficient lift to maintain level flight. If the pilot reduces throttle and speed drops to 15 miles per hour, lift decreases because slower airflow creates a smaller pressure difference. To maintain altitude, the pilot must increase the angle of attack to perhaps 8 degrees, compensating for reduced speed with increased deflection. If speed drops further and angle of attack exceeds the critical angle, the wing stalls regardless of how much the pilot pulls back on the controls. This is why understanding the relationship between speed, angle of attack, and lift is essential for both design and flight.
Wing planform—the wing's shape when viewed from above—also influences lift generation. Key planform characteristics include:
- Wing area: Larger wings generate more total lift at a given speed and angle of attack, but add weight and drag
- Wing span: The distance from wingtip to wingtip affects efficiency and handling characteristics
- Chord length: The distance from leading edge to trailing edge, which can vary along the span
- Taper ratio: How much the chord narrows from root to tip, affecting lift distribution
- Sweep angle: Whether the wing angles backward, forward, or remains perpendicular to the fuselage
The coefficient of lift (CL) provides a standardized way to compare how effectively different airfoils and wing configurations generate lift. This dimensionless number represents lift efficiency independent of wing size or flight speed. A higher CL means the wing generates more lift for its size and speed. Flat-bottom airfoils commonly used in trainers might have maximum CL values around 1.2 to 1.4, while specialized high-lift airfoils can exceed 2.0. However, high-lift airfoils often generate more drag, illustrating the constant trade-offs in aircraft design. You don't need to calculate CL values yourself, but understanding that different airfoils have different lift characteristics helps you make informed selection decisions.
Lift generation isn't uniform across the entire wing span. The wing produces maximum lift near the center and reduced lift toward the tips, where air spills around from the high-pressure lower surface to the low-pressure upper surface. This spillage creates rotating vortices trailing from each wingtip, which contribute to induced drag—drag created as a byproduct of lift generation. Longer, narrower wings reduce this effect by minimizing the proportion of wing area near the tips. This is why gliders designed for efficiency feature extremely long, slender wings, while aerobatic aircraft prioritizing maneuverability use shorter, wider wings despite the efficiency penalty.
Practical Example: A builder designing a slow-flying park flyer might choose a wing with 400 square inches of area and a thick, highly cambered airfoil. This combination generates substantial lift at low speeds (perhaps 12-15 mph), allowing gentle, stable flight perfect for beginners. The same builder designing a speed model might use only 250 square inches with a thin, symmetrical airfoil. This wing generates less lift at low speeds but creates minimal drag at high speeds (40+ mph), where dynamic pressure provides sufficient lift despite the less efficient airfoil.
Temperature, air density, and altitude affect lift generation, though these factors matter less for model aircraft than full-scale aviation. Denser air creates stronger pressure differences, generating more lift at a given speed and angle of attack. Cold air is denser than warm air, so your model may fly slightly differently on a cold winter morning versus a hot summer afternoon. At higher altitudes, thinner air reduces lift generation, requiring higher speeds or angles of attack to maintain flight. For most model aircraft operations near sea level, these variations are minor, but they become noticeable if you fly in mountains or extreme temperature conditions.
Understanding lift generation helps you diagnose flight problems and optimize designs. If your aircraft struggles to take off, you might need more wing area, a higher-lift airfoil, or increased speed. If it flies nose-high and mushy, you may have excessive wing area or too much lift for the aircraft's weight. If it stalls unexpectedly during turns, you're exceeding the critical angle of attack, perhaps because tight turns require higher angles to generate the additional lift needed for maneuvering. Every flight provides feedback about how effectively your design generates lift, and understanding the underlying principles helps you interpret that feedback correctly.
Understanding Drag and Its Impact
While lift gets most of the attention in aerodynamics discussions, drag often determines whether your aircraft performs brilliantly or disappointingly. Drag is the aerodynamic resistance that opposes forward motion through air, consuming energy and limiting speed, efficiency, and flight duration. Every surface, protrusion, and gap in your aircraft generates drag. Reducing drag doesn't just make your aircraft faster—it extends flight time, improves climb performance, increases range, and reduces the power required for flight. For electric models, lower drag means longer battery life. For gliders, it means better glide ratios and longer flights. Drag reduction deserves as much attention as lift generation in your design process.
Aerodynamicists categorize drag into several types, each with different causes and solutions. Parasitic drag includes all drag not directly related to lift generation. It encompasses form drag (caused by the aircraft's shape pushing through air), skin friction drag (caused by air molecules rubbing against surfaces), and interference drag (caused by airflow disruptions where components meet). Parasitic drag increases with the square of velocity—double your speed and parasitic drag quadruples. This is why streamlining becomes increasingly important for faster aircraft. A slow park flyer might tolerate blunt shapes and exposed components, but a speed model demands meticulous attention to every surface and junction.
Induced drag is the drag penalty you pay for generating lift. As explained earlier, wingtip vortices form when high-pressure air below the wing spills around to the low-pressure area above. These vortices represent wasted energy—air moving in circular patterns rather than contributing to lift. Induced drag decreases as speed increases, opposite to parasitic drag's behavior. At low speeds, induced drag dominates total drag. At high speeds, parasitic drag dominates. The speed where these two drag components equal each other represents the most efficient flight speed for your aircraft. Understanding this relationship helps you design for your intended mission: slow, efficient flight requires minimizing induced drag, while high-speed flight demands minimizing parasitic drag.
The drag equation shows how various factors contribute to total drag force. While you don't need to perform calculations, understanding the relationships helps inform design decisions:
- Air density: Denser air creates more drag; thinner air at altitude reduces drag
- Velocity squared: Speed has an enormous impact—small speed increases create large drag increases
- Reference area: Larger frontal area creates more form drag; larger wing area creates more induced drag
- Drag coefficient: A measure of how streamlined your shape is; lower is better
Form drag results from air pressure differences between the front and rear of objects moving through air. When air hits the front of a blunt object, it creates high pressure. As air flows around the sides and attempts to rejoin behind the object, it often cannot follow the surface smoothly. The flow separates, creating a turbulent, low-pressure wake. This pressure difference—high in front, low behind—creates drag that pulls backward on the object. Streamlined shapes minimize this effect by gradually tapering toward the rear, allowing air to remain attached and reducing the pressure difference. The classic teardrop shape represents the ideal streamlined form, with a rounded nose and a long, gradual taper to a point.
Real-World Comparison: Consider two model fuselages with identical frontal areas. The first is a simple rectangular box with flat sides and sharp corners. The second is a carefully shaped teardrop with a rounded nose and gradual taper. At 30 mph, the rectangular fuselage might experience 8 ounces of drag, while the streamlined version experiences only 3 ounces. This 5-ounce difference might seem small, but it represents 62% less drag—meaning significantly longer flight times, better climb performance, and higher top speeds with the same power system.
Skin friction drag occurs because air has viscosity—molecules stick to surfaces and to each other. The layer of air molecules directly touching your aircraft's surface doesn't move at all relative to the surface. The next layer moves slowly, the next layer faster, and so on until you reach the free stream velocity some distance from the surface. This velocity gradient creates shear forces that resist motion. Smooth surfaces reduce skin friction drag compared to rough surfaces. However, the relationship isn't always straightforward—in some cases, slight surface roughness can actually reduce total drag by energizing the boundary layer and delaying flow separation. For most model aircraft, keeping surfaces reasonably smooth provides good results without obsessive polishing.
Interference drag develops where two surfaces meet, such as where wings attach to fuselages or where landing gear struts emerge from the airframe. Airflow over each surface creates its own pressure patterns, and these patterns interact at junctions, often creating turbulence and separation. Fairings—smooth, streamlined shapes that blend components together—reduce interference drag by guiding air smoothly through these transitions. Wing-fuselage fairings, wheel pants, and antenna fairings all serve this purpose. Even small fairings can produce measurable drag reductions. A landing gear without wheel pants might create 15-20% of an aircraft's total drag, while properly faired gear might contribute only 5-8%.
Protuberances and surface discontinuities create disproportionate drag relative to their size. A small antenna wire, exposed hinge, or protruding screw head disrupts airflow and creates turbulent wakes. These disruptions affect not just the immediate area but downstream surfaces as well. Turbulent air flowing over the fuselage from a poorly mounted canopy can disrupt airflow over the tail surfaces, affecting stability and control. This is why careful attention to details matters:
- Recessing or streamlining control horns rather than leaving them exposed
- Using flush-mounted hinges instead of protruding types
- Sealing gaps around hatches and access panels
- Routing antennas internally when possible
- Countersinking screws and fasteners
- Ensuring smooth transitions between components
The Reynolds number describes the ratio of inertial forces to viscous forces in fluid flow, helping predict whether flow will be smooth (laminar) or turbulent. Model aircraft typically operate at Reynolds numbers between 50,000 and 500,000, much lower than full-scale aircraft. At these lower Reynolds numbers, airflow behaves somewhat differently—boundary layers are thicker relative to chord length, and flow separates more easily. This is why airfoils designed for full-scale aircraft don't always perform well on models, and why specialized low-Reynolds-number airfoils exist. You don't need to calculate Reynolds numbers, but understanding that model aircraft operate in a different aerodynamic regime than full-scale aircraft helps explain why direct scaling doesn't always work.
Drag directly impacts every aspect of aircraft performance. For powered aircraft, drag determines the thrust required to maintain a given speed. Higher drag means more throttle, shorter flight times, and reduced top speed. For gliders, drag determines the glide ratio—the horizontal distance traveled per unit of altitude lost. A glider with a 20:1 glide ratio travels 20 feet forward for every foot of altitude lost, while a 10:1 glider covers only half that distance. Reducing drag from 10:1 to 20:1 doubles the distance you can fly from a given altitude. For endurance models, drag reduction can extend flight times from minutes to hours. The impact of drag reduction cannot be overstated.
Measuring drag directly requires specialized equipment, but you can assess it indirectly through flight testing. For powered models, note the throttle setting required to maintain level flight at various speeds. Lower throttle requirements indicate lower drag. For gliders, measure glide angles or time how long the aircraft takes to descend a known altitude. Steeper glides or faster descents indicate higher drag. Comparing performance before and after modifications reveals whether changes reduced or increased drag. A systematic approach to testing helps you understand which modifications actually improve performance versus those that look good but provide no real benefit.
Understanding drag helps you make informed trade-offs during design. A fully enclosed fuselage with retractable landing gear minimizes drag but adds weight and complexity. Fixed gear with wheel pants provides most of the drag reduction with less weight and complexity. Exposed gear is simplest and lightest but creates significant drag. Your choice depends on your priorities: a speed model justifies the complexity of retractable gear, while a trainer prioritizes simplicity and durability over minimal drag. Similarly, a highly streamlined canopy reduces drag but may complicate access to internal components. A removable hatch provides easy access but creates gaps and discontinuities. Every design decision involves balancing competing factors, and understanding drag helps you make those decisions wisely.
Notes
Chapter 1: Aerodynamic Foundations
- 1. John D. Anderson, Fundamentals of Aerodynamics, 6th Edition, McGraw-Hill Education, 2017
This is the end of the free sample. The full book has 2 chapters.
Want this book written for you?
Tell us your goals and background, and get your own version of this book, tailored by AI to you.


Benefits of AI-tailored books
- Read one book, not ten:
- all the Aviation Engineering knowledge you need, gathered into a single book.
- Save days of learning:
- tell us your goals, choose your topics, and the whole book is built around them.
- Learn effortlessly:
- Aviation Engineering book written for your specific background and expertise.
- Understand at a glance:
- includes charts, tables, timelines, checklists, decision trees, and more.
- Stay current:
- written the day you order it, not years ago.
- Trust what you read:
- every book is checked for accuracy, with real research when your subject needs it.
Create your unique book in 3 steps
- 1. Select your focus
Select the focus of your Aviation Engineering book and share your background
- 2. Personalize your book
Specify your goals and choose sub-topics to include
- 3. Get your tailored book
Your book is ready in 10 minutes. Read it online, download as EPUB or PDF, or send to Kindle.


Frequently asked questions
- What is TailoredRead?
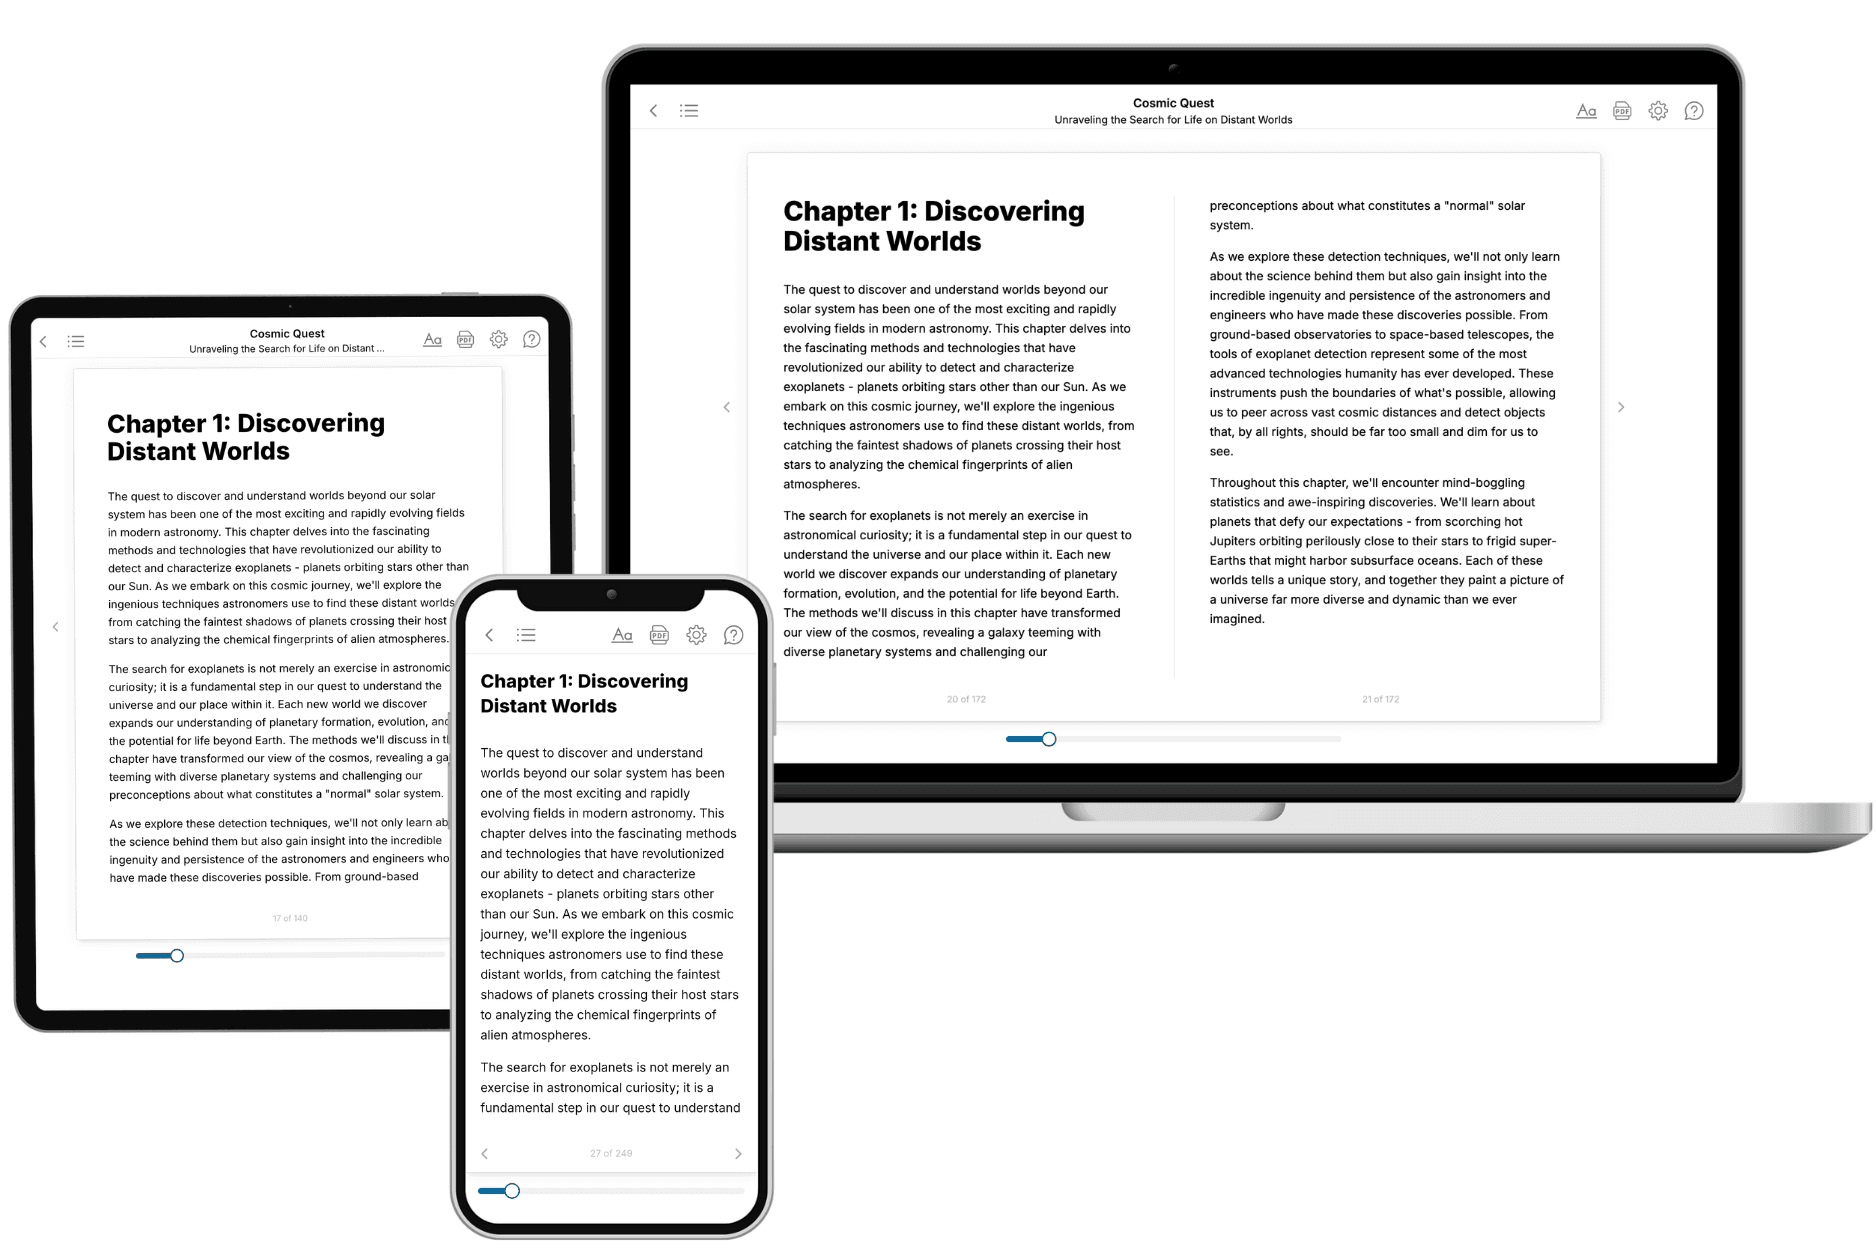
TailoredRead creates complete, full-length nonfiction ebooks, written specifically for you. Tell us what you want to learn and why, and TailoredRead writes you a complete ebook on it, with charts, tables, and diagrams throughout. Read it online, on Kindle, or on any e-reader, or download it as a PDF or EPUB. Every book is written fresh the day you order it.
- How is the book tailored to me?
Before anything is written, you answer a few short questions about your goals, your background, and the topics you care about. Your book is then planned around your answers: written at your level, focused on your goals, and covering the topics you chose, instead of the one-size-fits-all book a store sells everyone.
- Will it read like generic AI content?
No. Your book isn't a chat transcript: it's planned chapter by chapter before a single word is written, told in a clear book voice, and explains ideas visually with charts, tables, and diagrams. After writing, every book goes through an editorial pass that polishes chapters so the book reads consistent from start to finish. Judge for yourself: browse thousands of sample books on our Explore Books page.
- How accurate is the content?
Our AI first checks whether your subject needs live research. Niche and fast-moving subjects are researched before writing, and the book plan and chapters are grounded in what it finds. After writing, every book goes through a quality pass that checks its facts and consistency, and researched books list their sources in a Notes section at the back.
- How long is the book?
You choose the length: Comprehensive (250-300 pages), Detailed (150-200 pages), Essential (70-100 pages), or Short (30-50 pages).
- Does the book include visuals?
Yes. Every book includes charts, tables, and diagrams: timelines, checklists, step-by-step guides, decision trees, comparison tables, matrices, and bar charts. A typical book includes dozens of these visual elements.
- Can I read it on Kindle? What formats can I download?
Yes. Every book can be read in our online reader or downloaded as a PDF or EPUB. The EPUB can be opened with Kindle, Apple Books, Kobo, and any e-reader. The Commercial and Author licenses also include an editable Word (DOCX) and Markdown download.
- How much does it cost?
About the price of a regular ebook. The exact price depends on your book's length and complexity, from $2 for the shortest books to $35 for the most comprehensive, and it's shown when you review your book, before you commit to anything. Each book is a one-time purchase, yours to keep, no subscription. Licenses that let you share, teach, or publish your book range from $35.99 to $49.99.
- Can I preview the book before purchasing?
Before you pay, you'll see what your book will cover: the title, a detailed description, the estimated length, and the complete chapter-by-chapter table of contents, so you know what you're getting before you decide. The full text itself is written after you purchase.
- How long does it take to create a book?
About 10 minutes. You can start reading the opening chapters while the rest is still being written.