Orca Slicer 2.2.0 Mastery
The Ultimate Guide to Perfecting Your 3D Prints
Are subpar 3D prints holding you back from achieving your engineering vision?
269 pages13 chaptersAug 26, 20253D Design
About this book
Dive into the world of Orca Slicer 2.2.0 and unlock the full potential of your 3D printer. This comprehensive guide takes you from basic slicer navigation to advanced techniques, empowering you to create flawless prints with precision and efficiency. You'll master essential skills like optimizing print settings, customizing slicer profiles, and enhancing bed adhesion. Delve into the intricacies of G-code, support structures, and post-processing techniques to elevate your printing game. Learn to troubleshoot common issues, calibrate your printer with pinpoint accuracy, and reduce print failures. From perfecting layer heights to mastering complex infill patterns, this book covers it all. You'll gain expertise in advanced features like variable layer height, custom support design, and multi-material printing. By the end, you'll have the knowledge and confidence to tackle even the most challenging 3D printing projects with ease.
Table of contents
- IntroductionThe Importance of 3D Printing in Modern Engineering, Overview of Orca Slicer 2.2.0, How to Use This Book, Getting Started with Orca Slicer 2.2.0Read below
- Chapter 1: Orca Slicer 2.2.0 BasicsNavigating the User Interface, Importing and Manipulating 3D Models, Understanding Basic Slicer Settings, G-code Fundamentals
- Chapter 2: Mastering Print SettingsLayer Height Optimization, Shell Thickness and Perimeter Count, Infill Density and Patterns, Print Speed and Acceleration
- Chapter 3: Designing Effective Support StructuresTypes of Support Structures, Creating Custom Support Blocks, Mastering Tree Supports, Optimizing Support Interface
- Chapter 4: Enhancing Print Bed AdhesionFirst Layer Settings, Brim, Raft, and Skirt Techniques, Print Bed Preparation and Maintenance, Strategies for Preventing Warping
- Chapter 5: Advanced Slicing TechniquesMastering Variable Layer Height, Utilizing Adaptive Layers, Perfecting the Ironing Technique, Implementing Monotonic Infill
- Chapter 6: Material Selection and SettingsUnderstanding Different Filament Types, Nozzle and Bed Temperature Calibration, Optimizing Retraction Settings, Introduction to Multi-Material Printing
- Chapter 7: Enhancing Print QualityImproving Surface Quality, Mastering Bridging Techniques, Strategies for Printing Overhangs, Reducing Stringing and Oozing
- Chapter 8: Fine-Tuning Advanced SettingsCalibrating Extrusion Multiplier, Understanding and Tuning Linear Advance, Optimizing Cooling Fan Control, Fine-Tuning Flow Rate
- Chapter 9: Specialized Printing TechniquesMastering Thin Wall Printing, Exploring Vase Mode Printing, Utilizing Gyroid Infill Patterns, Implementing Gradual Infill Steps
- Chapter 10: Post-Processing TechniquesEfficient Support Removal, Surface Smoothing and Finishing, Painting and Coating 3D Prints, Assembling Multi-Part Prints
- Chapter 11: Troubleshooting Common Print IssuesAddressing Layer Adhesion Problems, Improving Dimensional Accuracy, Eliminating Print Artifacts, Resolving Filament-Related Issues
- Chapter 12: Exploring Advanced Orca Slicer FeaturesCreating and Managing Custom Profiles, Utilizing Slicer Plugins, Mesh Fixing and Optimization, G-code Post-Processing Scripts
- Chapter 13: Optimizing Your 3D Printing WorkflowStreamlining Print Preparation, Efficient Batch Printing Strategies, Remote Print Monitoring and Control, Automating Your 3D Printing Workflow
- ConclusionFuture Trends in 3D Printing and Slicing Software, The Importance of Continuous Learning and Experimentation
- Glossary
- Further Resources
Introduction
Welcome to the world of 3D printing optimization with Orca Slicer 2.2.0. As an engineer with an electrical engineering background, you're about to embark on a journey that will transform your 3D printing skills from basic to advanced. This introduction will set the stage for your mastery of Orca Slicer 2.2.0, providing you with the foundational knowledge and context necessary to make the most of this powerful tool. Throughout this chapter, we'll explore the significance of 3D printing in modern engineering, introduce you to the capabilities of Orca Slicer 2.2.0, guide you on how to effectively use this book, and get you started with the software itself.
The Importance of 3D Printing in Modern Engineering
3D printing, also known as additive manufacturing, has revolutionized the field of engineering, offering unprecedented flexibility in design, rapid prototyping capabilities, and the ability to create complex geometries that were previously impossible or impractical to manufacture. This technology has become an indispensable tool across various engineering disciplines, from aerospace and automotive to biomedical and consumer electronics. The impact of 3D printing on modern engineering cannot be overstated, as it has fundamentally changed how engineers approach design, prototyping, and even production.
One of the most significant advantages of 3D printing in engineering is its ability to accelerate the product development cycle. Traditional manufacturing methods often require lengthy setup times and expensive tooling, making iterative design improvements costly and time-consuming. With 3D printing, engineers can quickly produce prototypes, test their designs, and make modifications in a matter of hours or days, rather than weeks or months. This rapid iteration capability allows for more innovative designs and faster time-to-market for new products. A study by Sculpteo found that 55% of companies using 3D printing reported faster product development cycles, with some achieving reductions of up to 70% in development time[1].
Furthermore, 3D printing enables the creation of complex geometries that would be difficult or impossible to achieve with traditional manufacturing methods. This capability opens up new possibilities for optimizing part designs for weight reduction, improved performance, and enhanced functionality. For instance, in the aerospace industry, 3D-printed components have led to significant weight reductions in aircraft, resulting in improved fuel efficiency and reduced emissions. General Electric's 3D-printed fuel nozzle for its LEAP jet engine is a prime example, combining 20 parts into a single component and achieving a 25% weight reduction[2].
In the realm of electrical engineering, 3D printing has found applications in creating custom enclosures, prototyping circuit boards, and even printing conductive materials for electronic components. This technology allows electrical engineers to rapidly iterate on designs, test form factors, and create custom housings for electronic devices. The ability to print in multiple materials, including those with specific electrical properties, has opened up new avenues for innovation in electronic design and manufacturing.
The importance of 3D printing extends beyond just prototyping and small-scale production. As the technology continues to advance, it is increasingly being used for end-use parts and even mass production. Industries such as healthcare have seen significant benefits, with 3D printing being used to create custom prosthetics, patient-specific surgical guides, and even bioprinted tissues. In the automotive sector, companies like BMW and Ford are using 3D printing for both prototyping and production of end-use parts, showcasing the technology's versatility and scalability[3].
As an engineer, understanding and mastering 3D printing technology is becoming increasingly crucial. The ability to leverage 3D printing effectively can give you a significant advantage in your field, allowing you to bring ideas to life faster, optimize designs for performance and efficiency, and solve complex engineering challenges in innovative ways. By mastering tools like Orca Slicer 2.2.0, you're not just learning how to operate a piece of software; you're equipping yourself with the skills to push the boundaries of what's possible in engineering and design.
Moreover, the democratization of 3D printing technology has led to a surge in innovation and collaboration across the engineering community. Open-source designs, shared knowledge, and accessible technology have created an environment where engineers can learn from each other, build upon existing ideas, and collectively advance the field. This collaborative ecosystem has accelerated the development of new applications and improvements in 3D printing technology itself, creating a positive feedback loop that continues to drive innovation.
As we move forward, the role of 3D printing in engineering is only expected to grow. Advancements in materials science are expanding the range of printable materials, including metals, ceramics, and even multi-material prints. This expansion will further increase the applicability of 3D printing across various engineering disciplines. Additionally, the integration of 3D printing with other emerging technologies such as artificial intelligence and the Internet of Things is opening up new possibilities for smart, connected manufacturing processes.
In conclusion, the importance of 3D printing in modern engineering cannot be overstated. It has transformed the way engineers design, prototype, and manufacture products, offering unprecedented flexibility, speed, and capability. As an engineer looking to enhance your skills in this area, you're positioning yourself at the forefront of a technology that is reshaping industries and driving innovation. By mastering tools like Orca Slicer 2.2.0, you'll be well-equipped to harness the full potential of 3D printing in your engineering projects, pushing the boundaries of what's possible and contributing to the ongoing revolution in design and manufacturing.
Overview of Orca Slicer 2.2.0
Orca Slicer 2.2.0 stands at the forefront of 3D printing software, offering a powerful and versatile toolset for optimizing your 3D printing process. As a fork of the popular PrusaSlicer, Orca Slicer builds upon a solid foundation while introducing unique features and improvements that cater to the needs of both novice and experienced 3D printing enthusiasts. This section will provide you with a comprehensive overview of Orca Slicer 2.2.0, highlighting its key features, advantages, and how it differentiates itself in the landscape of slicing software.
At its core, Orca Slicer 2.2.0 is designed to convert 3D models into printable G-code, the language that 3D printers understand. However, it goes far beyond this basic functionality, offering a suite of tools and settings that allow for fine-tuned control over every aspect of the printing process. One of the standout features of Orca Slicer 2.2.0 is its user-friendly interface, which strikes a balance between accessibility for beginners and depth for advanced users. The software presents a logical workflow that guides you through the slicing process, from importing your 3D model to generating the final G-code.
Orca Slicer 2.2.0 boasts an impressive array of customization options, allowing you to tailor your print settings to specific materials, printer configurations, and project requirements. The software includes pre-configured profiles for a wide range of 3D printers and materials, providing a solid starting point for your prints. However, its true power lies in the ability to create and fine-tune custom profiles, giving you unprecedented control over parameters such as layer height, infill patterns, support structures, and more.
One of the key advantages of Orca Slicer 2.2.0 is its advanced support generation capabilities. The software offers a variety of support types, including traditional, tree-like, and custom supports. This flexibility allows you to optimize support structures for complex geometries, minimizing material usage and post-processing time while ensuring successful prints. The tree support feature, in particular, has garnered praise for its ability to create efficient, easy-to-remove supports for challenging overhangs and intricate designs.
Orca Slicer 2.2.0 also excels in its approach to multi-material and multi-color printing. The software provides intuitive tools for assigning different materials or colors to specific parts of your model, making it easier than ever to create complex, multi-material prints. This feature is particularly valuable for engineers working on prototypes or functional parts that require different material properties in different areas.
Another standout feature of Orca Slicer 2.2.0 is its powerful mesh analysis and repair tools. The software can automatically detect and fix common issues in 3D models, such as non-manifold edges, reversed normals, and self-intersections. This capability can save significant time and frustration, especially when working with complex or imported models that may have inherent geometry issues.
Orca Slicer 2.2.0 also introduces advanced slicing techniques that can significantly improve print quality and efficiency. Features like variable layer height allow for adaptive layer thickness based on the geometry of the model, resulting in smoother surfaces on curved areas while maintaining faster print times for flat sections. The monotonic infill option ensures consistent extrusion patterns, reducing visible artifacts and improving the overall strength and appearance of printed parts.
For engineers and advanced users, Orca Slicer 2.2.0 offers deep customization through its scripting capabilities. The software supports custom G-code scripts, allowing you to implement specialized printer commands, automate certain processes, or integrate with external systems. This level of customization makes Orca Slicer 2.2.0 a versatile tool that can adapt to a wide range of engineering and manufacturing workflows.
Performance is another area where Orca Slicer 2.2.0 shines. The software utilizes multi-threading and GPU acceleration to deliver fast slicing times, even for complex models with high-resolution settings. This efficiency is particularly valuable when working on large projects or when rapid iteration is necessary.
Orca Slicer 2.2.0 also places a strong emphasis on print preview and simulation capabilities. The software provides detailed visualizations of the sliced model, including tool paths, support structures, and infill patterns. This feature allows you to identify potential issues before starting a print, saving time and materials. The layer-by-layer preview is particularly useful for understanding how the print will progress and for fine-tuning settings for specific areas of the model.
In terms of file compatibility, Orca Slicer 2.2.0 supports a wide range of 3D file formats, including STL, OBJ, 3MF, and AMF. This broad compatibility ensures that you can work with models from various sources and design software. Additionally, the software can export G-code compatible with a vast array of 3D printers, making it a versatile choice regardless of your hardware setup.
As you delve deeper into Orca Slicer 2.2.0 throughout this book, you'll discover how these features and capabilities can be leveraged to optimize your 3D printing workflow. From basic prints to complex, multi-material projects, Orca Slicer 2.2.0 provides the tools and flexibility needed to achieve exceptional results. By mastering this software, you'll be well-equipped to tackle a wide range of engineering challenges and push the boundaries of what's possible with 3D printing technology.
How to Use This Book
This book is designed to be your comprehensive guide to mastering Orca Slicer 2.2.0 and optimizing your 3D printing process. Whether you're new to 3D printing or looking to enhance your existing skills, this book will provide you with the knowledge and techniques needed to achieve exceptional print quality and efficiency. To get the most out of this resource, it's important to understand its structure and how to effectively navigate its contents.
The book is organized into logical chapters that progress from fundamental concepts to advanced techniques. Each chapter builds upon the knowledge gained in previous sections, creating a structured learning path that will gradually increase your proficiency with Orca Slicer 2.2.0. While it's recommended to work through the book sequentially, especially if you're new to the software, the chapters are also designed to stand alone as reference material. This allows you to jump to specific topics of interest or revisit sections as needed during your 3D printing projects.
Throughout the book, you'll find a mix of theoretical explanations and practical, hands-on exercises. The theoretical portions provide the necessary background and context for understanding the principles behind various slicer settings and 3D printing concepts. These sections are crucial for developing a deep understanding of how different parameters affect your prints and why certain techniques are effective. Pay close attention to these explanations, as they will form the foundation of your decision-making process when configuring prints.
The practical exercises are designed to reinforce your learning through direct application. These step-by-step guides will walk you through various processes in Orca Slicer 2.2.0, from basic operations to advanced techniques. It's highly recommended that you follow along with these exercises on your own computer, using the software as you read. This hands-on approach will help solidify your understanding and build muscle memory for navigating the software interface.
Each chapter includes numerous tips, tricks, and best practices gathered from experienced 3D printing professionals and the Orca Slicer community. These insights can help you avoid common pitfalls, optimize your workflow, and achieve better print results. Pay special attention to these highlighted sections, as they often contain valuable information that can significantly improve your printing outcomes.
Throughout the book, you'll encounter case studies and real-world examples that illustrate how the concepts and techniques discussed can be applied to actual printing scenarios. These examples are drawn from various engineering disciplines and applications, providing context for how Orca Slicer 2.2.0 can be leveraged in different professional settings. Analyze these case studies carefully, as they offer valuable insights into problem-solving approaches and decision-making processes in 3D printing.
At the end of each chapter, you'll find a summary of key points and a set of review questions. The summaries serve as quick reference guides, highlighting the most important concepts covered in the chapter. The review questions are designed to test your understanding and encourage critical thinking about the material. Take the time to answer these questions thoroughly, as they will help reinforce your learning and identify any areas that may require further study.
The book also includes numerous diagrams, screenshots, and illustrations to visually explain complex concepts and software interfaces. These visual aids are carefully designed to complement the text and provide clear, easy-to-understand representations of important ideas. Study these visuals closely, as they often convey information that can be difficult to express in words alone.
As you progress through the book, you'll notice that certain advanced topics are explored in greater depth. These sections are marked as "Advanced" and contain more complex concepts and techniques. While these topics may be challenging, they offer valuable insights for those looking to push the boundaries of what's possible with Orca Slicer 2.2.0. Don't be discouraged if you find these sections difficult at first; they're designed to stretch your understanding and provide avenues for further exploration.
To get the most out of this book, it's recommended that you have access to a 3D printer and Orca Slicer 2.2.0 installed on your computer. While much can be learned from reading alone, the true value of this guide comes from applying the concepts in practice. Experiment with different settings, try out the techniques described, and don't be afraid to push the boundaries of what you think is possible. 3D printing is as much an art as it is a science, and developing your skills often requires hands-on experience and a willingness to learn from both successes and failures.
Remember that mastering Orca Slicer 2.2.0 and 3D printing is an ongoing process. Technology and techniques in this field are constantly evolving, and there's always more to learn. Use this book as a foundation, but don't hesitate to explore beyond its pages. Engage with the 3D printing community, participate in forums, and stay updated on the latest developments in the field. The knowledge and skills you gain from this book will provide you with a solid base from which to continue your journey in the exciting world of 3D printing.
Lastly, keep in mind that while this book aims to be comprehensive, it's impossible to cover every possible scenario or application of Orca Slicer 2.2.0. Use the principles and techniques learned here as a starting point for your own experimentation and problem-solving. The true mastery of any tool comes from applying knowledge creatively to new challenges. As you work through this book, think about how you can apply these concepts to your specific projects and engineering needs.
By approaching this book with curiosity, diligence, and a willingness to experiment, you'll be well on your way to becoming proficient in Orca Slicer 2.2.0 and elevating your 3D printing skills to new heights. Embrace the learning process, enjoy the journey of discovery, and prepare to unlock the full potential of your 3D printing capabilities.
Getting Started with Orca Slicer 2.2.0
Now that you understand the importance of 3D printing in modern engineering, have an overview of Orca Slicer 2.2.0, and know how to use this book effectively, it's time to take your first steps with the software. This section will guide you through the process of setting up Orca Slicer 2.2.0 on your system and introduce you to its basic interface and functionality. By the end of this section, you'll be ready to start exploring the software's capabilities and begin your journey towards 3D printing mastery.
First and foremost, you'll need to download and install Orca Slicer 2.2.0 on your computer. The software is available for Windows, macOS, and Linux operating systems, ensuring compatibility with a wide range of hardware configurations. Visit the official Orca Slicer website (https://github.com/SoftFever/OrcaSlicer) to download the latest version of the software. Follow the installation instructions provided for your specific operating system. The installation process is straightforward and typically involves running an installer package and following the on-screen prompts.
Once you have Orca Slicer 2.2.0 installed, launch the application. Upon first opening, you'll be greeted with a setup wizard that will help you configure the software for your specific 3D printer. This initial setup is crucial, as it ensures that Orca Slicer generates G-code that is compatible with your printer's hardware and firmware. The wizard will guide you through selecting your printer model from a list of pre-configured profiles. If your exact model isn't listed, you can often select a similar printer or a generic profile as a starting point.
After completing the initial setup, take a moment to familiarize yourself with the main interface of Orca Slicer 2.2.0. The software's layout is designed to be intuitive and user-friendly, with clearly labeled sections for different aspects of the slicing process. The main window is typically divided into several key areas:
- The 3D View: This central area displays your loaded 3D model and allows you to manipulate its position, orientation, and scale.
- The Toolbar: Located at the top of the window, this contains quick access buttons for common actions like loading models, saving projects, and initiating the slicing process.
- The Settings Panel: Usually found on the right side of the interface, this panel provides access to various print settings and parameters that you can adjust.
- The Plater: This section, often at the bottom of the screen, shows a 2D representation of your print bed and allows you to arrange multiple objects for printing.
To get a feel for the basic workflow in Orca Slicer 2.2.0, let's walk through the process of preparing a simple 3D model for printing:
- Start by clicking the "Add" button in the toolbar or dragging and dropping a 3D model file (such as an STL file) into the 3D view area. Orca Slicer will load the model and display it in the 3D view.
- Use the mouse to rotate, move, and scale the model as needed. You can also use the transformation tools in the left sidebar for more precise adjustments.
- In the settings panel on the right, you'll see various categories of print settings. For now, leave these at their default values, but take note of options like layer height, infill density, and support settings. We'll explore these in depth in later chapters.
- Once you're satisfied with the model's position and orientation, click the "Slice now" button in the toolbar. Orca Slicer will process the model and generate a preview of the print layers.
- Review the slice preview to get an idea of how the model will be printed. You can use the slider on the right to move through different layers of the print.
- If you're happy with the preview, click "Export G-code" to save the G-code file, which you can then transfer to your 3D printer for printing.
This basic workflow forms the foundation of using Orca Slicer 2.2.0. As you become more familiar with the software, you'll learn to fine-tune various settings to optimize your prints for specific requirements. Remember, the default settings are a good starting point, but the true power of Orca Slicer lies in its customization capabilities.
As you begin to explore Orca Slicer 2.2.0, don't hesitate to experiment with different settings and features. The software includes a helpful tooltip system that provides brief explanations when you hover over different options. Additionally, Orca Slicer offers a comprehensive built-in help system that you can access from the "Help" menu. This resource contains detailed information about various features and settings, serving as a valuable reference as you learn to use the software.
It's also worth noting that Orca Slicer 2.2.0 supports a wide range of 3D printer models and can be easily configured for custom or DIY printers. If you find that your specific printer isn't listed in the pre-configured profiles, you can create a custom printer profile by entering your printer's specifications manually. This flexibility ensures that you can use Orca Slicer with virtually any FDM (Fused Deposition Modeling) 3D printer on the market.
As you become more comfortable with the basic operations of Orca Slicer 2.2.0, you'll discover that the software offers numerous advanced features and optimizations. These include tools for generating support structures, creating custom infill patterns, and even simulating the printing process to identify potential issues before you start a print. In the following chapters, we'll delve deep into these features, providing you with the knowledge and skills to leverage the full potential of Orca Slicer 2.2.0 in your 3D printing projects.
Remember, mastering Orca Slicer 2.2.0 is a journey that requires practice and experimentation. Don't be discouraged if your first few prints aren't perfect – 3D printing involves a learning curve, and each print is an opportunity to refine your skills and understanding of the slicing process. As you progress through this book and gain hands-on experience with the software, you'll develop an intuitive sense for how different settings affect your prints, allowing you to achieve exceptional results consistently.
In the next chapters, we'll build upon this foundation, exploring each aspect of Orca Slicer 2.2.0 in detail and providing you with the knowledge and techniques needed to optimize your 3D printing workflow. Get ready to unlock the full potential of your 3D printer and bring your engineering designs to life with precision and efficiency.
This is the end of the free sample. The full book has 13 chapters.
Want this book written for you?
Tell us your goals and background, and get your own version of this book, tailored by AI to you.


Benefits of AI-tailored books
- Read one book, not ten:
- all the 3D Design knowledge you need, gathered into a single book.
- Save days of learning:
- tell us your goals, choose your topics, and the whole book is built around them.
- Learn effortlessly:
- 3D Design book written for your specific background and expertise.
- Understand at a glance:
- includes charts, tables, timelines, checklists, decision trees, and more.
- Stay current:
- written the day you order it, not years ago.
- Trust what you read:
- every book is checked for accuracy, with real research when your subject needs it.
Create your unique book in 3 steps
- 1. Select your focus
Select the focus of your 3D Design book and share your background
- 2. Personalize your book
Specify your goals and choose sub-topics to include
- 3. Get your tailored book
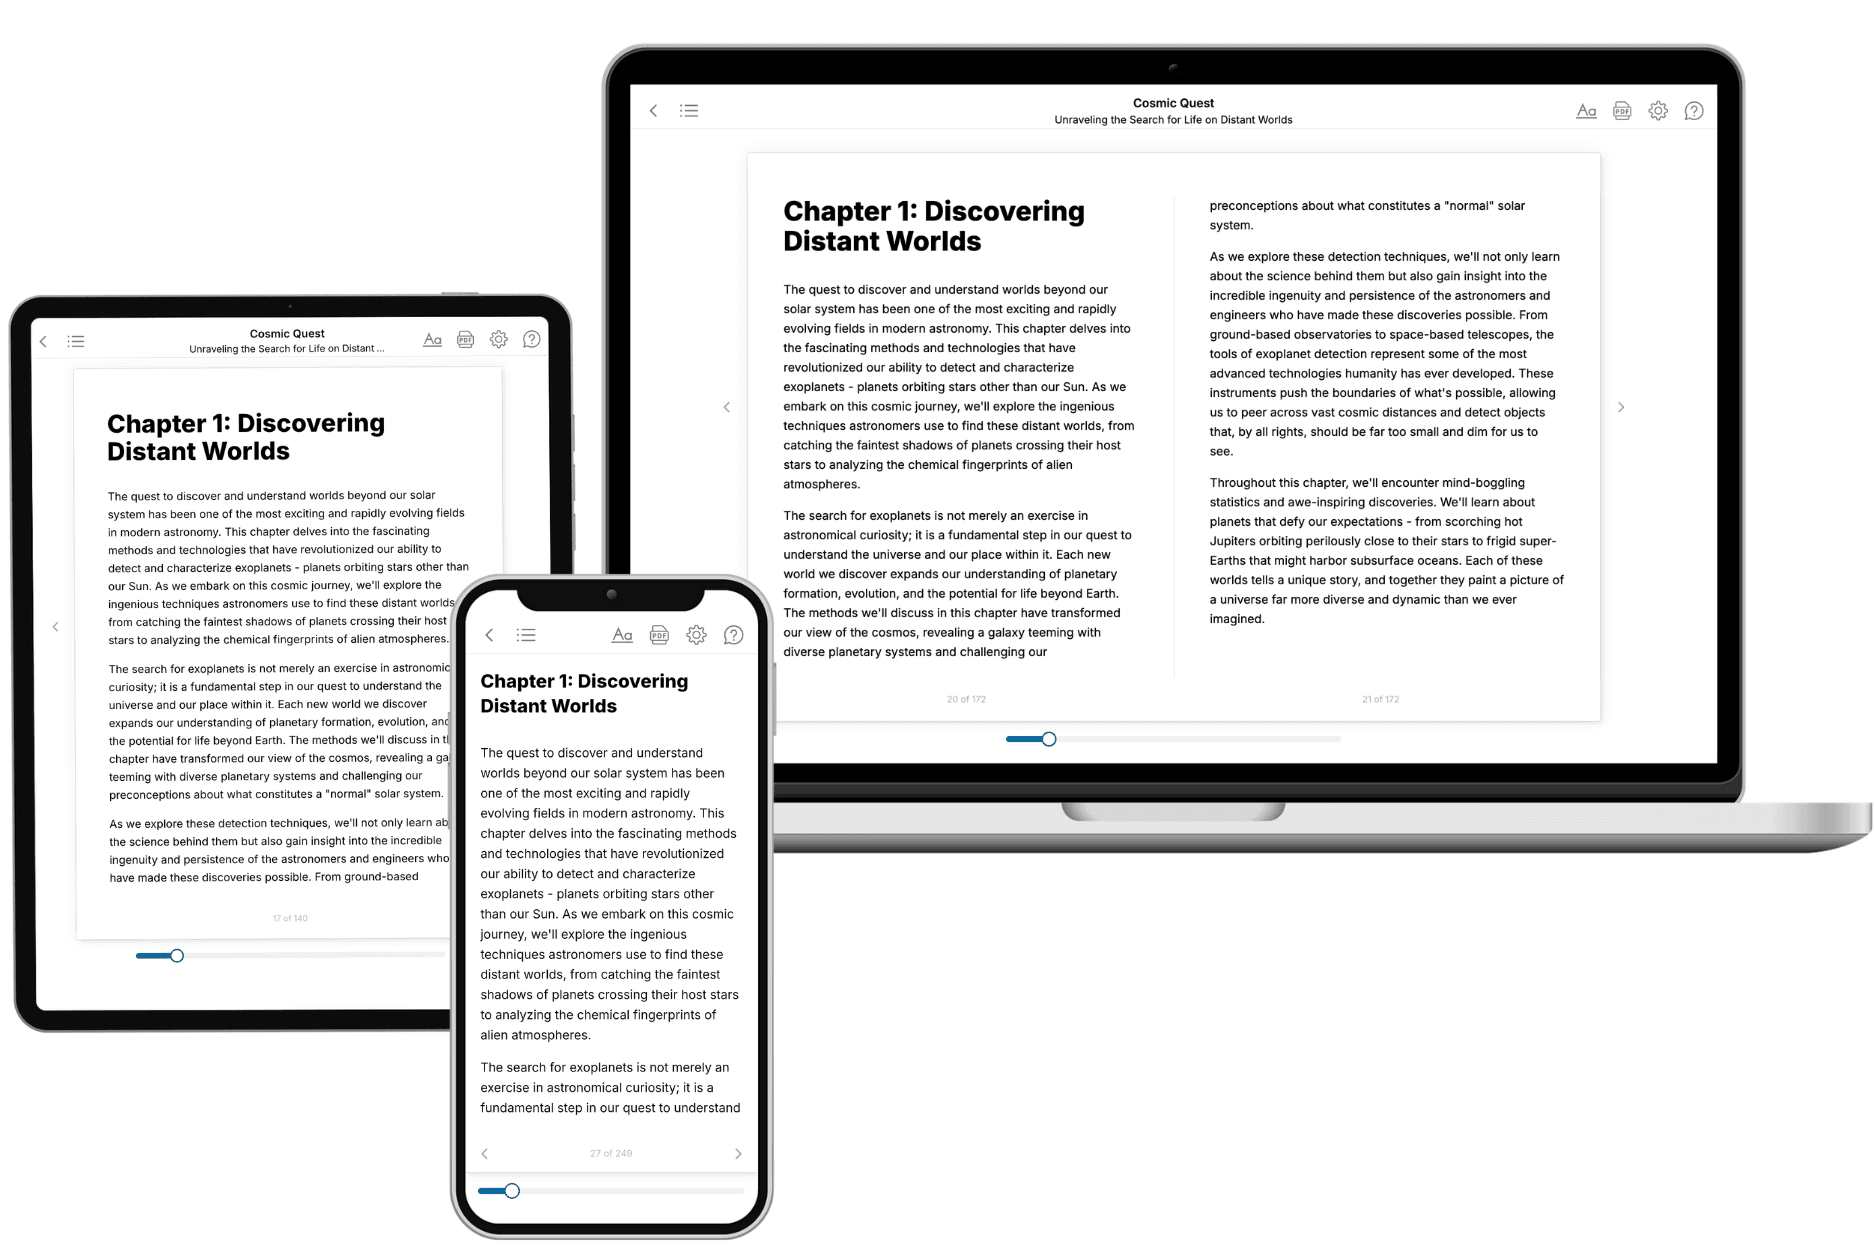
Your book is ready in 10 minutes. Read it online, download as EPUB or PDF, or send to Kindle.

Frequently asked questions
- What is TailoredRead?
TailoredRead creates complete, full-length nonfiction ebooks, written specifically for you. Tell us what you want to learn and why, and TailoredRead writes you a complete ebook on it, with charts, tables, and diagrams throughout. Read it online, on Kindle, or on any e-reader, or download it as a PDF or EPUB. Every book is written fresh the day you order it.
- How is the book tailored to me?
Before anything is written, you answer a few short questions about your goals, your background, and the topics you care about. Your book is then planned around your answers: written at your level, focused on your goals, and covering the topics you chose, instead of the one-size-fits-all book a store sells everyone.
- Will it read like generic AI content?
No. Your book isn't a chat transcript: it's planned chapter by chapter before a single word is written, told in a clear book voice, and explains ideas visually with charts, tables, and diagrams. After writing, every book goes through an editorial pass that polishes chapters so the book reads consistent from start to finish. Judge for yourself: browse thousands of sample books on our Explore Books page.
- How accurate is the content?
Our AI first checks whether your subject needs live research. Niche and fast-moving subjects are researched before writing, and the book plan and chapters are grounded in what it finds. After writing, every book goes through a quality pass that checks its facts and consistency, and researched books list their sources in a Notes section at the back.
- How long is the book?
You choose the length: Comprehensive (250-300 pages), Detailed (150-200 pages), Essential (70-100 pages), or Short (30-50 pages).
- Does the book include visuals?
Yes. Every book includes charts, tables, and diagrams: timelines, checklists, step-by-step guides, decision trees, comparison tables, matrices, and bar charts. A typical book includes dozens of these visual elements.
- Can I read it on Kindle? What formats can I download?
Yes. Every book can be read in our online reader or downloaded as a PDF or EPUB. The EPUB can be opened with Kindle, Apple Books, Kobo, and any e-reader. The Commercial and Author licenses also include an editable Word (DOCX) and Markdown download.
- How much does it cost?
About the price of a regular ebook. The exact price depends on your book's length and complexity, from $2 for the shortest books to $35 for the most comprehensive, and it's shown when you review your book, before you commit to anything. Each book is a one-time purchase, yours to keep, no subscription. Licenses that let you share, teach, or publish your book range from $35.99 to $49.99.
- Can I preview the book before purchasing?
Before you pay, you'll see what your book will cover: the title, a detailed description, the estimated length, and the complete chapter-by-chapter table of contents, so you know what you're getting before you decide. The full text itself is written after you purchase.
- How long does it take to create a book?
About 10 minutes. You can start reading the opening chapters while the rest is still being written.