Orca Slicer 2.2.0 Mastery
The Ultimate Guide to Perfecting Your 3D Prints
Achieve consistent, high-quality 3D prints by mastering Orca Slicer 2.2.0's powerful settings and features.
238 pages11 chaptersApr 28, 20263D Printing
About this book
This comprehensive guide takes you beyond basic slicing to unlock the full potential of this advanced software, specifically designed for engineers and serious makers who refuse to accept print failures. You'll learn the interconnected relationships between critical parameters like layer height, line width, and temperature—understanding why certain combinations work while others fail. Discover how to leverage Orca Slicer's unique features like adaptive layer height and dynamic density to dramatically improve print speed without sacrificing quality. Through systematic approaches to testing and calibration, you'll build a personalized settings library that works reliably with your specific printer and materials. Whether you're struggling with warping, layer adhesion, or inconsistent results, this guide provides the technical depth and practical strategies to diagnose problems and implement solutions that actually work.
Table of contents
- IntroductionWhy Orca Slicer Matters for Engineers, What You'll Learn in This Guide, How to Use This Book for Maximum ResultsRead below
- Chapter 1: Understanding Orca Slicer's ArchitectureHow Orca Slicer Differs from Other Slicing Software, The Core Philosophy Behind Orca Slicer's Design, Navigating the Orca Slicer 2.2.0 Interface, Essential Workflow Fundamentals
- Chapter 2: Printer Setup and Hardware CalibrationCreating and Configuring Accurate Printer Profiles, Advanced Bed Leveling Techniques, Nozzle Diameter and Offset Calibration, Understanding Your Printer's Hardware Limitations
- Chapter 3: Material Properties and Filament SelectionHow Material Properties Affect Slicer Settings, Optimizing Settings for PLA, PETG, ABS, and TPU, Filament Storage and Moisture Management, Systematic Testing for New Materials
- Chapter 4: Layer Height and Line Width MasteryLayer Height: The Foundation of Print Quality, Line Width Optimization for Strength and Speed, Leveraging Adaptive Layer Height for Complex Geometries, The Interconnected Relationship Between Height and Width
- Chapter 5: Temperature Control and Thermal ManagementNozzle Temperature: Finding Your Material's Sweet Spot, Bed Temperature Tuning for Adhesion and Warping Prevention, Cooling Strategies: Part Cooling and Chamber Temperature, Diagnosing and Fixing Temperature-Related Print Failures
- Chapter 6: Speed Optimization Without Sacrificing QualityUnderstanding Print Speed and Its Trade-offs, Acceleration and Jerk Settings for Precision, Using Dynamic Density to Optimize Infill Speed, Systematic Speed Testing Protocol
- Chapter 7: Infill Strategies and Structural OptimizationChoosing the Right Infill Pattern for Your Application, Calculating Optimal Infill Density for Strength and Weight, Wall Thickness and Shell Configuration, Engineering Principles for Structural Optimization
- Chapter 8: Support Structures and Raft ConfigurationIntelligent Support Generation and Placement, Tree Supports vs. Linear Supports: When to Use Each, Raft Configuration for Difficult Geometries, Minimizing Support Marks and Removal Challenges
- Chapter 9: Diagnosing and Fixing Print FailuresSystematic Failure Analysis and Root Cause Identification, Solving Common Failures: Warping, Layer Adhesion, and Stringing, Advanced Troubleshooting: Ghosting, Ringing, and Dimensional Accuracy, Creating a Failure Log for Continuous Improvement
- Chapter 10: Advanced Features and Custom ConfigurationsVariable Settings and Per-Layer Customization, Building Custom Material and Printer Profiles, Exploring Orca Slicer's Advanced Features, Automation and Workflow Optimization
- Chapter 11: Building Your Personal Settings LibraryCreating a Systematic Documentation System, Rigorous Testing Methodology for New Settings, Organizing and Managing Your Settings Library
- ConclusionYour Path to Orca Slicer Mastery, Continuous Learning and Community Engagement
- Glossary of Terms
- Further Reading and Resources
Introduction
There is a specific kind of frustration that every serious 3D printing enthusiast knows well. You spend an hour setting up a print, walk away, and come back to find a tangled mess of filament, a warped base, or a part that looks nothing like the model you designed. You tweak one setting, try again, and something else goes wrong. The cycle repeats. What makes this especially maddening is that the printer is technically capable of producing excellent results. The problem is not the hardware. The problem is the gap between what the software can do and what you actually know how to configure.
Orca Slicer 2.2.0 is one of the most capable slicing tools available to desktop 3D printing users today. It offers a level of control and precision that rivals professional-grade software, and it is free. But that power comes with complexity. The settings panel is dense, the interactions between parameters are non-obvious, and the documentation scattered across forums and wikis is inconsistent at best. Most guides cover the basics: load a model, pick a material preset, hit slice. That approach works for casual prints. It does not work when you need dimensional accuracy, structural integrity, or consistent results across dozens of prints.
This guide was built for people who are past the basics. If you already understand what a slicer does, have printed with at least one or two materials, and are ready to go deeper, this is the resource you have been looking for. The goal is not to walk you through every menu item in order. The goal is to give you a genuine understanding of how Orca Slicer thinks, how its settings interact, and how to use that knowledge to get professional-grade results from your specific printer and materials. By the end, you will not just know which settings to change. You will understand why those changes work.
The approach throughout this guide is systematic and engineering-minded. Rather than offering a list of magic numbers, each chapter builds on the last to develop a mental model you can apply to any situation. You will learn to diagnose problems from first principles, test settings methodically, and build a personal library of configurations that actually work. That library becomes one of your most valuable assets as a maker or engineer, because it means every future project starts from a foundation of proven knowledge rather than guesswork.
Why Orca Slicer Matters for Engineers
Orca Slicer began as a fork of Bambu Studio, which itself was derived from PrusaSlicer and the broader Slic3r lineage. What sets Orca Slicer apart is not just its feature set, but its philosophy. The developers have consistently prioritized calibration, precision, and user control over simplified presets and hand-holding. For engineers and technically minded users, that is exactly the right trade-off. You get access to parameters that other slicers hide or automate away, along with built-in calibration tools that make systematic tuning practical rather than theoretical.[1]
One of the most significant advantages Orca Slicer offers is its built-in calibration workflow. Tools for flow rate calibration, pressure advance tuning, temperature towers, and retraction testing are integrated directly into the software. In other slicers, you typically need to download external test models, manually configure them, and interpret results without guidance. Orca Slicer treats calibration as a first-class feature, which reflects a fundamentally different assumption about who is using the software and what they need from it.
For engineers specifically, the software's handling of profiles is worth highlighting. Orca Slicer separates printer profiles, filament profiles, and process profiles into distinct, independently manageable configurations. This three-layer system means you can mix and match settings without duplicating entire profiles every time you change one variable. If you print with five different filaments on two different printers, you maintain a manageable set of profiles rather than an exponentially growing collection of combined configurations. That kind of structured organization matters when you are running a serious operation.
The software also supports features that directly address engineering concerns like dimensional accuracy and structural performance. Elephant foot compensation, precise wall ordering controls, and advanced seam placement options all contribute to parts that meet tighter tolerances. When you are printing functional components, brackets, jigs, or enclosures, these details are not cosmetic. They determine whether the part works or not. Orca Slicer gives you the tools to address them directly rather than working around limitations.
Consider a practical example. Suppose you are printing a mounting bracket that needs to accept an M3 heat-set insert. The hole diameter needs to be within 0.1mm of nominal for the insert to seat correctly. Achieving that requires understanding how your printer's flow rate, line width, and extrusion multiplier interact to affect the final dimensions of circular features. Orca Slicer's calibration tools and precise parameter controls make it possible to dial in that accuracy systematically. A slicer that hides those parameters behind simplified presets makes the same task much harder.
Beyond individual features, Orca Slicer's active development community means the software improves rapidly. Version 2.2.0 introduced several refinements to adaptive layer height, improved support generation algorithms, and expanded the built-in calibration suite. Staying current with the software means your capabilities grow over time, and the knowledge you build with this guide will continue to apply as the tool evolves. The underlying principles of how slicing works do not change with software versions. The specific tools just get better.
Key advantage summary: Orca Slicer's combination of separated profile architecture, integrated calibration tools, and engineering-grade parameter access makes it the most practical choice for users who need consistent, accurate, and repeatable results from their 3D printer.
What You'll Learn in This Guide
This guide covers Orca Slicer 2.2.0 from architecture to advanced automation, organized around the way real printing problems actually occur. Rather than following the software's menu structure, the chapters follow a logical progression from foundational understanding to increasingly specialized topics. Each chapter builds on the ones before it, so concepts introduced early reappear in more complex contexts later. This structure is intentional. Mastery in any technical domain comes from layering knowledge, not from memorizing isolated facts.
The first section of the guide focuses on understanding the software and your hardware. You will learn how Orca Slicer's architecture differs from other slicers, how to navigate its interface efficiently, and how to set up accurate printer profiles. You will also learn how to calibrate your hardware properly, because no software setting can compensate for a printer that is not mechanically sound. Bed leveling, nozzle calibration, and understanding your printer's physical limits are prerequisites for everything that follows.
The middle section dives into the core parameters that determine print quality. This includes:
- Material properties and how they drive slicer settings for PLA, PETG, ABS, TPU, and beyond
- Layer height and line width as an interconnected system, including adaptive layer height for complex geometries
- Temperature control for nozzle, bed, and chamber, with specific strategies for different materials
- Speed optimization using acceleration, jerk, and dynamic density settings to achieve fast prints without quality loss
- Infill strategies for structural performance, including pattern selection and density calculation
- Support structures and raft configuration for difficult geometries and challenging overhangs
The later chapters address the skills that separate intermediate users from true experts. Systematic failure diagnosis teaches you to identify root causes rather than guessing at fixes. Advanced features like variable settings and per-layer customization open up capabilities that most users never discover. And the final chapter on building a personal settings library gives you a framework for turning your accumulated experience into a reusable, organized knowledge base.
Throughout the guide, you will encounter specific, concrete examples rather than vague generalizations. When a concept is introduced, it is illustrated with a real scenario: a specific material, a specific print challenge, a specific set of settings and why they work. This approach reflects how experienced engineers actually learn. Abstract principles become useful only when you can connect them to concrete situations you have encountered or can imagine encountering.
You will also find calibration protocols and testing methodologies that you can apply directly to your own setup. These are not theoretical frameworks. They are step-by-step processes that produce measurable results. For example, the temperature calibration protocol in Chapter 5 walks you through printing a temperature tower, interpreting the results, and translating those results into specific profile settings. The speed testing protocol in Chapter 6 gives you a structured way to find the maximum reliable speed for any material and printer combination. These tools work regardless of which printer you own or which filament brand you use.
One important thing to set expectations about: this guide focuses on understanding and applying settings, not on memorizing default values. The right settings for your printer and your filament will differ from the right settings for someone else's setup. What this guide gives you is the knowledge to find your own optimal settings confidently and efficiently, rather than copying numbers from a forum post and hoping they work.
How to Use This Book for Maximum Results
The most effective way to use this guide depends on where you are starting from and what you are trying to accomplish. If you are new to Orca Slicer but experienced with 3D printing in general, reading the chapters in order is the recommended approach. The early chapters on architecture and hardware calibration establish a foundation that makes the later material much easier to understand and apply. Skipping ahead to speed optimization or advanced features without that foundation often leads to confusion about why certain settings behave the way they do.
If you are already using Orca Slicer and have a specific problem you are trying to solve, the guide is also designed to work as a reference. Each chapter is self-contained enough to be useful on its own, and the chapter on diagnosing print failures (Chapter 9) is specifically structured as a troubleshooting resource. The table of contents and the glossary at the back of the book will help you navigate to the relevant section quickly when you need a specific answer.
Regardless of how you approach the reading, the most important habit to develop is active experimentation. Reading about layer height relationships is useful. Printing a series of test objects with different layer heights and observing the results is transformative. Every chapter includes specific actions you can take immediately, and the value of this guide multiplies significantly when you treat those actions as assignments rather than suggestions. Set aside time after each chapter to apply what you have read before moving on.
Here is a practical workflow to get the most out of each chapter:
- Read the chapter fully before making any changes to your slicer settings. Understanding the complete picture first prevents you from making partial changes that create new problems.
- Identify the one or two concepts most relevant to your current printing challenges. Focus your initial experimentation there rather than trying to implement everything at once.
- Run the suggested tests or calibrations for those concepts. Document your starting settings, the changes you made, and the results you observed.
- Update your profiles in Orca Slicer to reflect what you learned. Give the updated profile a clear name that indicates what was changed and when.
- Move to the next chapter only after you have a working understanding of the current one, even if that understanding is incomplete. You will revisit concepts as they appear in later chapters.
Documentation is a theme that runs throughout this guide, and it deserves emphasis here at the start. The single most common mistake that intermediate 3D printing enthusiasts make is failing to record what they tried and what happened. Without documentation, every new print challenge starts from scratch. With documentation, each challenge builds on everything you have learned before. A simple spreadsheet or even a notebook works fine. The format matters less than the habit. Chapter 11 covers documentation systems in detail, but you should start keeping records from the very first test you run after reading this introduction.
You will also get more out of this guide if you approach it with a specific printer and a specific set of materials in mind. The examples throughout use common hardware configurations and widely available filaments, but the principles apply universally. When you read about temperature calibration for PETG, think about the specific PETG brand you use and the specific printer you own. That mental translation from general principle to specific application is where real learning happens.
A note on software versions: this guide is written specifically for Orca Slicer 2.2.0. The core concepts and most of the specific settings described here will apply to nearby versions as well, but menu locations and feature names may differ slightly in older or newer releases. If you are using a different version, the underlying principles remain valid even if you need to hunt for a setting in a slightly different location. The Orca Slicer GitHub repository and community forums are good resources for version-specific questions.[2]
Finally, approach this process with patience and a genuine curiosity about how things work. 3D printing at a high level of proficiency is a technical discipline that rewards systematic thinking and careful observation. The engineers and makers who get consistently excellent results are not the ones who found the perfect settings profile online. They are the ones who understand their tools well enough to solve problems they have never encountered before. That is the level of mastery this guide is designed to help you reach.
Before you begin: Make sure you have Orca Slicer 2.2.0 installed and your printer profile configured. If you are starting fresh, Chapter 2 covers printer setup in detail. If you already have a working setup, take a few minutes to note your current default settings for layer height, print speed, and nozzle temperature. These will serve as your baseline as you work through the calibration and optimization chapters ahead.
This is the end of the free sample. The full book has 11 chapters.
Want this book written for you?
Tell us your goals and background, and get your own version of this book, tailored by AI to you.


Benefits of AI-tailored books
- Read one book, not ten:
- all the 3D Printing knowledge you need, gathered into a single book.
- Save days of learning:
- tell us your goals, choose your topics, and the whole book is built around them.
- Learn effortlessly:
- 3D Printing book written for your specific background and expertise.
- Understand at a glance:
- includes charts, tables, timelines, checklists, decision trees, and more.
- Stay current:
- written the day you order it, not years ago.
- Trust what you read:
- every book is checked for accuracy, with real research when your subject needs it.
Create your unique book in 3 steps
- 1. Select your focus
Select the focus of your 3D Printing book and share your background
- 2. Personalize your book
Specify your goals and choose sub-topics to include
- 3. Get your tailored book
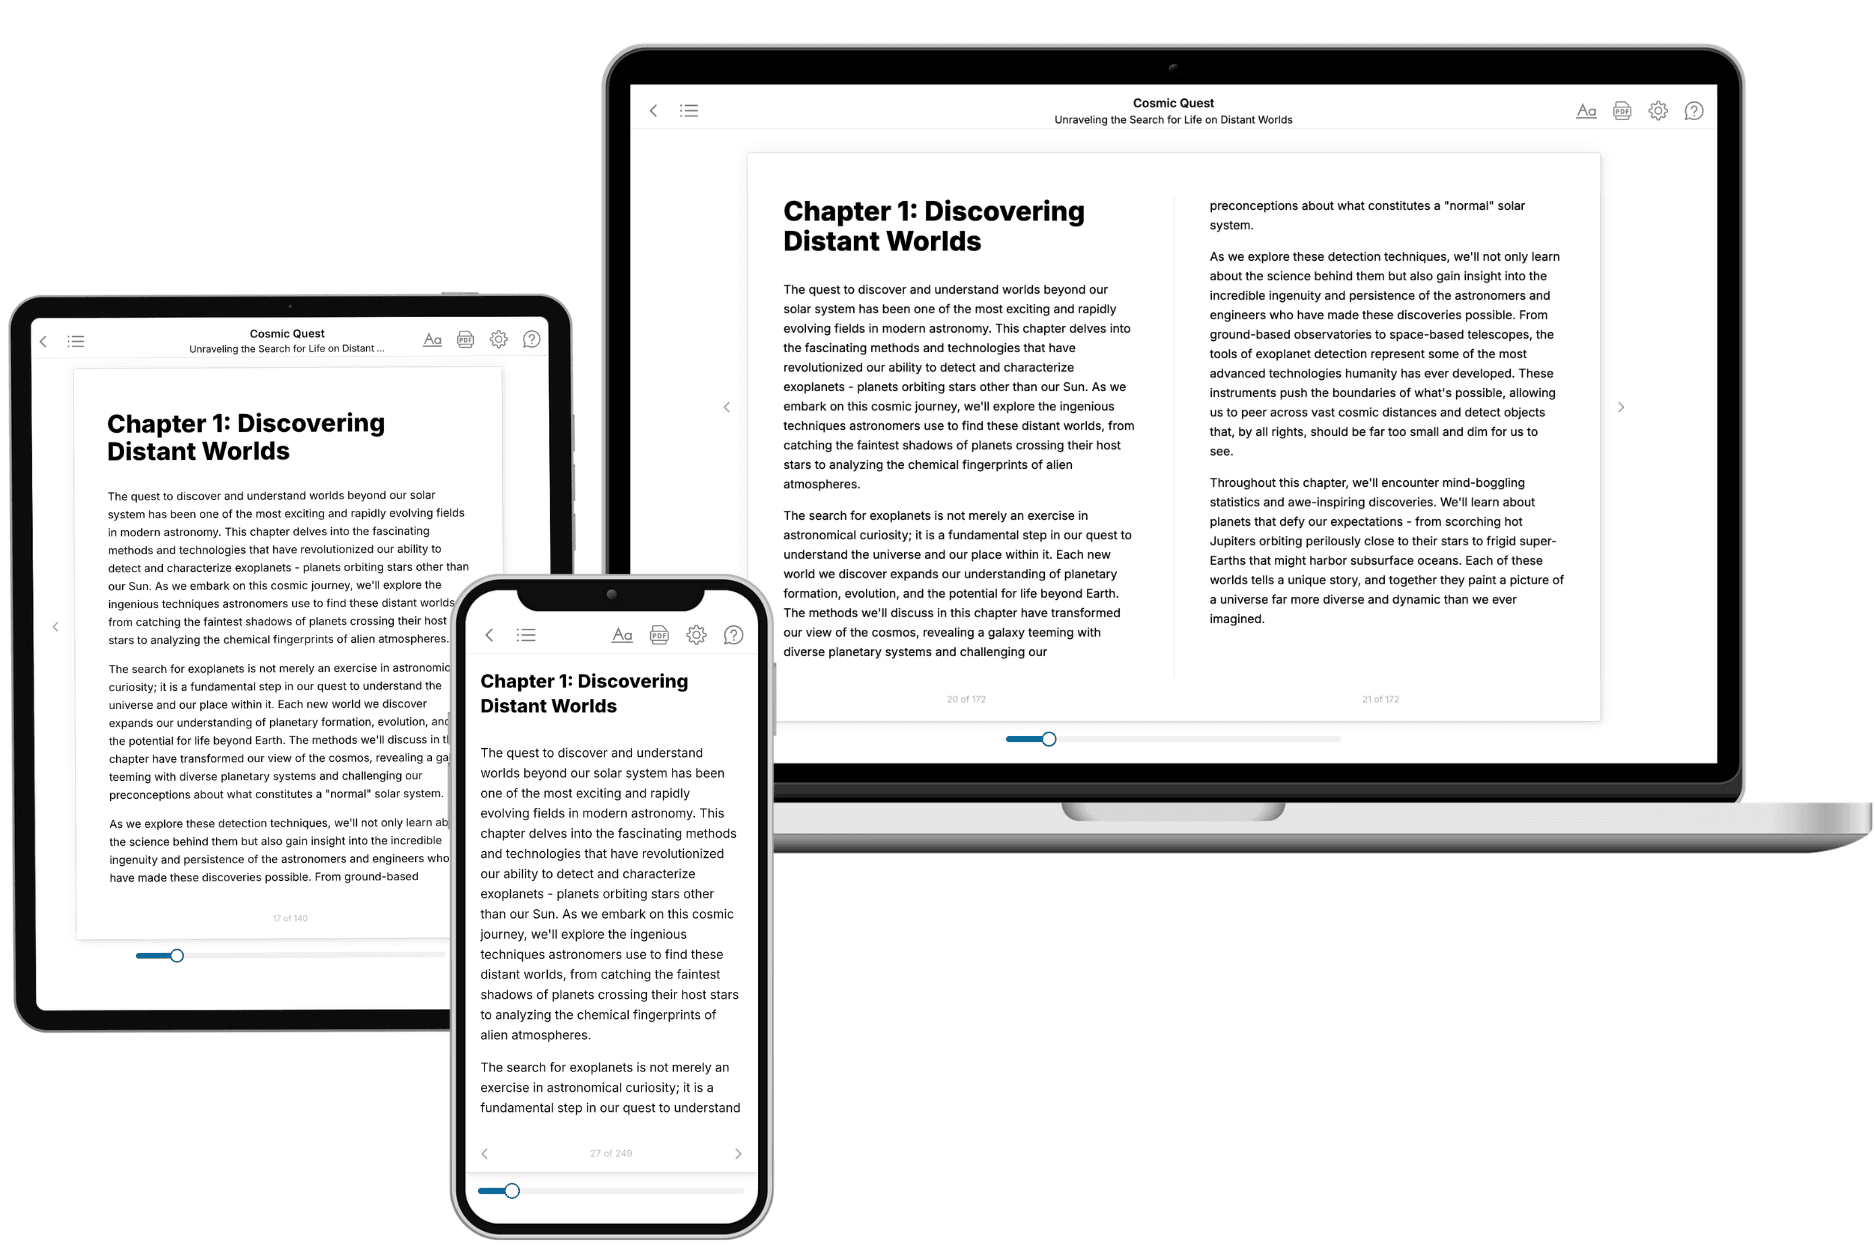
Your book is ready in 10 minutes. Read it online, download as EPUB or PDF, or send to Kindle.

Frequently asked questions
- What is TailoredRead?
TailoredRead creates complete, full-length nonfiction ebooks, written specifically for you. Tell us what you want to learn and why, and TailoredRead writes you a complete ebook on it, with charts, tables, and diagrams throughout. Read it online, on Kindle, or on any e-reader, or download it as a PDF or EPUB. Every book is written fresh the day you order it.
- How is the book tailored to me?
Before anything is written, you answer a few short questions about your goals, your background, and the topics you care about. Your book is then planned around your answers: written at your level, focused on your goals, and covering the topics you chose, instead of the one-size-fits-all book a store sells everyone.
- Will it read like generic AI content?
No. Your book isn't a chat transcript: it's planned chapter by chapter before a single word is written, told in a clear book voice, and explains ideas visually with charts, tables, and diagrams. After writing, every book goes through an editorial pass that polishes chapters so the book reads consistent from start to finish. Judge for yourself: browse thousands of sample books on our Explore Books page.
- How accurate is the content?
Our AI first checks whether your subject needs live research. Niche and fast-moving subjects are researched before writing, and the book plan and chapters are grounded in what it finds. After writing, every book goes through a quality pass that checks its facts and consistency, and researched books list their sources in a Notes section at the back.
- How long is the book?
You choose the length: Comprehensive (250-300 pages), Detailed (150-200 pages), Essential (70-100 pages), or Short (30-50 pages).
- Does the book include visuals?
Yes. Every book includes charts, tables, and diagrams: timelines, checklists, step-by-step guides, decision trees, comparison tables, matrices, and bar charts. A typical book includes dozens of these visual elements.
- Can I read it on Kindle? What formats can I download?
Yes. Every book can be read in our online reader or downloaded as a PDF or EPUB. The EPUB can be opened with Kindle, Apple Books, Kobo, and any e-reader. The Commercial and Author licenses also include an editable Word (DOCX) and Markdown download.
- How much does it cost?
About the price of a regular ebook. The exact price depends on your book's length and complexity, from $2 for the shortest books to $35 for the most comprehensive, and it's shown when you review your book, before you commit to anything. Each book is a one-time purchase, yours to keep, no subscription. Licenses that let you share, teach, or publish your book range from $35.99 to $49.99.
- Can I preview the book before purchasing?
Before you pay, you'll see what your book will cover: the title, a detailed description, the estimated length, and the complete chapter-by-chapter table of contents, so you know what you're getting before you decide. The full text itself is written after you purchase.
- How long does it take to create a book?
About 10 minutes. You can start reading the opening chapters while the rest is still being written.