The Scientist's Palette
Mastering Oil Painting Techniques Through Analytical Exploration
Dive into the world of oil painting with a fresh, analytical perspective.
269 pages13 chaptersMay 14, 2025Oil PaintingCreated by Rick
About this book
Your background in science has given you a unique approach to problem-solving, and now it's time to apply that mindset to the canvas. This book bridges the gap between your scientific expertise and artistic aspirations, guiding you through the intricacies of oil painting techniques. As you progress through the pages, you'll discover how to deconstruct complex visual elements into manageable components. You'll learn to analyze color relationships, understand the physics of light and shadow, and apply precise brush techniques to create stunning, realistic artworks. The book's structured approach will help you systematically improve your skills in creating textures, blending colors, and capturing the essence of your subjects. By the end of this journey, you'll have developed a robust set of oil painting skills, allowing you to express your creativity with confidence and precision. Your analytical mind will find satisfaction in mastering the technical aspects of painting, while your artistic side will revel in the freedom of expression that comes with improved technique.
Table of contents
- IntroductionA Scientific Approach to Oil Painting, Overview of the Book, Materials You'll Need, Setting Up Your WorkspaceRead below
- Chapter 1: Understanding the FundamentalsColor Theory for Oil Painting, The Chemistry of Oil Paints, Pigments and Binders, Canvas Preparation and Priming
- Chapter 2: Essential Brush TechniquesUnderstanding Different Brush Types, Basic Brush Strokes, Advanced Brush Stroke Techniques, Brush Care and Maintenance
- Chapter 3: The Art of Color MixingPrimary and Secondary Colors, Using the Color Wheel, Color Mixing Techniques, Optical Color Mixing
- Chapter 4: Mastering Tonal ValuesCreating a Value Scale, Tonal Value Studies, Grayscale Painting Exercise, Using Values in Composition
- Chapter 5: Blending TechniquesWet-on-Wet Blending, Wet-on-Dry Blending, Scumbling Technique, Glazing for Depth and Luminosity
- Chapter 6: Creating Realistic TexturesImpasto Technique, Using a Palette Knife, Dry Brush Technique, Sgraffito and Texture Tools
- Chapter 7: Capturing Light and ShadowUnderstanding Light Sources, Rendering Cast Shadows, Form Shadows and Core Shadows, Reflected Light and Highlights
- Chapter 8: Controlling Paint PropertiesPaint Viscosity Control, Using Painting Mediums, Brush Load Control, Managing Drying Time
- Chapter 9: Alla Prima PaintingIntroduction to Alla Prima, Quick Studies and Sketches, Working Wet into Wet, Alla Prima Portrait Exercise
- Chapter 10: Principles of CompositionThe Rule of Thirds, The Golden Ratio in Painting, Creating Balance and Harmony, Establishing Focal Points
- Chapter 11: Color Harmony and MoodColor Schemes and Palettes, Creating Mood with Color, Atmospheric Perspective, Understanding Color Temperature
- Chapter 12: Exploring Different Subject MatterStill Life Painting, Landscape Painting, Portrait Painting, Abstract Oil Painting
- Chapter 13: Advanced Techniques and ExperimentationMulti-layered Painting, Incorporating Mixed Media, Working on Large-Scale Paintings, Developing Your Personal Style
- ConclusionRecap of Key Techniques, Strategies for Continued Growth
- Glossary
- Further Resources
Introduction
Welcome to "The Scientist's Palette: Mastering Oil Painting Techniques Through Analytical Exploration." This book is designed to bridge the gap between your scientific expertise and artistic aspirations, guiding you through the intricacies of oil painting techniques with a fresh, analytical perspective. As a scientist with a PhD in chemistry and a budding interest in oil painting, you possess a unique approach to problem-solving that can be applied to the canvas. This introduction will set the stage for your journey into the world of oil painting, providing you with a solid foundation to build upon as you progress through the book.
Oil painting is an art form that has captivated artists and viewers alike for centuries. Its rich history, versatility, and ability to create stunning visual effects have made it a favorite medium among painters of all skill levels. However, mastering oil painting techniques requires more than just artistic intuition; it demands a deep understanding of the materials, processes, and principles involved. This is where your scientific background becomes a valuable asset. By applying your analytical skills and knowledge of chemistry to the art of oil painting, you'll be able to approach the craft with a unique perspective that combines technical precision with creative expression.
Throughout this book, you'll discover how to deconstruct complex visual elements into manageable components, analyze color relationships, understand the physics of light and shadow, and apply precise brush techniques to create stunning, realistic artworks. The structured approach presented in these pages will help you systematically improve your skills in creating textures, blending colors, and capturing the essence of your subjects. By the end of this journey, you'll have developed a robust set of oil painting skills, allowing you to express your creativity with confidence and precision.
As we embark on this exploration of oil painting techniques, it's important to remember that while technical skill is crucial, it's only one part of the equation. The true magic of art lies in the balance between technical proficiency and creative expression. This book will provide you with the tools and knowledge to master the technical aspects of oil painting, but it will also encourage you to experiment, take risks, and develop your unique artistic voice. Your analytical mind will find satisfaction in mastering the intricacies of paint behavior and color theory, while your artistic side will revel in the freedom of expression that comes with improved technique.
A Scientific Approach to Oil Painting
As a scientist, you're accustomed to approaching problems methodically, breaking them down into their constituent parts, and analyzing them systematically. This same approach can be incredibly beneficial when learning and mastering oil painting techniques. By applying scientific principles to your artistic practice, you'll be able to understand the underlying mechanisms of various painting techniques, make informed decisions about your materials and processes, and troubleshoot issues more effectively.
One of the key advantages of your scientific background is your familiarity with the scientific method. This systematic approach to inquiry and problem-solving can be adapted to your artistic practice in several ways. For instance, when experimenting with a new technique or trying to achieve a specific effect, you can formulate a hypothesis, conduct controlled experiments, observe the results, and draw conclusions. This methodical approach can help you refine your techniques more quickly and efficiently than relying on trial and error alone.
Your understanding of chemistry will be particularly valuable when it comes to working with oil paints. Oil paints are complex mixtures of pigments suspended in a drying oil medium, typically linseed oil. The chemical properties of these components influence everything from the paint's drying time and durability to its color stability and interaction with other layers of paint. By understanding these chemical interactions, you'll be better equipped to manipulate the paint to achieve your desired effects.
For example, consider the process of paint drying. Unlike water-based paints that dry through evaporation, oil paints dry through a process called oxidation. This chemical reaction involves the oil molecules cross-linking to form a solid film. Understanding this process can help you make informed decisions about layering techniques, drying times, and the use of various mediums to modify the paint's properties. You'll learn to consider factors such as the thickness of paint layers, the relative drying rates of different pigments, and the impact of environmental conditions on the drying process.
Your scientific training has also likely honed your observational skills, which are crucial in painting. The ability to accurately observe and analyze color, form, and light is fundamental to creating realistic representations. You can apply the same attention to detail and systematic observation techniques you use in the lab to your artistic practice. This might involve creating detailed color studies, analyzing the tonal values in a scene, or carefully documenting the textures of different surfaces.
Moreover, your familiarity with data analysis and interpretation can be applied to your artistic development. By keeping detailed notes on your painting processes, materials used, and the outcomes of various techniques, you can track your progress over time and identify areas for improvement. This analytical approach to self-assessment can accelerate your learning and help you develop a more refined artistic practice.
Throughout this book, we'll explore how to leverage your scientific mindset to enhance your oil painting skills. You'll learn to approach each aspect of painting - from color mixing to brush technique - with the same rigor and analytical thinking you apply to your scientific work. This unique perspective will not only help you master the technical aspects of oil painting more quickly but also open up new avenues for creative expression informed by your scientific understanding.
Remember, however, that while a scientific approach can greatly enhance your technical skills, art is not solely about technical perfection. It's also about emotion, expression, and personal interpretation. As you progress through this book, you'll learn to balance your analytical approach with intuition and creativity, allowing you to create works that are not only technically proficient but also emotionally resonant and uniquely your own.
By embracing this scientific approach to oil painting, you're embarking on a journey that will challenge both your analytical and creative faculties. You'll discover new ways to apply your scientific knowledge and skills to artistic endeavors, potentially leading to innovative techniques and a distinctive artistic style. This fusion of science and art has the potential to not only enhance your painting skills but also to bring a fresh perspective to the world of oil painting.
Overview of the Book
"The Scientist's Palette" is structured to provide a comprehensive and systematic exploration of oil painting techniques, tailored to your background as a scientist with a budding interest in art. The book is designed to build your skills progressively, starting with fundamental concepts and moving towards more advanced techniques. Each chapter focuses on a specific aspect of oil painting, combining theoretical knowledge with practical exercises to reinforce your learning.
The book begins with an exploration of the fundamentals of oil painting in Chapter 1. Here, you'll delve into color theory, gaining a deep understanding of how colors interact and how to use this knowledge to create harmonious compositions. This chapter also covers the chemistry of oil paints, providing insights into the composition of paints, the properties of different pigments, and how these factors influence your painting process. You'll learn about the role of binders in oil paints and how they affect the paint's behavior, drying time, and longevity. This scientific understanding will form the foundation for many of the techniques you'll learn throughout the book.
Chapter 2 focuses on essential brush techniques, a critical skill for any oil painter. You'll learn about different types of brushes and their uses, mastering basic and advanced brush strokes. This chapter will help you understand how brush choice and technique can create various textures and effects, from smooth blends to impasto textures. You'll also learn about proper brush care and maintenance, ensuring that your tools remain in optimal condition for your artistic endeavors.
In Chapter 3, we delve deeper into the art of color mixing. Building on the color theory introduced in Chapter 1, you'll learn practical techniques for mixing colors to achieve desired hues, tones, and shades. This chapter covers topics such as the use of the color wheel, color mixing techniques, and the fascinating concept of optical color mixing. Your scientific background will be particularly useful here, as you'll be able to approach color mixing with a systematic mindset, understanding the underlying principles that govern color interactions.
Chapter 4 is dedicated to mastering tonal values, a crucial aspect of creating depth and realism in your paintings. You'll learn how to create and use value scales, conduct tonal studies, and apply this knowledge to create compelling compositions. This chapter will help you develop your observational skills, teaching you to see and accurately represent the subtle gradations of light and shadow that bring a painting to life.
Blending techniques are the focus of Chapter 5. Here, you'll explore various methods of blending colors and creating smooth transitions, including wet-on-wet and wet-on-dry techniques. You'll also learn about more advanced techniques such as scumbling and glazing, which can add depth and luminosity to your paintings. Your understanding of paint chemistry will be particularly valuable in this chapter, as you'll be able to predict and control how different layers of paint interact.
Chapter 6 delves into the creation of realistic textures, a skill that can significantly enhance the realism and visual interest of your paintings. You'll learn techniques such as impasto, using a palette knife, dry brush, and sgraffito. This chapter will challenge you to observe and analyze the textures of different surfaces and develop strategies to recreate them on canvas.
In Chapter 7, we explore the crucial topic of capturing light and shadow. You'll learn about different types of light sources, how to render cast and form shadows, and how to depict reflected light and highlights. This chapter will draw on your understanding of physics, helping you to analyze and represent the behavior of light in your paintings more accurately.
Chapter 8 focuses on controlling paint properties, teaching you how to manipulate the viscosity of your paint, use various mediums, control your brush load, and manage drying time. Your chemistry background will be particularly useful here, as you'll be able to understand and predict how different additives and techniques affect the properties of your paint.
The following chapters cover more advanced topics and techniques. Chapter 9 introduces alla prima painting, a technique that involves completing a painting in one session while the paint is still wet. Chapter 10 explores principles of composition, teaching you how to arrange elements in your painting for maximum impact. Chapter 11 delves deeper into color harmony and mood, building on the color theory introduced earlier in the book.
In Chapter 12, you'll have the opportunity to apply your skills to different subject matters, including still life, landscape, portrait, and abstract painting. The final chapter, Chapter 13, introduces advanced techniques and encourages experimentation, helping you to develop your personal style and push the boundaries of your artistic practice.
Throughout the book, you'll find practical exercises, case studies, and examples that illustrate key concepts and techniques. These hands-on components are designed to help you apply your learning and develop your skills through practice. Remember, while the book provides a structured approach to learning oil painting techniques, it's important to supplement your reading with regular practice. Set aside time to experiment with the techniques you learn, and don't be afraid to make mistakes – they're an essential part of the learning process.
By the end of this book, you'll have a comprehensive understanding of oil painting techniques, grounded in scientific principles and honed through practical application. You'll be equipped with the skills to create compelling, realistic artworks, and the knowledge to continue developing your artistic practice. Remember, mastering oil painting is a journey, not a destination. This book is designed to set you on that path, providing you with the tools and knowledge to explore, experiment, and express yourself through the medium of oil paint.
Materials You'll Need
Before embarking on your oil painting journey, it's essential to gather the necessary materials. As a scientist, you'll appreciate the importance of using the right tools for the job. The quality of your materials can significantly impact your results, so it's worth investing in good-quality supplies. However, as a beginner, you don't need to purchase the most expensive professional-grade materials. Many brands offer student-grade products that provide a good balance between quality and affordability. This section will provide an overview of the essential materials you'll need to get started with oil painting.
Oil Paints: The foundation of your oil painting kit is, of course, the paints themselves. To begin with, you'll need a basic set of colors. A starter palette typically includes:
- Titanium White
- Cadmium Yellow
- Cadmium Red
- Ultramarine Blue
- Burnt Umber
- Burnt Sienna
Brushes: A variety of brushes will allow you to create different effects and work on various scales. For oil painting, you'll primarily use brushes with natural or synthetic bristles that are firm enough to handle the viscosity of oil paint. Essential brush types include:
- Flat brushes: For broad strokes and filling in large areas
- Round brushes: For detail work and creating thin lines
- Filbert brushes: Versatile brushes that can create both broad strokes and finer details
- Fan brushes: Useful for blending and creating textural effects
Palette: A palette is essential for mixing your colors. While traditional wooden palettes are popular, many artists prefer glass or disposable paper palettes. A glass palette is particularly useful as it's easy to clean and doesn't absorb oil from the paint. If you opt for a wooden palette, make sure to season it properly before use to prevent the wood from absorbing oil from your paints.
Palette Knives: These tools are useful for mixing colors on your palette and can also be used for applying paint to create textural effects. A basic set should include at least one mixing knife and one painting knife.
Canvas or Painting Surface: Oil paint can be applied to various surfaces, but canvas is the most common. Pre-primed canvas boards or stretched canvases are convenient for beginners. As you progress, you might want to experiment with preparing your own canvases or trying other surfaces like wood panels.
Easel: An easel will hold your canvas at a comfortable working angle. Table-top easels are suitable for smaller works, while floor-standing easels are better for larger pieces. If space is a concern, consider a folding easel that can be easily stored when not in use.
Solvents and Mediums: These are used to thin paints, clean brushes, and modify the properties of the paint. Common solvents include odorless mineral spirits or turpentine. Linseed oil is a popular medium used to increase the flow and transparency of paint. Always work with these materials in a well-ventilated area and follow proper safety precautions.
Cleaning Supplies: You'll need rags or paper towels for wiping brushes and cleaning up spills. A brush cleaner or soap specifically designed for oil paints will help maintain your brushes.
Protective Gear: Consider using disposable gloves to protect your hands from paint and solvents. An apron or old shirt will protect your clothing.
Storage and Organization: Proper storage will help preserve your materials. Consider investing in a brush holder or container to keep your brushes in good condition. A sturdy box or cart can help you organize and transport your supplies.
As you progress in your oil painting journey, you may find yourself wanting to experiment with additional materials and tools. These might include:
- A wider range of paint colors
- Specialized brushes for specific techniques
- Various painting mediums to modify paint properties
- Varnishes for protecting finished paintings
- A color wheel for reference when mixing colors
- A viewfinder to help with composition
In the next section, we'll discuss how to set up your workspace to create an environment conducive to painting and learning. With the right materials and a well-organized workspace, you'll be well-prepared to begin your exploration of oil painting techniques.
Setting Up Your Workspace
Creating an effective workspace is crucial for your oil painting practice. As a scientist, you're likely familiar with the importance of a well-organized laboratory for conducting experiments. Similarly, a properly set up art studio can significantly enhance your painting experience and productivity. This section will guide you through the process of setting up a workspace that is both functional and inspiring, even if you're working with limited space.
Lighting: Proper lighting is perhaps the most critical aspect of your workspace. Natural light is ideal for painting as it provides the most accurate color representation. If possible, set up your easel near a north-facing window (in the Northern Hemisphere) to get consistent, indirect light throughout the day. However, natural light isn't always available or consistent, so it's important to supplement with artificial lighting. Use full-spectrum bulbs that mimic natural daylight, with a color temperature around 5000-6500K. Position your lights to minimize glare and shadows on your work surface. Consider using adjustable lamps that allow you to direct light where needed.
Ventilation: Oil painting involves the use of solvents and mediums that can produce strong odors and potentially harmful fumes. Proper ventilation is crucial for your health and comfort. If possible, work in a well-ventilated room with windows that can be opened. An exhaust fan can help remove fumes more effectively. If you're working in a small or poorly ventilated space, consider using a portable air purifier with activated carbon filters, which can help remove odors and volatile organic compounds (VOCs) from the air. Always read and follow the safety instructions for your materials, and consider using low-odor or odorless solvents when possible.
Work Surface: Your primary work surface will be your easel, but you'll also need additional space for your palette, materials, and tools. A sturdy table or cart near your easel can serve this purpose. Ensure that your easel is stable and can be adjusted to a comfortable working height. The surface where you mix your paints should be at a height that allows you to see your palette and canvas simultaneously without straining. If space allows, a separate table for preparing canvases and cleaning brushes can be very useful.
Organization: Efficient organization of your supplies will make your painting sessions more productive and enjoyable. Consider the following organizational strategies:
- Use a tackle box or art supply box with compartments to store and transport smaller items like tubes of paint, brushes, and palette knives.
- Install shelves or use a bookcase to store larger items and reference materials.
- Use jars or containers to store brushes upright, with the bristles facing up to maintain their shape.
- Keep solvents and mediums in clearly labeled, airtight containers to prevent spills and evaporation.
- Use a pegboard or magnetic strip to hang tools like palette knives and scissors for easy access.
Safety Considerations: Safety should always be a priority in your workspace. Here are some important safety measures to implement:
- Keep a fire extinguisher nearby, as oil-soaked rags can be a fire hazard.
- Store solvents and mediums in a cool, dark place away from heat sources.
- Use a fireproof container for disposing of solvent-soaked rags.
- Keep a first aid kit accessible.
- Wear protective gear such as gloves and an apron when handling solvents or potentially toxic materials.
- If you have pets or children, ensure that your supplies are stored securely out of their reach.
Inspiration and Reference: While not strictly necessary, having elements in your workspace that inspire you can enhance your creative process. Consider creating a small inspiration board where you can pin images, color swatches, or sketches that inspire your work. Keep art books or a tablet for quick reference to artworks or techniques you're studying. Some artists find that playing music or podcasts while they work helps them focus and stay motivated.
Cleaning Station: Set up a dedicated area for cleaning your brushes and tools. This could be as simple as a large jar for holding solvent for initial brush cleaning, along with soap and a sink for thorough cleaning at the end of your session. Having paper towels or rags readily available is also important for quick clean-ups and brush wiping during painting.
Storage for Wet Paintings: Oil paintings can take days or even weeks to dry completely. Plan for a safe place to store wet paintings where they won't be disturbed or collect dust. This could be a drying rack, a dedicated shelf, or even a simple system of propping canvases against a wall with enough space between them to prevent contact.
Comfort: Don't forget about your personal comfort. Painting can involve long periods of standing or sitting, so invest in a comfortable, adjustable chair or stool. An anti-fatigue mat can help if you prefer to stand while painting. Ensure that your workspace is at a comfortable temperature, as extreme heat or cold can affect both you and your materials.
Digital Setup: In today's digital age, many artists incorporate technology into their practice. Consider setting up a space for a computer or tablet near your workspace. This can be useful for reference images, color studies, or even for documenting your work in progress. A good camera or smartphone for photographing your work can also be a valuable addition to your setup.
Flexibility: Remember that your workspace may evolve as you develop your practice. Start with the essentials and be prepared to adjust and add to your setup as you discover what works best for you. Even if you're working with limited space, creative solutions like folding easels, wall-mounted storage, or multi-purpose furniture can help you create a functional workspace.
By thoughtfully setting up your workspace, you're creating an environment that will support and enhance your oil painting practice. A well-organized, comfortable, and inspiring space will allow you to focus on developing your skills and expressing your creativity. As you progress through this book and experiment with different techniques, you may find yourself adapting your workspace to better suit your evolving needs and preferences. Remember, the goal is to create a space that not only meets the practical requirements of oil painting but also inspires you to create and explore this rich and rewarding medium.
This is the end of the free sample. The full book has 13 chapters.
Want this book written for you?
Tell us your goals and background, and get your own version of this book, tailored by AI to you.


Benefits of AI-tailored books
- Read one book, not ten:
- all the Oil Painting knowledge you need, gathered into a single book.
- Save days of learning:
- tell us your goals, choose your topics, and the whole book is built around them.
- Learn effortlessly:
- Oil Painting book written for your specific background and expertise.
- Understand at a glance:
- includes charts, tables, timelines, checklists, decision trees, and more.
- Stay current:
- written the day you order it, not years ago.
- Trust what you read:
- every book is checked for accuracy, with real research when your subject needs it.
Create your unique book in 3 steps
- 1. Select your focus
Select the focus of your Oil Painting book and share your background
- 2. Personalize your book
Specify your goals and choose sub-topics to include
- 3. Get your tailored book
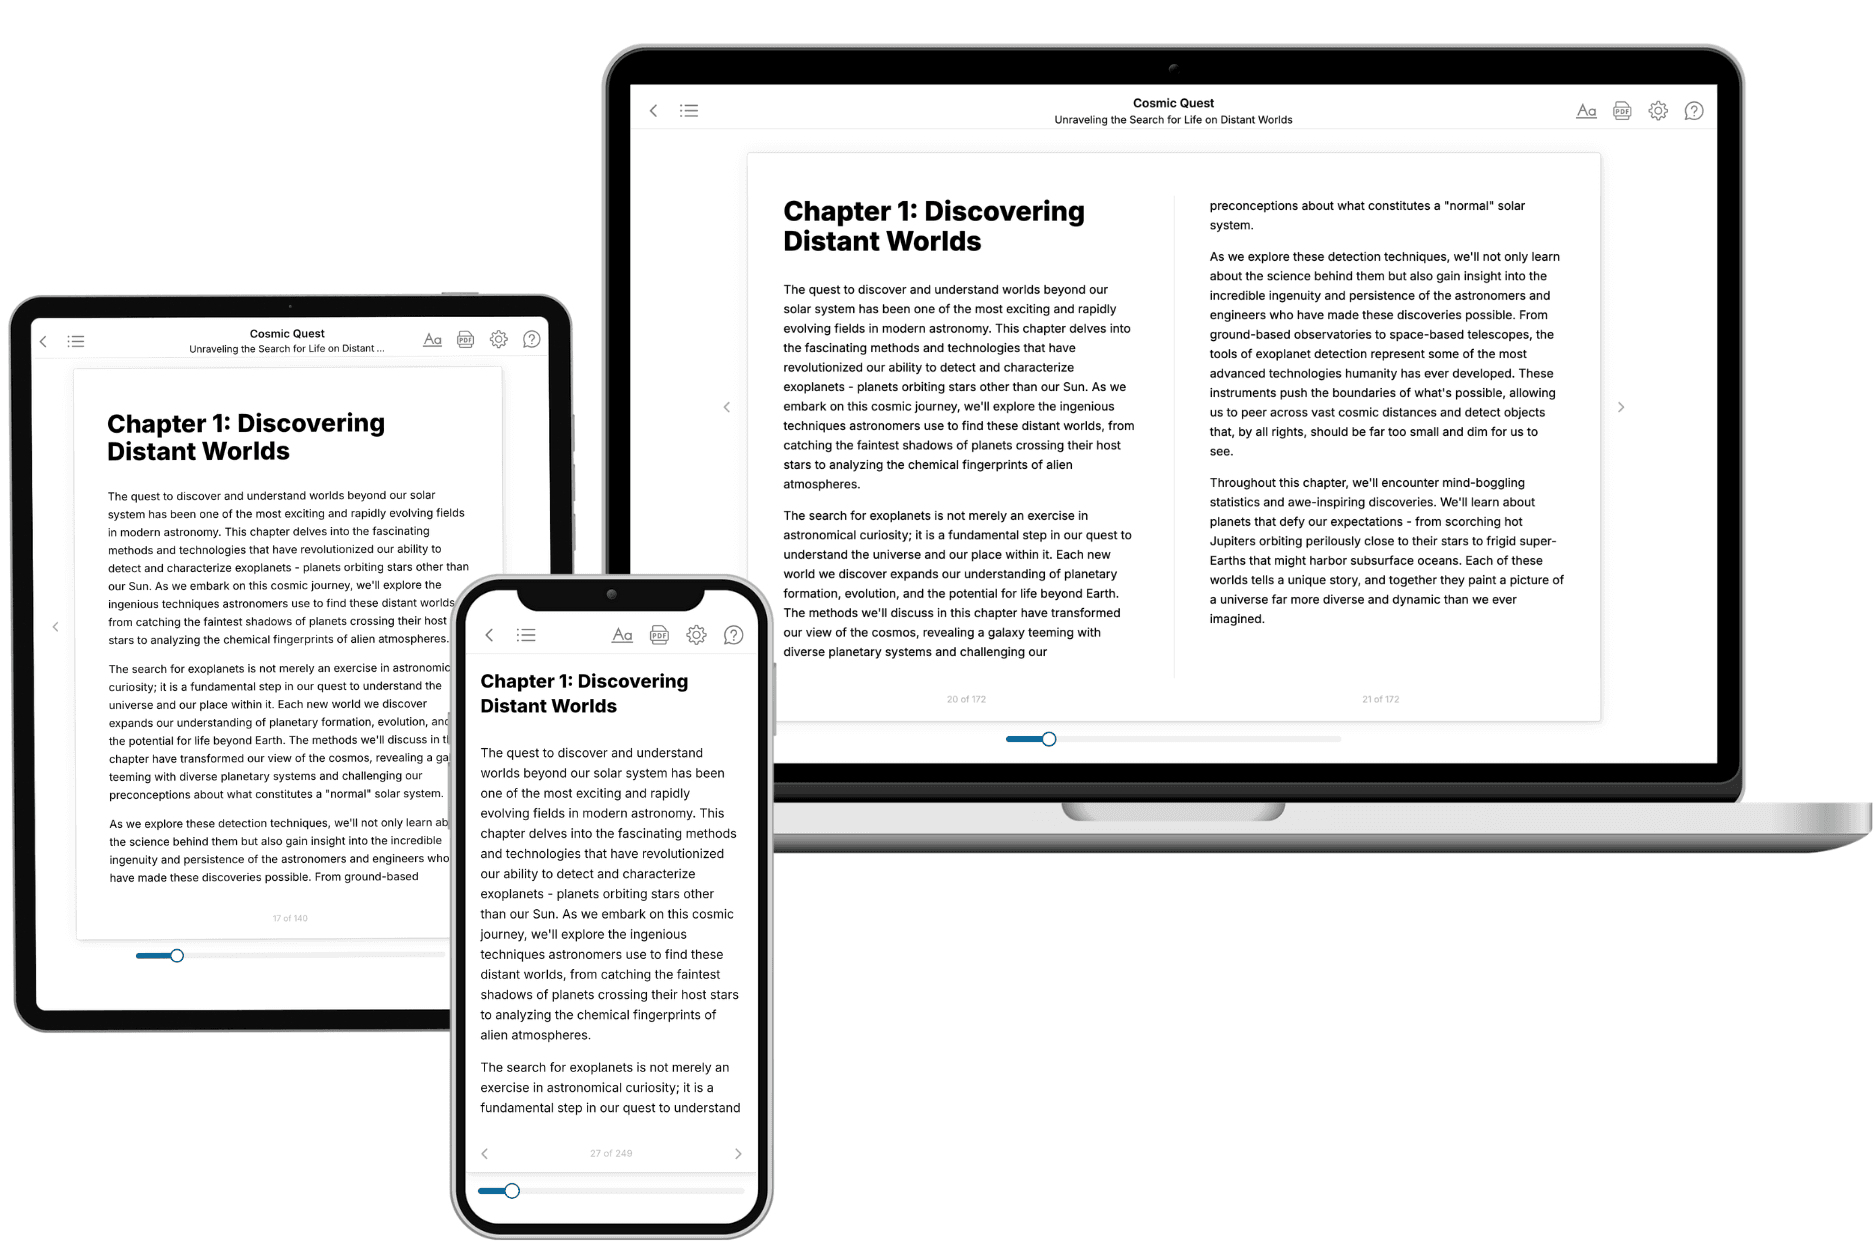
Your book is ready in 10 minutes. Read it online, download as EPUB or PDF, or send to Kindle.
Frequently asked questions
- What is TailoredRead?
TailoredRead creates complete, full-length nonfiction ebooks, written specifically for you. Tell us what you want to learn and why, and TailoredRead writes you a complete ebook on it, with charts, tables, and diagrams throughout. Read it online, on Kindle, or on any e-reader, or download it as a PDF or EPUB. Every book is written fresh the day you order it.
- How is the book tailored to me?
Before anything is written, you answer a few short questions about your goals, your background, and the topics you care about. Your book is then planned around your answers: written at your level, focused on your goals, and covering the topics you chose, instead of the one-size-fits-all book a store sells everyone.
- Will it read like generic AI content?
No. Your book isn't a chat transcript: it's planned chapter by chapter before a single word is written, told in a clear book voice, and explains ideas visually with charts, tables, and diagrams. After writing, every book goes through an editorial pass that polishes chapters so the book reads consistent from start to finish. Judge for yourself: browse thousands of sample books on our Explore Books page.
- How accurate is the content?
Our AI first checks whether your subject needs live research. Niche and fast-moving subjects are researched before writing, and the book plan and chapters are grounded in what it finds. After writing, every book goes through a quality pass that checks its facts and consistency, and researched books list their sources in a Notes section at the back.
- How long is the book?
You choose the length: Comprehensive (250-300 pages), Detailed (150-200 pages), Essential (70-100 pages), or Short (30-50 pages).
- Does the book include visuals?
Yes. Every book includes charts, tables, and diagrams: timelines, checklists, step-by-step guides, decision trees, comparison tables, matrices, and bar charts. A typical book includes dozens of these visual elements.
- Can I read it on Kindle? What formats can I download?
Yes. Every book can be read in our online reader or downloaded as a PDF or EPUB. The EPUB can be opened with Kindle, Apple Books, Kobo, and any e-reader. The Commercial and Author licenses also include an editable Word (DOCX) and Markdown download.
- How much does it cost?
About the price of a regular ebook. The exact price depends on your book's length and complexity, from $2 for the shortest books to $35 for the most comprehensive, and it's shown when you review your book, before you commit to anything. Each book is a one-time purchase, yours to keep, no subscription. Licenses that let you share, teach, or publish your book range from $35.99 to $49.99.
- Can I preview the book before purchasing?
Before you pay, you'll see what your book will cover: the title, a detailed description, the estimated length, and the complete chapter-by-chapter table of contents, so you know what you're getting before you decide. The full text itself is written after you purchase.
- How long does it take to create a book?
About 10 minutes. You can start reading the opening chapters while the rest is still being written.